Valentine’s Day is one of the most widely celebrated occasions around the world. It is a special time to express love and appreciation for someone meaningful in your life through thoughtful gestures and heartfelt gifts. Many people choose to give handmade cards, chocolates, or creative gift ideas that reflect the personality and interests of the recipient.
With so many options available, choosing the right gift can feel overwhelming, especially if you want something unique and personal. A customized or personalized handmade gift is always a great choice because it shows extra effort and thought. It also makes the recipient feel special, knowing the gift was created specifically with them in mind.
RELATED:
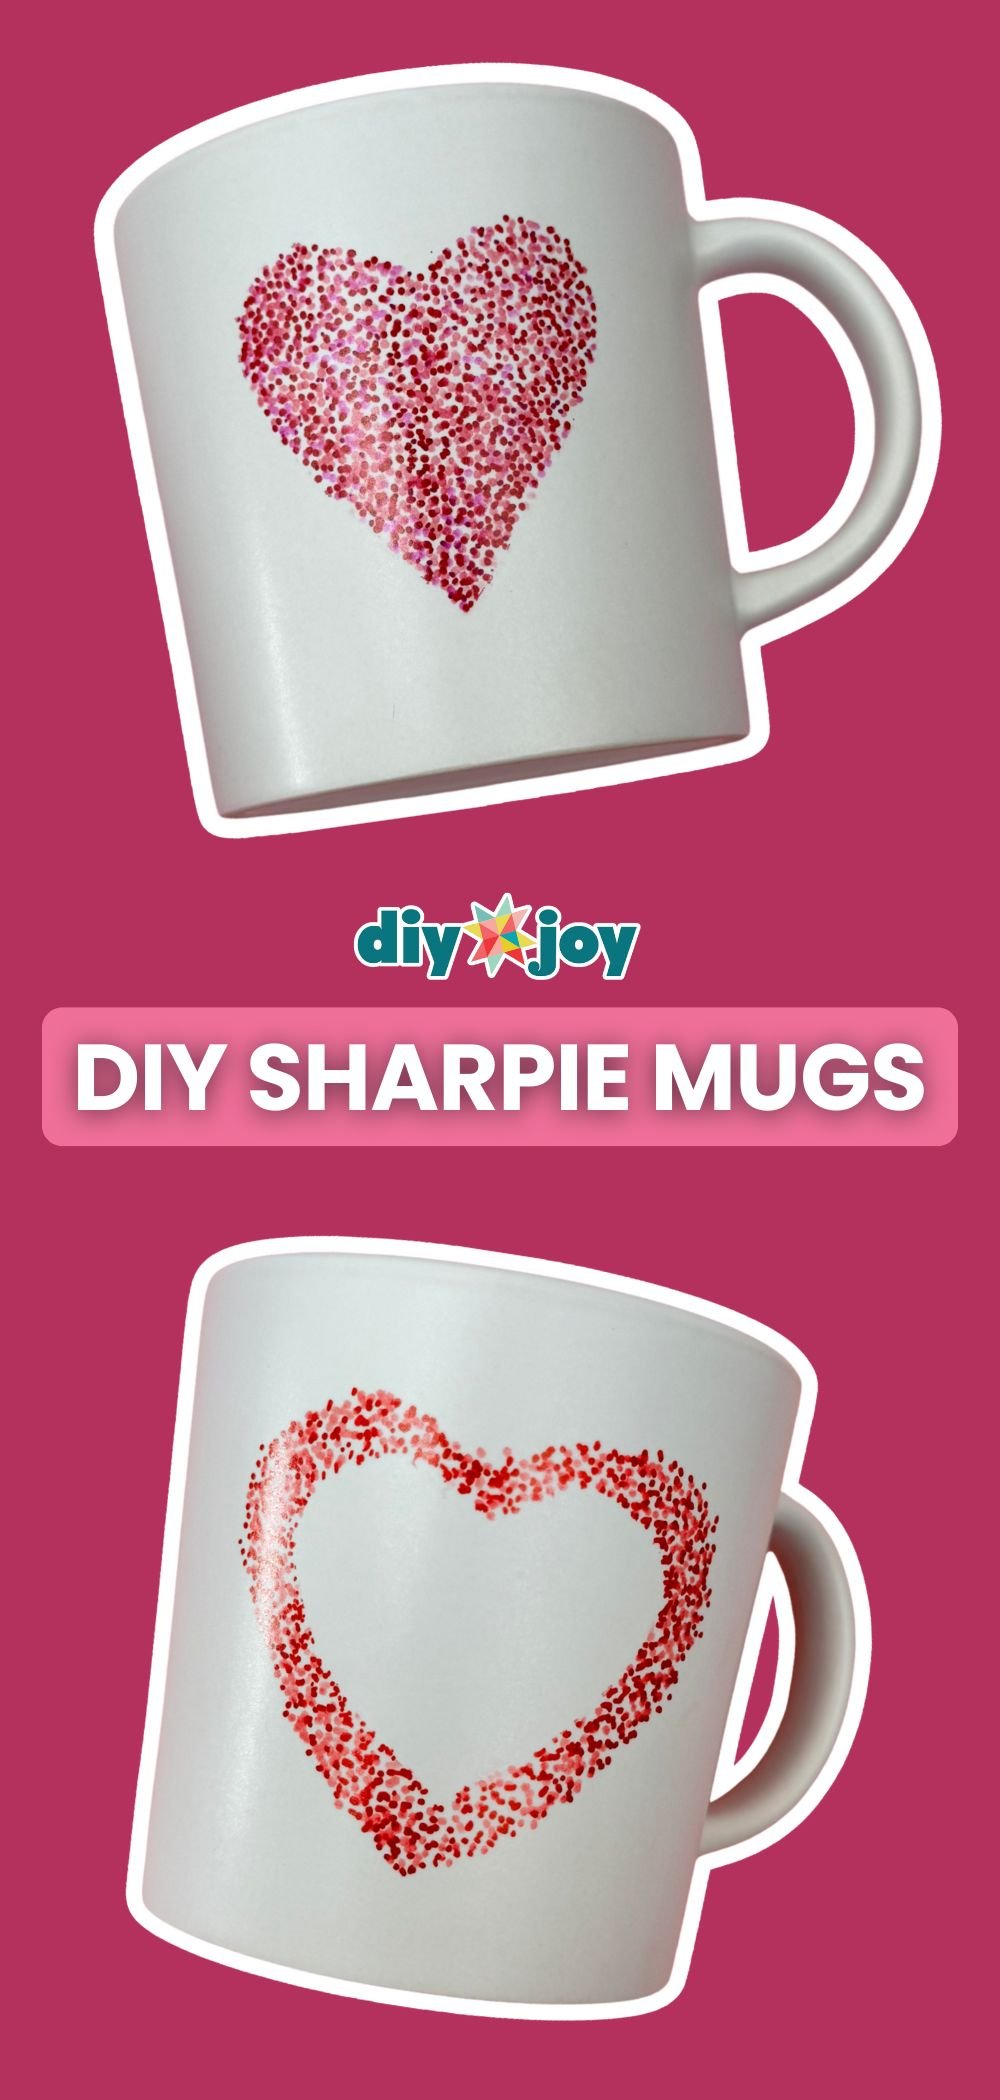
Today, I will show you how to make a simple hand-printed mug using only Sharpies. Yes, Sharpies. They are easy to find, simple to use, and perfect for creating custom designs or patterns that match any style or occasion. This DIY customized mug is also ideal for last-minute gift making since it can be completed in one sitting in just a few minutes.
If you are running out of time, ideas, or working within a budget, this easy handmade gift is a great option to try. Follow the step-by-step written instructions below and watch the video tutorial for extra guidance and helpful tips. Have fun crafting and enjoy creating a personalized mug that anyone would love to receive.
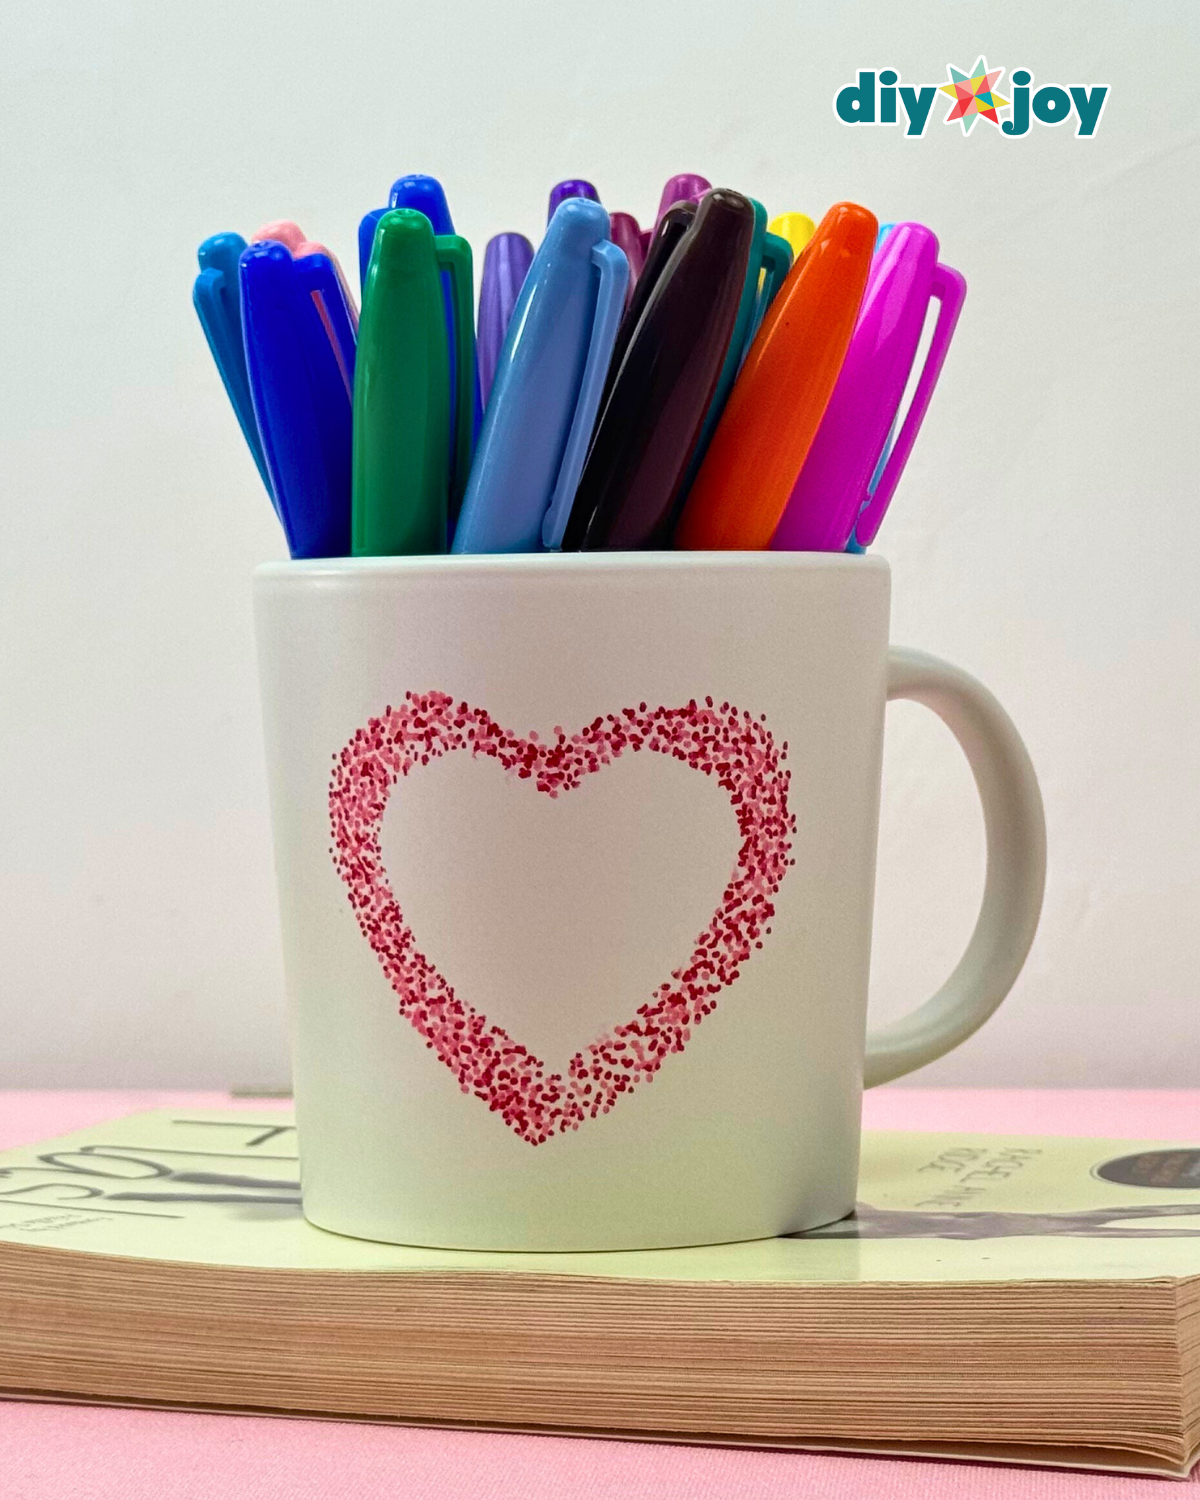
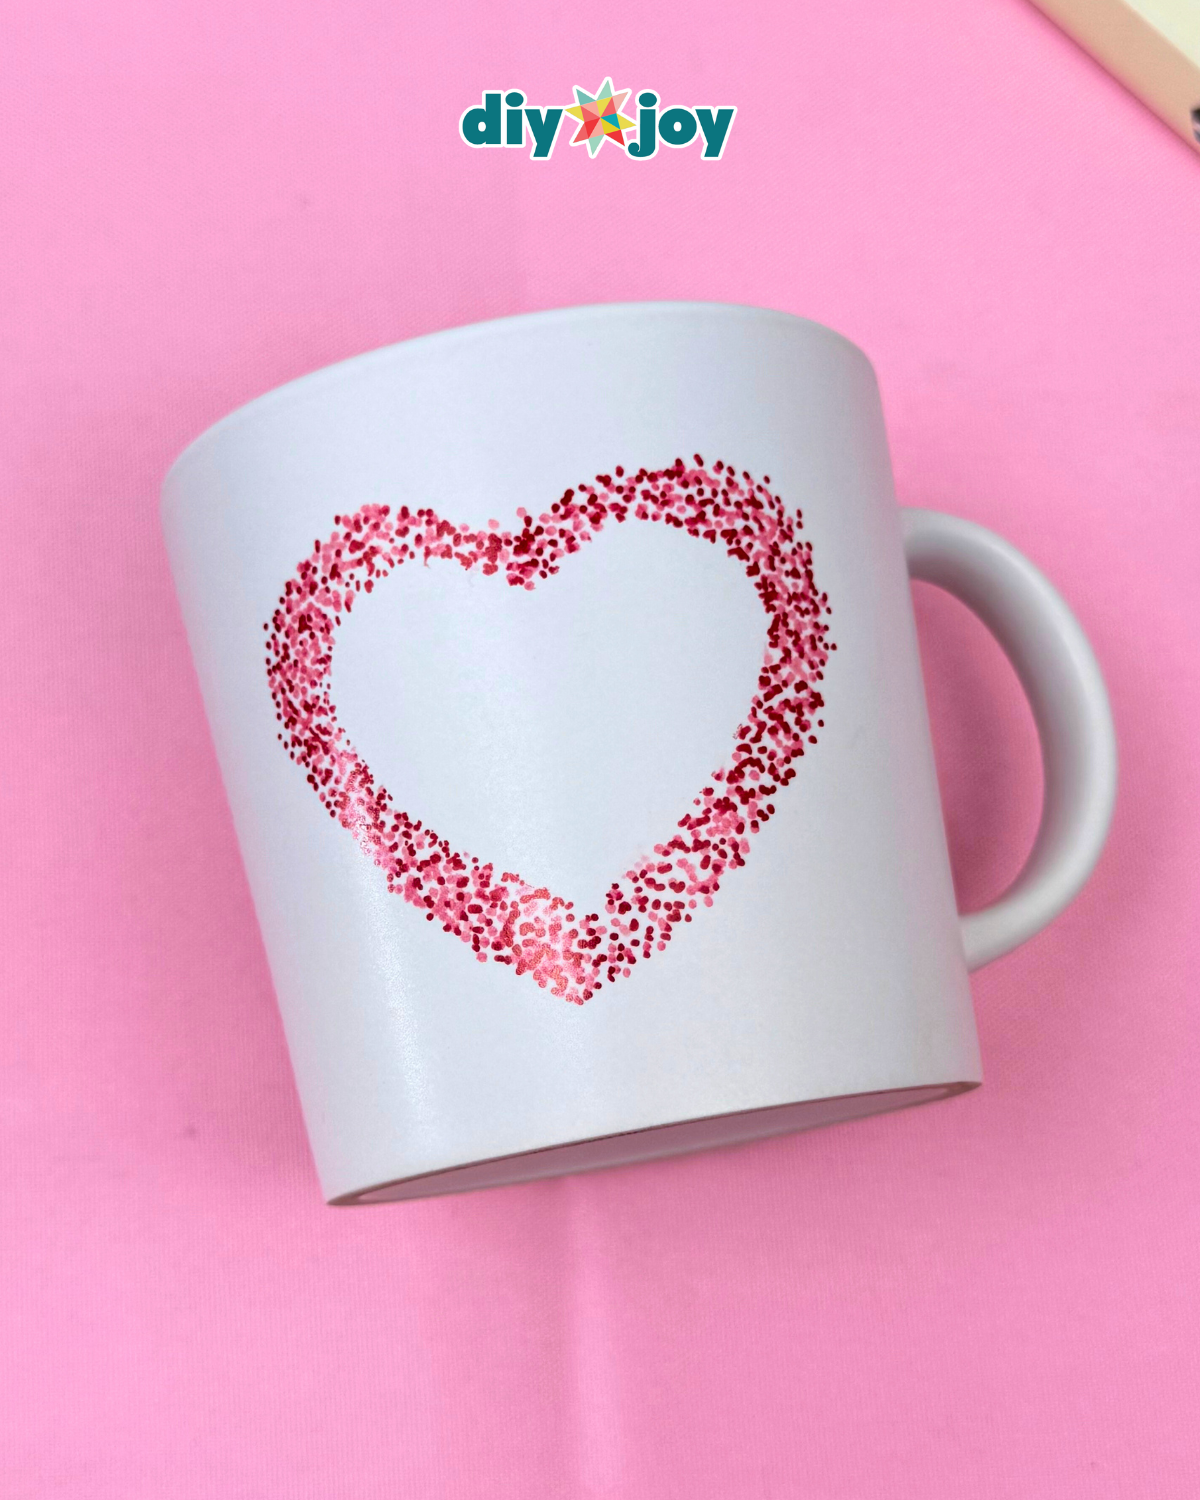
How to Customize a Heart Mug
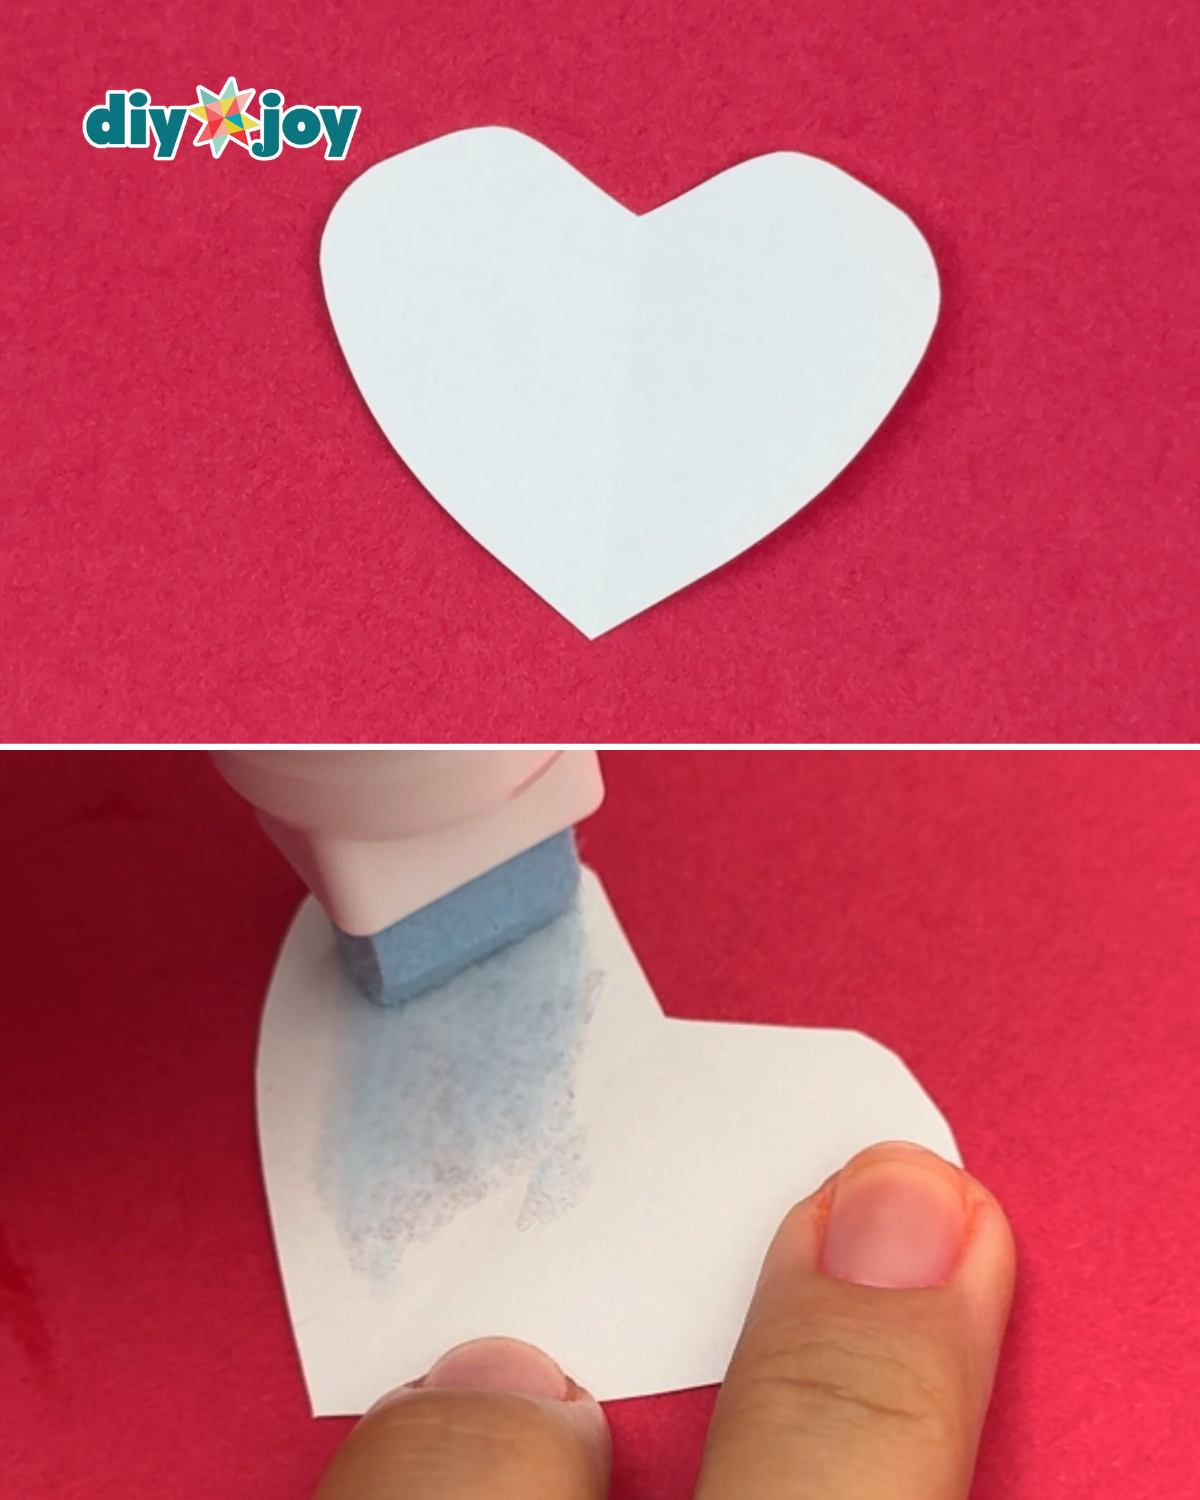
Step 1: Create the Paper Heart

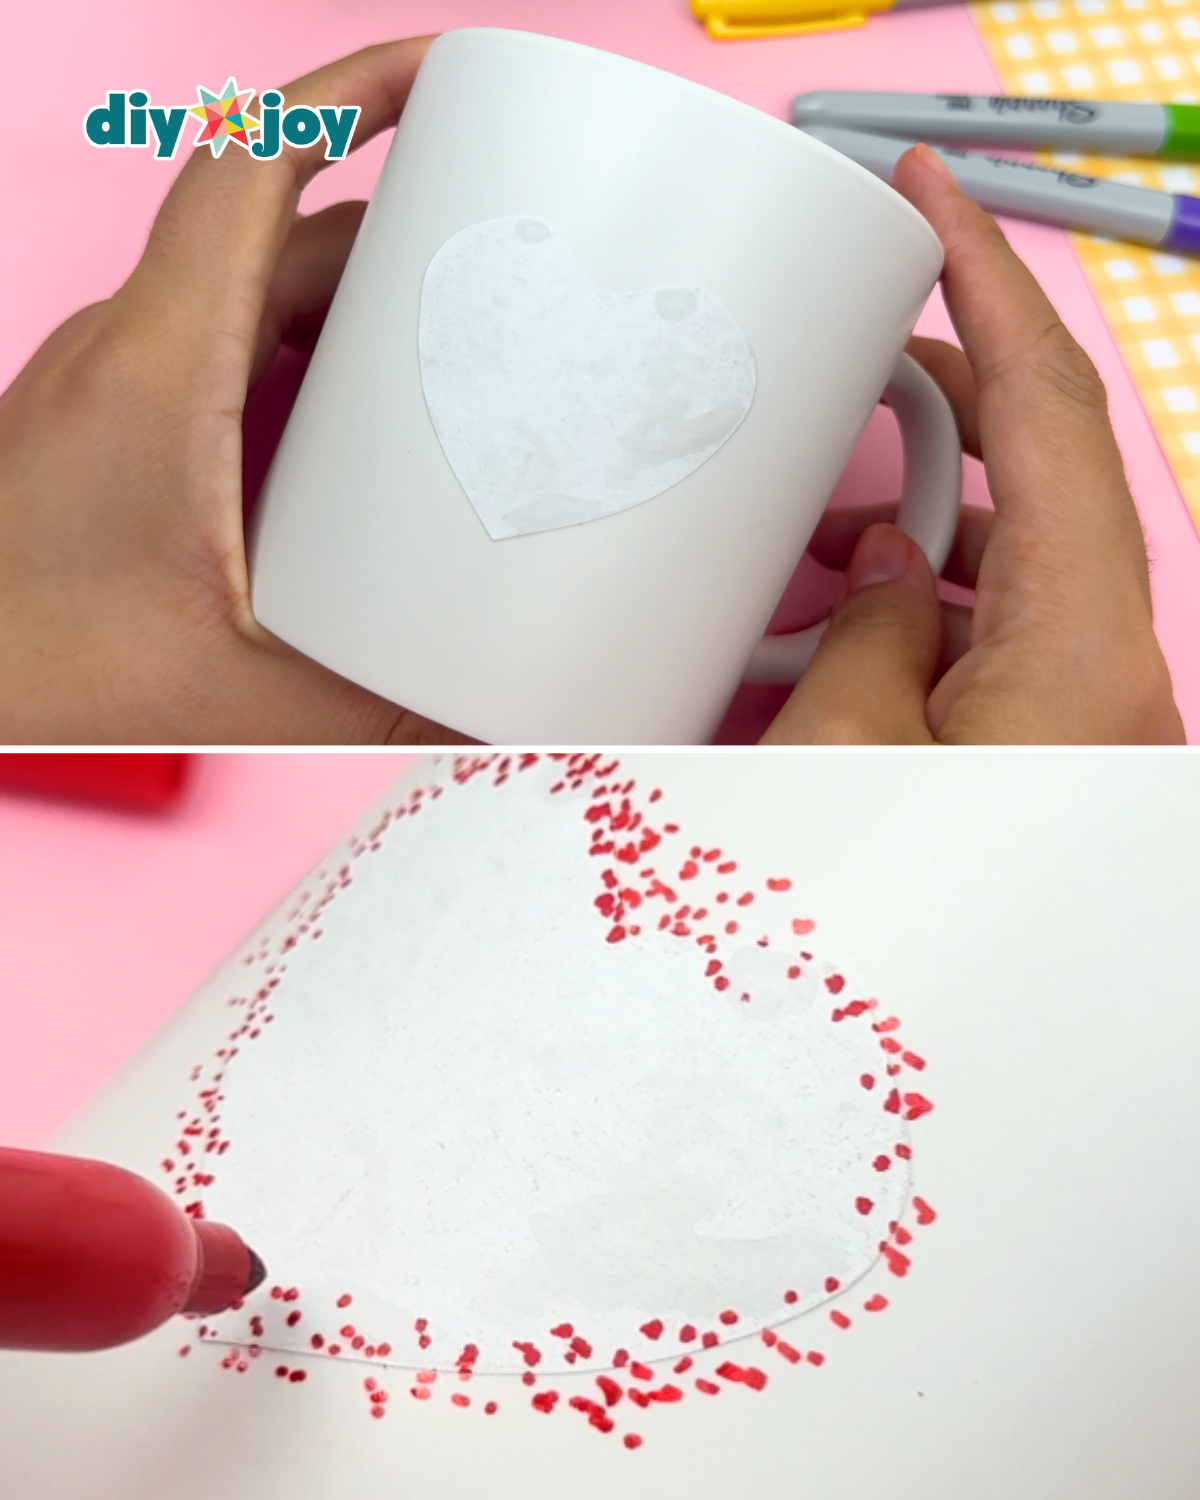
Draw a heart shape on a piece of paper and carefully cut it out. Cover the heart with Zig glue and wait for the glue to dry and turn white.
Note: While the glue is still blue, it creates a permanent bond when applied immediately. Once it turns white, it becomes repositionable—similar to a sticky note—so you can place and remove it anytime.Step 2: Attach and Outline the Heart
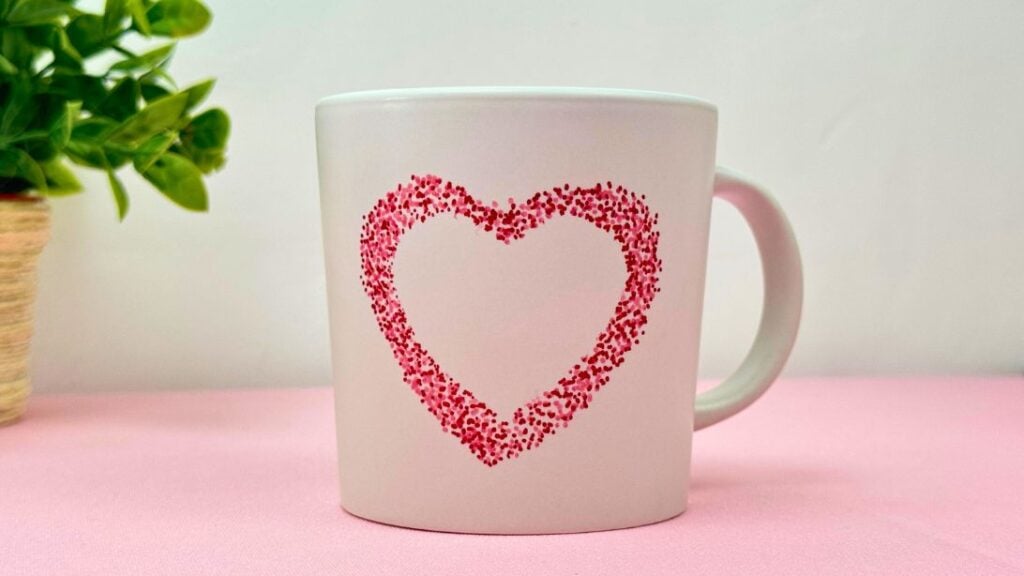
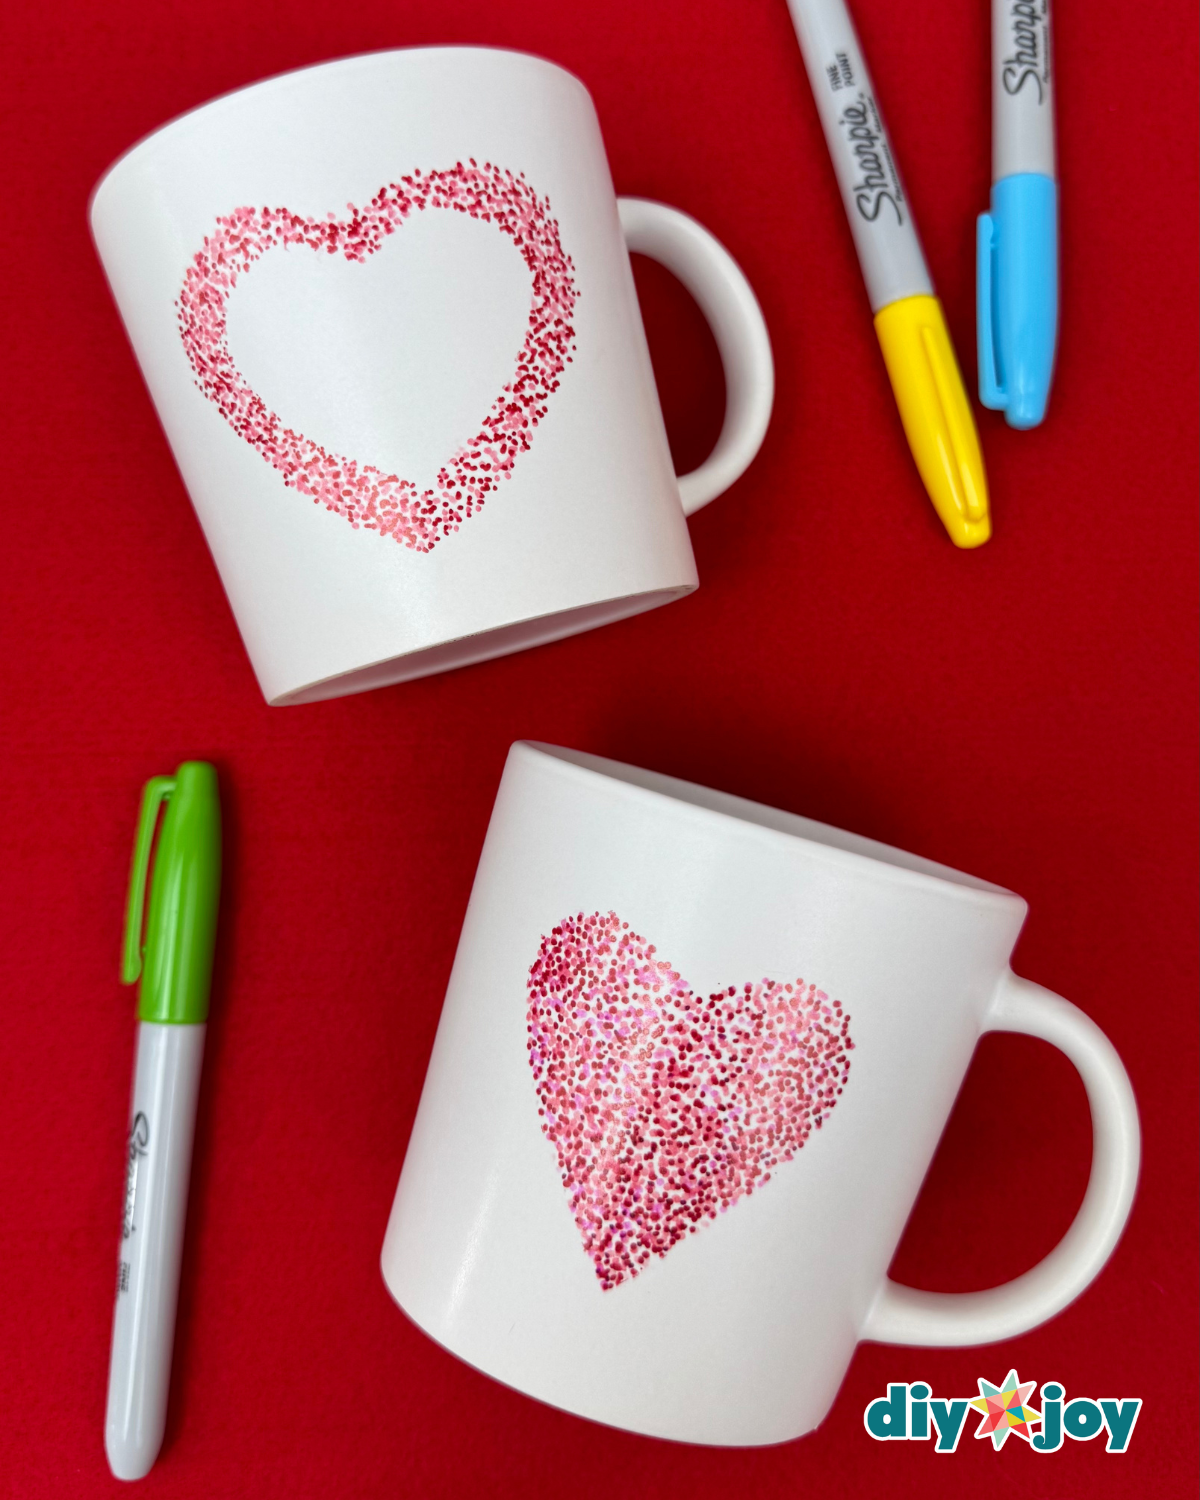
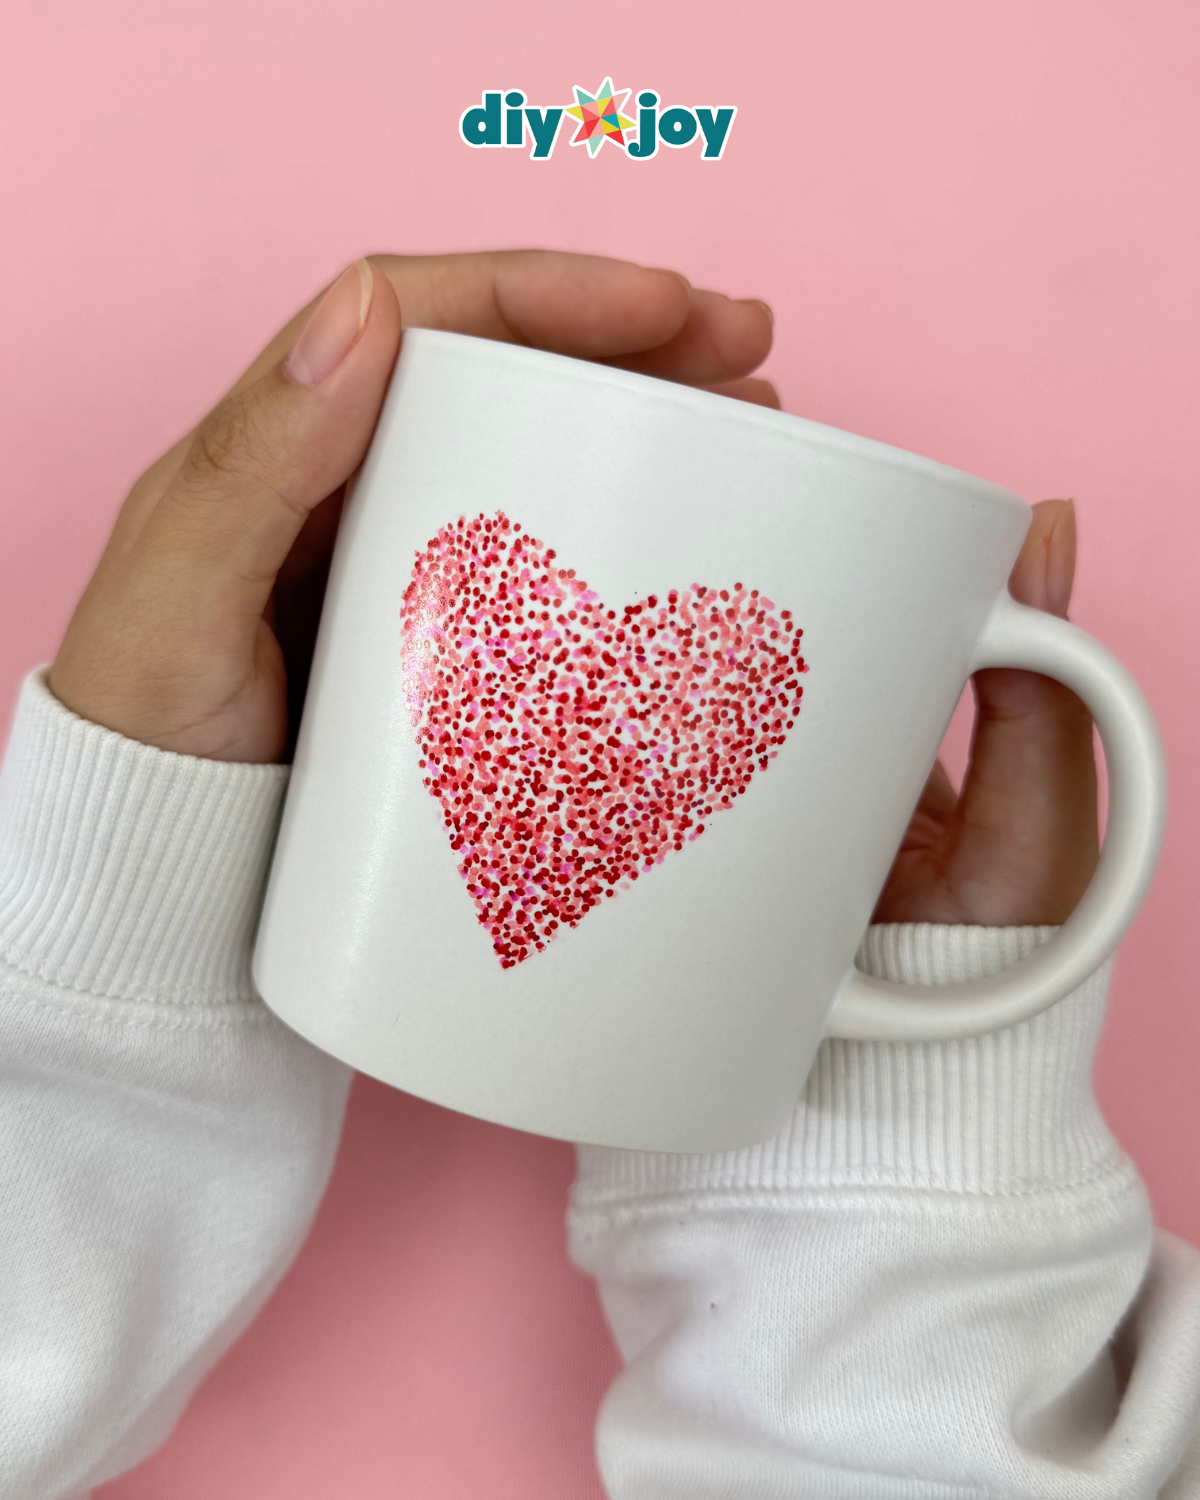
Place the paper heart in the center of the mug. Start adding dots around the heart using a red Sharpie, and switch to a pink Sharpie if you want more variation in color. You can allow some dots to slightly overlap onto the paper for a more defined outline of the heart shape.Step 3: Remove the Paper Heart
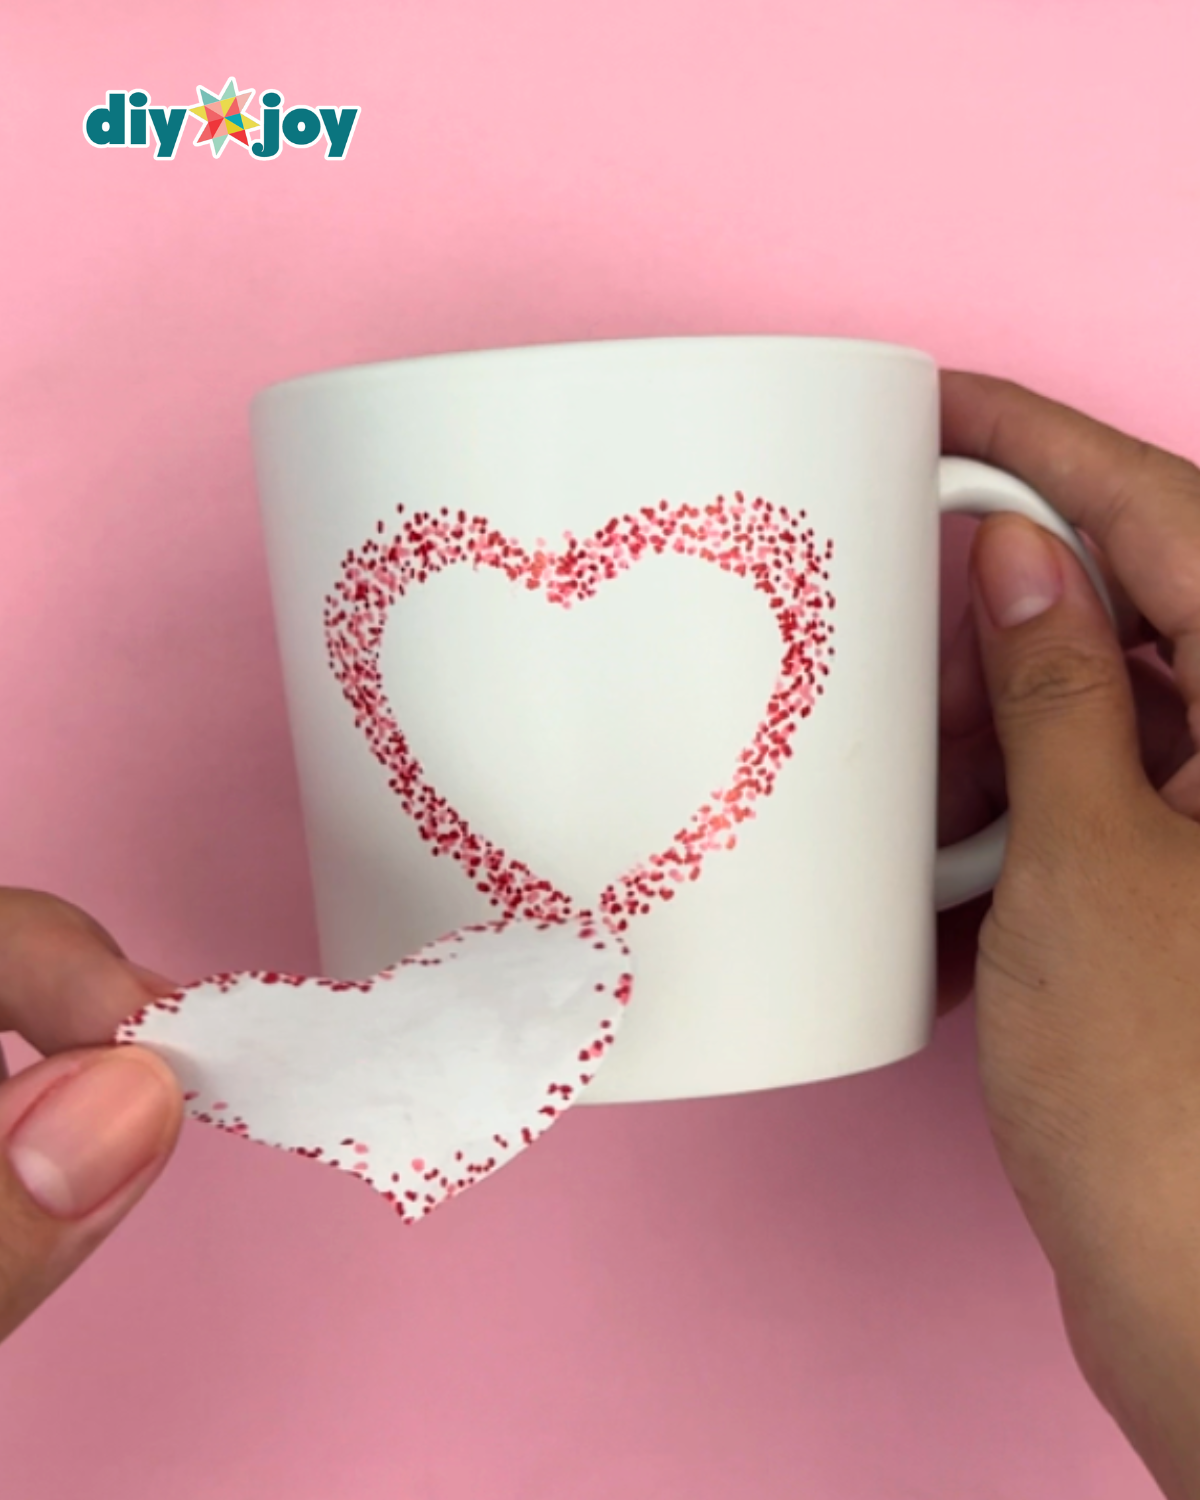
Once you’re satisfied with the number of dots, carefully peel off the paper heart from the mug—your mug is finished!
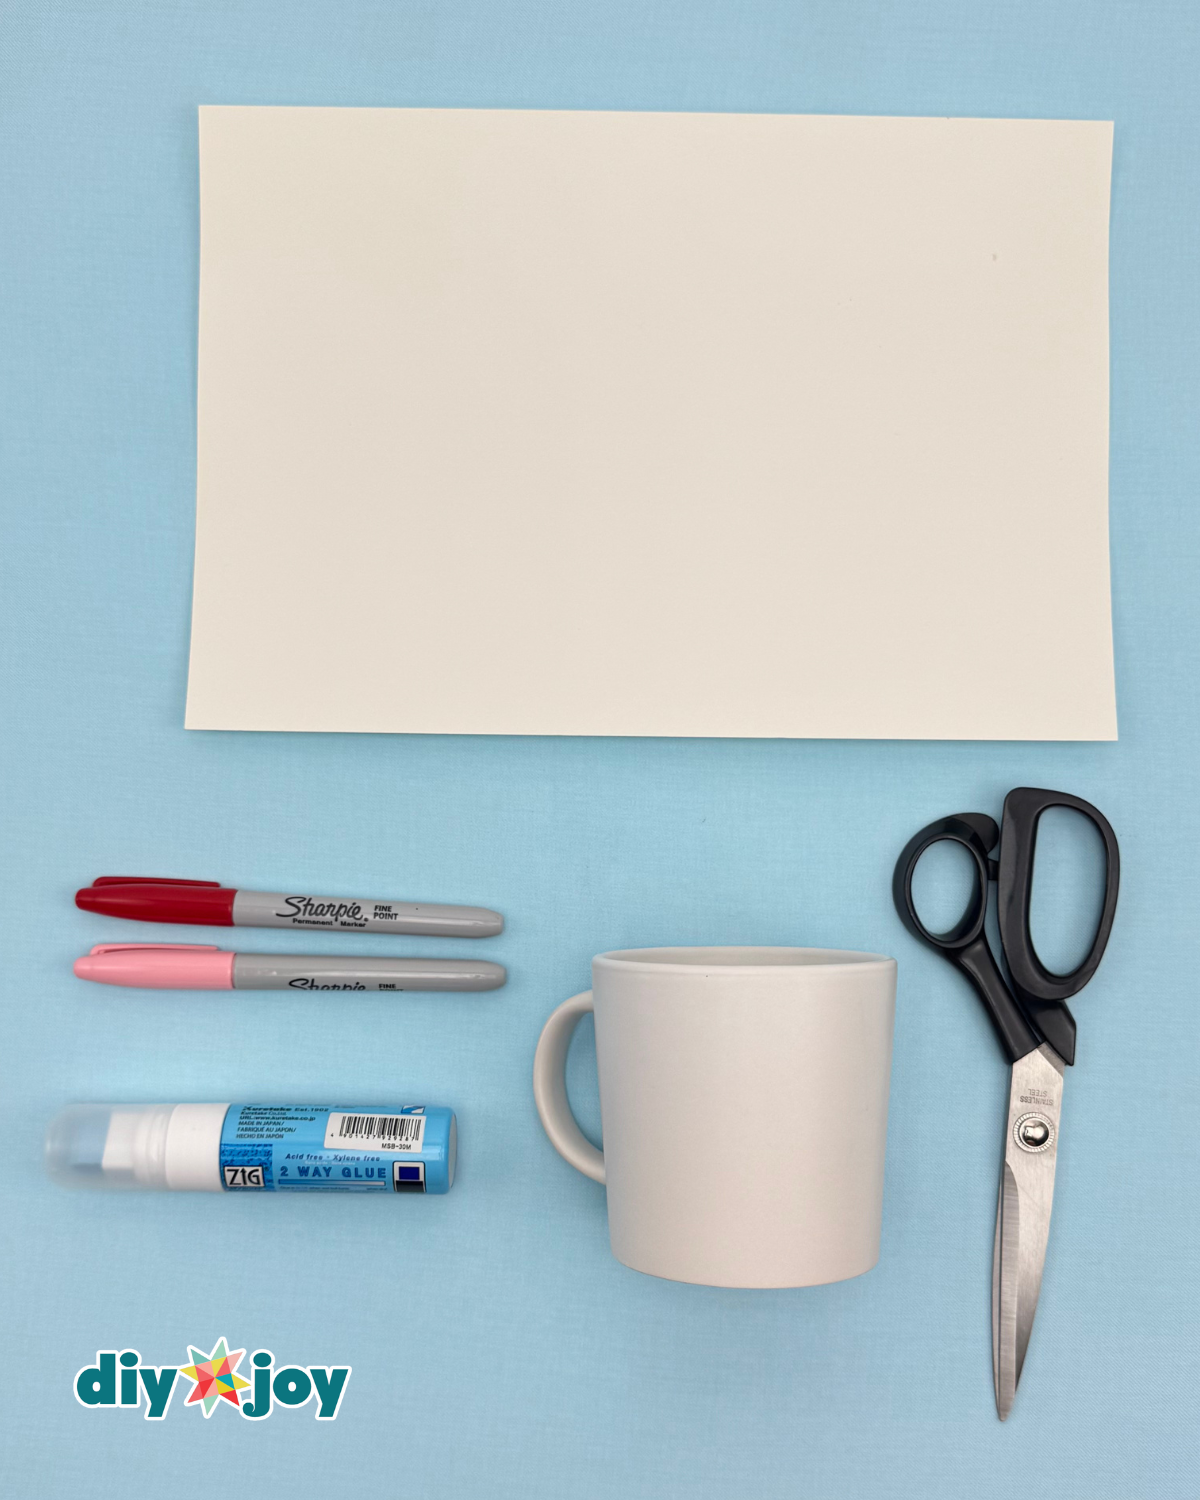
Materials
- Plain Mug
- Paper
- Zig Glue
- Sharpie
![]()
Pro Tip
Use a Zig 2 Way Glue pen to attach your heart pattern as a temporary guide before drawing. It holds the paper in place securely while you trace or color, but peels off easily without leaving residue or permanently sticking to the mug. This helps you keep the design neat and properly aligned without worrying about damaging the surface.
Must-Try DIYJoy Crafts!

Paper Flowers

Crafts
Crafts
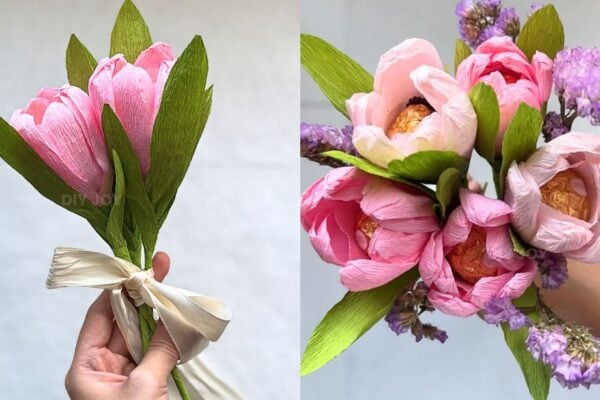
Paper Flowers
*If you love this craft, then visit our official website, follow our Facebook page, and subscribe to our YouTube channel for more!
How to Customize a Mug Using Sharpie