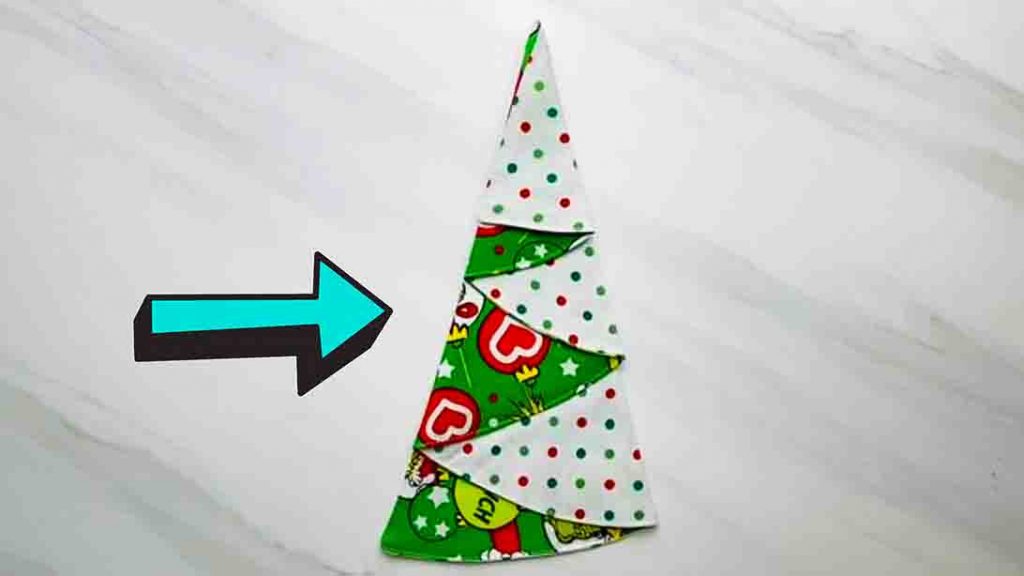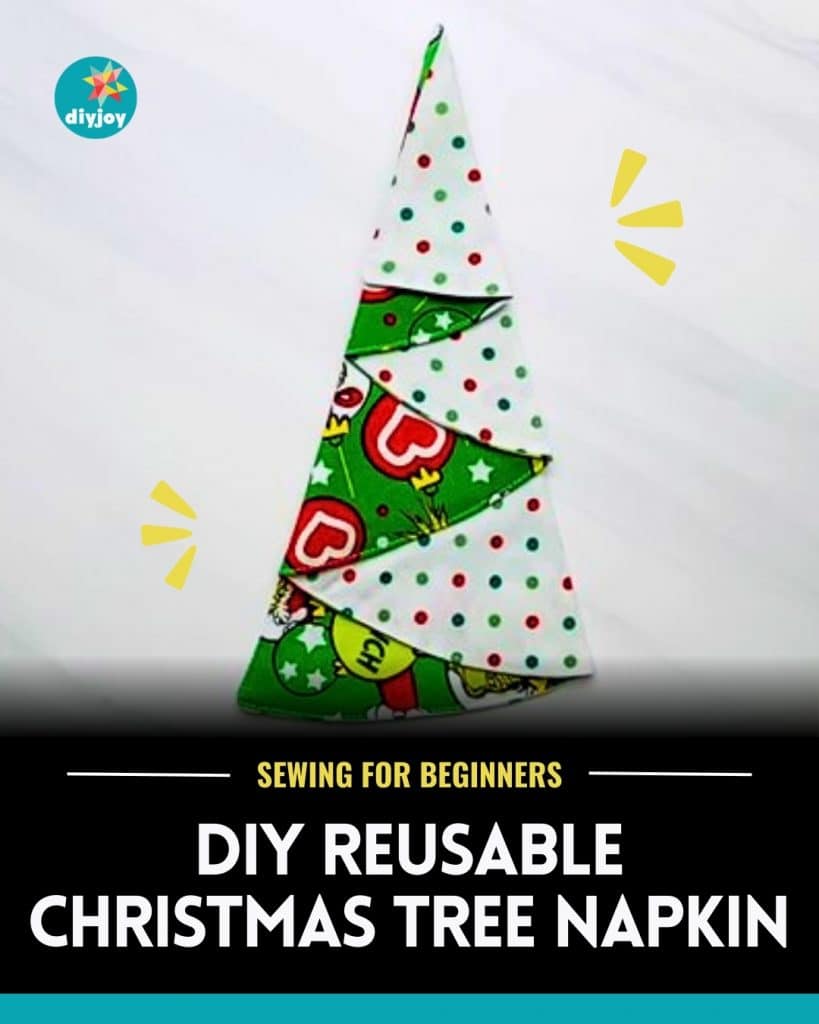
Holiday dinners are not complete without a set of gorgeous table napkins – right? So, if you want to learn how to make a DIY one, this project from Aloha Sewing Company is perfect for you. This project is Christmas-themed, perfect for your holiday gatherings, and the best part is you can use it every year as it’s reusable!
RELATED: How To Sew A Reversible Christmas Tree Napkin
It’s super quick and easy and perfect for beginners. What are you waiting for? Try to make one today! Check out the video tutorial below to learn the step by step instructions.
Materials:
- (click here for the sewing pattern)
- Christmas-themed fabrics
- scissors
- pins/clips
- pen
Directions:
Step 1
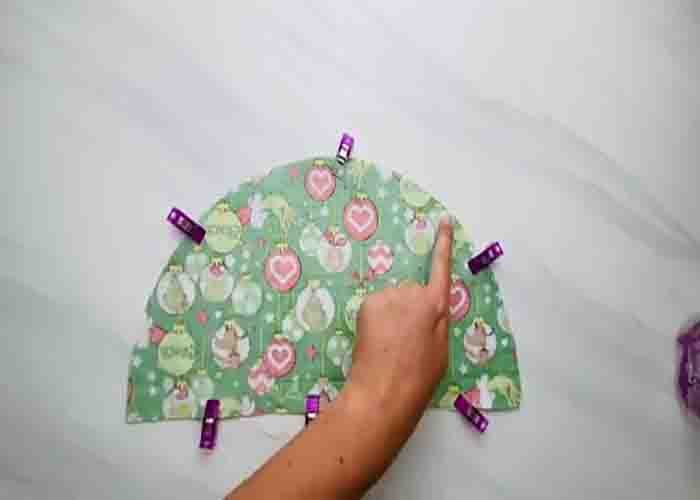
Grab the two half-circle fabric pieces with the right sides together, then clip them in place. Sew all around with a 1/4″ seam allowance, leaving a two to three-inch gap at the bottom. After sewing, clip the two corners, then flip it right side out. Next, fold both edges in the gap, then iron it so it’s flushed. Now, find the 5″ mark from the left side, mark it, then draw a straight line. After this, fold it where the line is, then open it back. Starting at that fold, stitch around the half circle, then when you get to where you started, stitch all the way that line you made.

[social_warfare]
Step 2
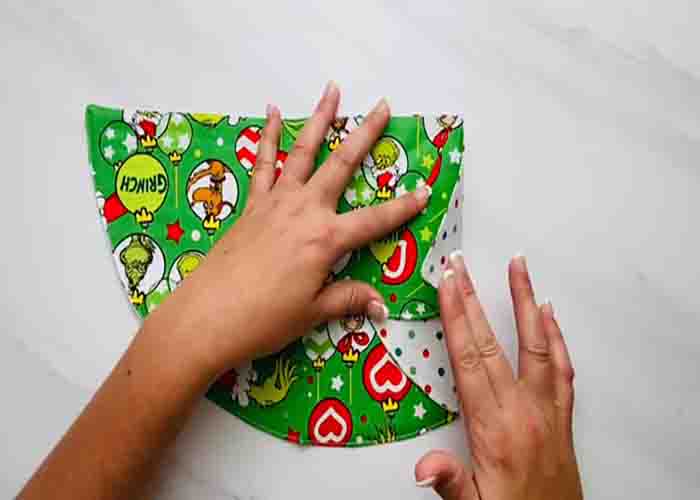
After sewing, fold it on the stitch line you just made, and iron it flat. Next, get the top left corner of what you have folded and bring it down, making sure that what’s folded is equivalent to what’s hanging off. After this, fold the hanging part inward right on top. Iron to keep the crease smooth. Once done, flip the fabric over, and fold again (where you feel that fabric) to make a crease. Iron it as well. Flip it again, and fold back the remaining part of the fabric. Iron it well to make the crease stays in place.


