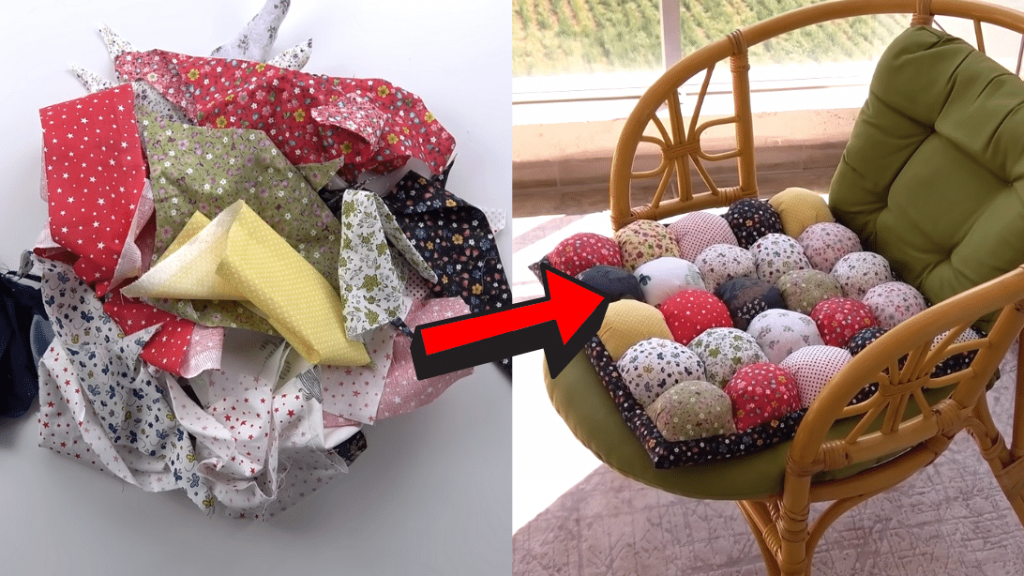
Don’t know what sewing project to do next? Make this easy and colorful cushion at home! This is the perfect and cutest way to repurpose waste materials instead of throwing them into the trash – a lovely idea by Marifetli Isler on Youtube. Watch the video below for the DIY bubble puff quilt from fabric scraps tutorial with step-by-step instructions.
Materials:
- fabric scraps
- scissors
- pins or clips
- filling
- needle and thread
- batting fabric (approximately 30 inches by 30 inches)
- fabric (approximately 30 inches by 30 inches)
- curve needles
[social_warfare buttons=”Facebook,Pinterest,Twitter,WhatsApp”]
Instructions:
Step 1:
Gather all of your fabric scraps and cut 25 square pieces measuring 5.5 inches by 5.5 inches and another 25 pieces measuring 4.3 inches by 4.3 inches.
Step 2:
Get one piece of the 4.3 by 4.3 inches fabric and fold it diagonally into a triangle. Then cut a small strip in the middle.
Step 3:
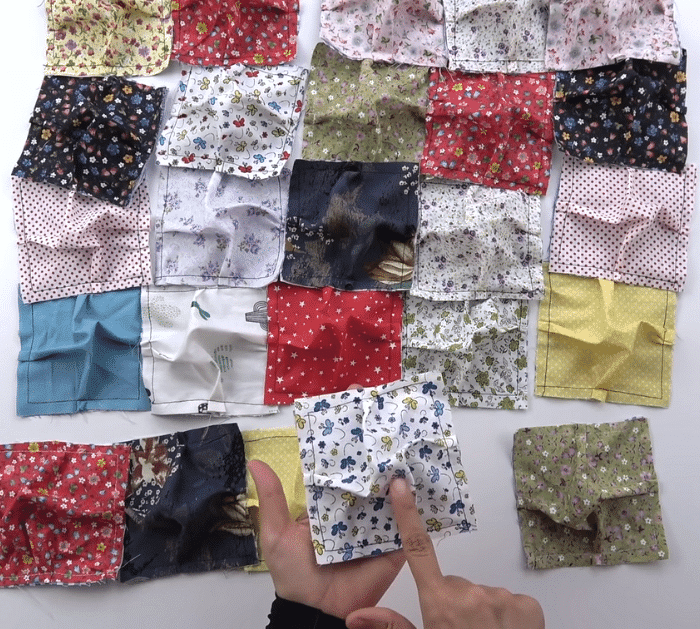
Place one big square on top of one small square aligned in one corner. Make a fold in the middle of each side to make the bigger square the same size as the smaller one. Secure using pins or clips. Do the same for the remaining pieces. This will be the puff. Once done, sew each square with a 1/2 inch allowance.

Step 4:
Align the square pieces to make a bigger square with 5 pieces by 5 pieces. Make sure that the pieces with cuts are on the back as these will be filled with filling later on. Then quilt them all together. Remove the excess threads using a pair of scissors.
Step 5:
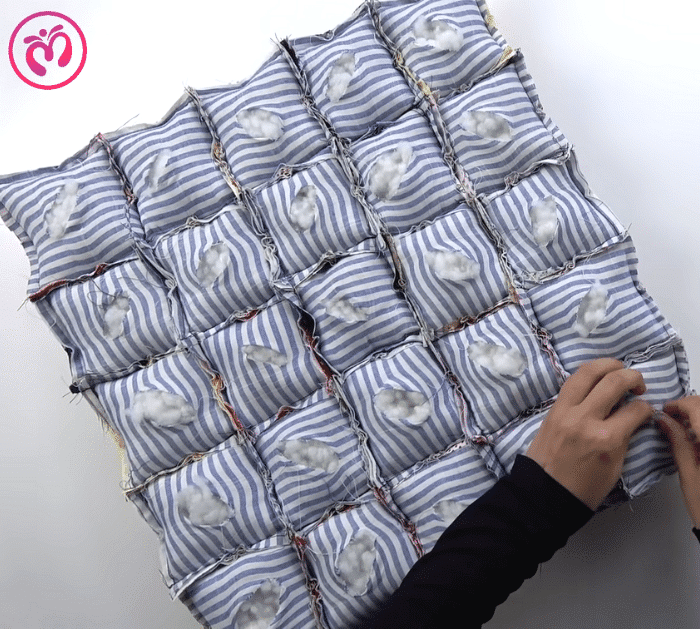
Turn over the quilted fabrics and put the filling on each of the bubbles. Use any long solid object to help you put the filling in the corners of the bubble. Close the openings using a thread and needle.

Step 6:
Place the batting fabric on top of the fabric and put the puff quilt in the center. Once done, cut a square on each corner of the wadding. Double fold the wadding and fabric together and secure with pins.
Step 7:
Using curved needles and thread, sew the folds to the edges of the bubble puff.


