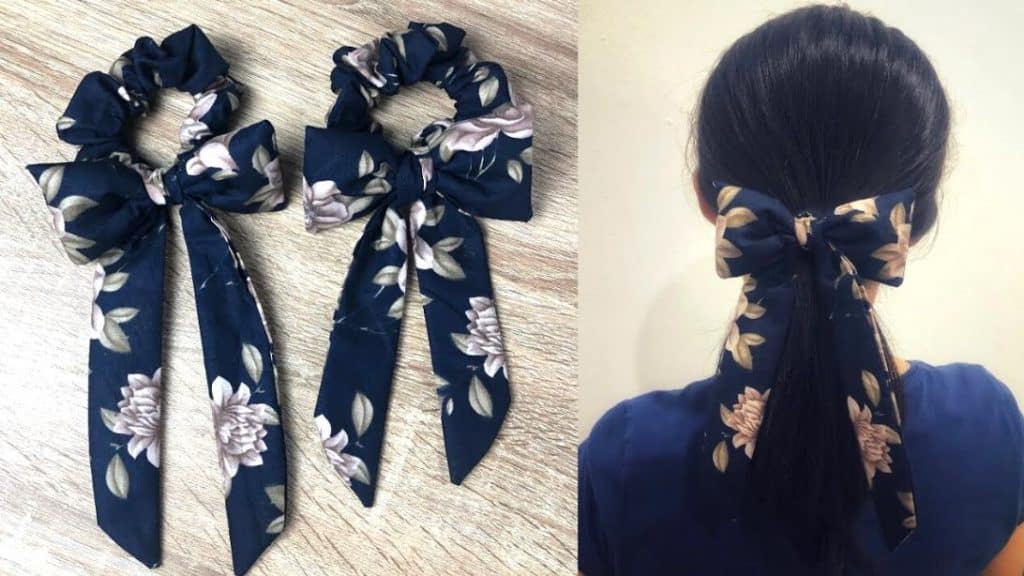
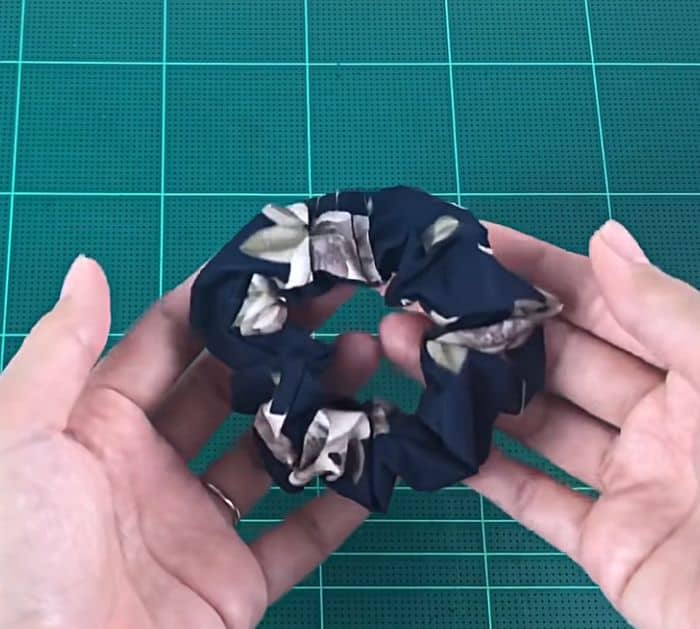
Do you love fixing your hair? Me too, I always tie my hair and put on accessories. It makes me look presentable and neat. I often use this beautiful DIY bow scrunchie that I made. It’s so cute and often gets praise whenever I wear it. I learned how to make it through this tutorial by Rin DIY. Watch the video below for full instructions.
Materials:
Using one printed fabric:
- 2 pieces of 3 1/8″ by 18″ rectangle
- 1 piece of 5 1/8″ square
Others:
- marker
- stick
- filler
- 8″ elastic band
- safety pin
[social_warfare buttons=”facebook,pinterest,twitter,whatsapp”]
Instructions:
Step 1:
Get one of the long rectangles and fold it in half lengthwise, right sides together. Pin it on the sides, and sew.
Step 2:
Insert a safety pin on one of the edges and use it to flip the fabric right side out. Remove it once done.
Step 3:
Attach a safety pin on the end of the elastic and insert it into the fabric while holding the other end. You can also clip it so it will not move. Tie the ends of the elastic together into a knot. Sew the edges of the fabrics together. Set it aside.
Step 4:
Get the square fabric and fold it in half right sides together. Secure it with pins, then mark an opening on the long edge. Sew it all around except for the opening. Trim off the edges, then flip it right side out. Use a stick to straighten the corners.
Step 5:
Fill it with fillers, then sew the opening. Mark the center on the two long edges. Baste stitch the center, tighten, then wrap the thread to make it into a ribbon. Set it aside.

Step 6:
Get the other rectangle. Fold it in half lengthwise, right sides together, then pin. Draw a diagonal line from one of the edges, fold the fabric, and cut the ends to make them pointed.
Step 7:
Mark an opening in the center. Sew all the way around except for the opening. Flip it right side out using a stick. Press it with an iron, then sew the opening.
Step 8:
Place the bow on the scrunchie, then tie it in place with the ribbon.
DIY Bow Scrunchies