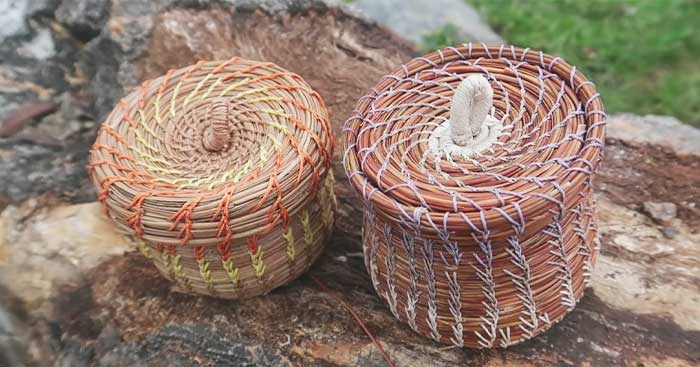
You are going to love this DIY tutorial that Wild She Goes created to make baskets out of pine needles. The tutorial is so easy to follow and the projects turn out great each time.
Materials Needed For This Recipe:
- Pine Needles
- Waxed Polyester Thread
- Water
- Towell
- Scissors
- Plyers
- Sewing Needles
- Plastic Straw
Directions:
Step One
Start by collecting some pine needles. The dryer the needles are, the more imperfections they will likely have. Pick up the pine needles on the ground that are the closest to the top. The pine needles that are buried further down likely be decaying, Only use dry needles.
Step Two
Boil some water and then pour the water over the pine needles to soften them. Allow them to soak for a few hours. You should end up with damp pine needles that are elastic and easy to bend. Keep them wrapped in a damp towel to make sure they stay easy to work with
Step Three
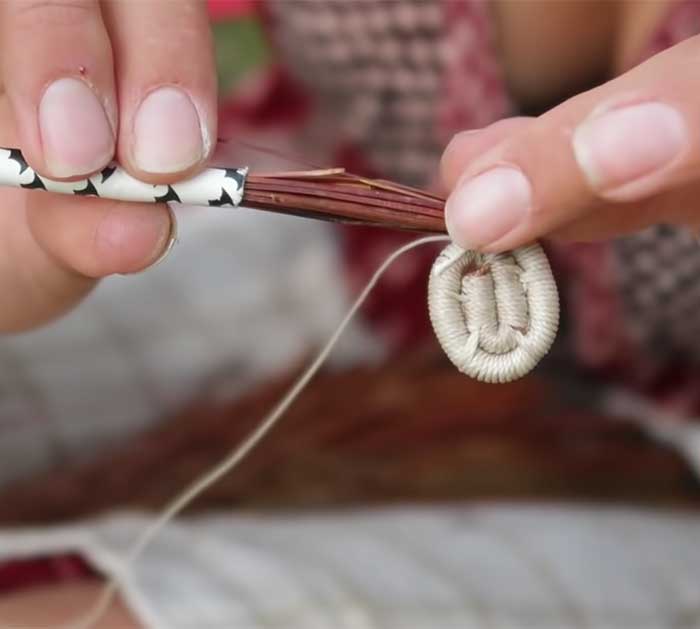
Use waxed polyester thread to attach your pine needles. Begin by placing pine needles into your plastic straw and fitting them snugly, but where your plastic straw size gauge can still move around.
Image by. Wild She Goes via YouTube video.
Step Four
Wrap the pine needles with your string. Then using your needle, thread the needle with your string through the coil you just made to create the middle base of your basket. Continue doing this as you move around. in a circle. You might have to use your players to pull the needle through the thread on the other side.
Step Five
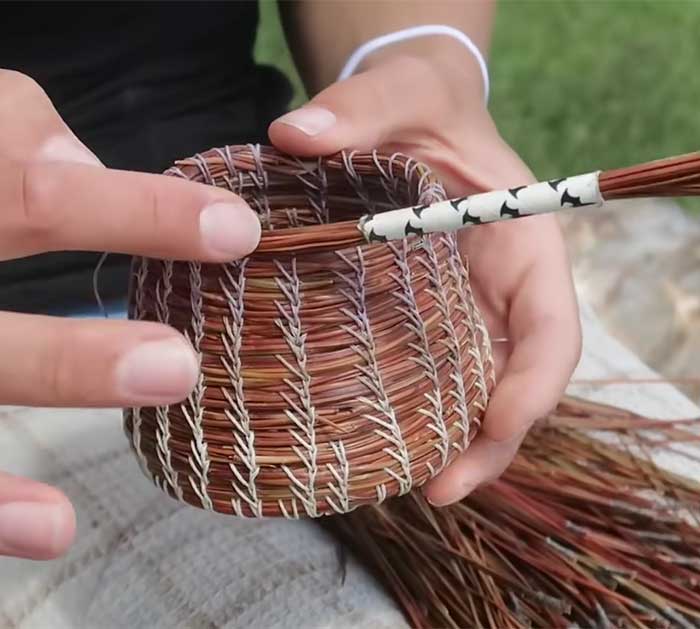
Once you have a solid middle, you can begin taking the needle and wrapping it through the previous section you did, over your pine needles. stitch once about every 3mm.
Step Six
To create the walls of the basket, you will stack the needles on top of each other.
Image by. Wild She Goes via YouTube video.
Step Seven
If you want to create a lid on the basket, watch the video down below for step-by-step instructions.
