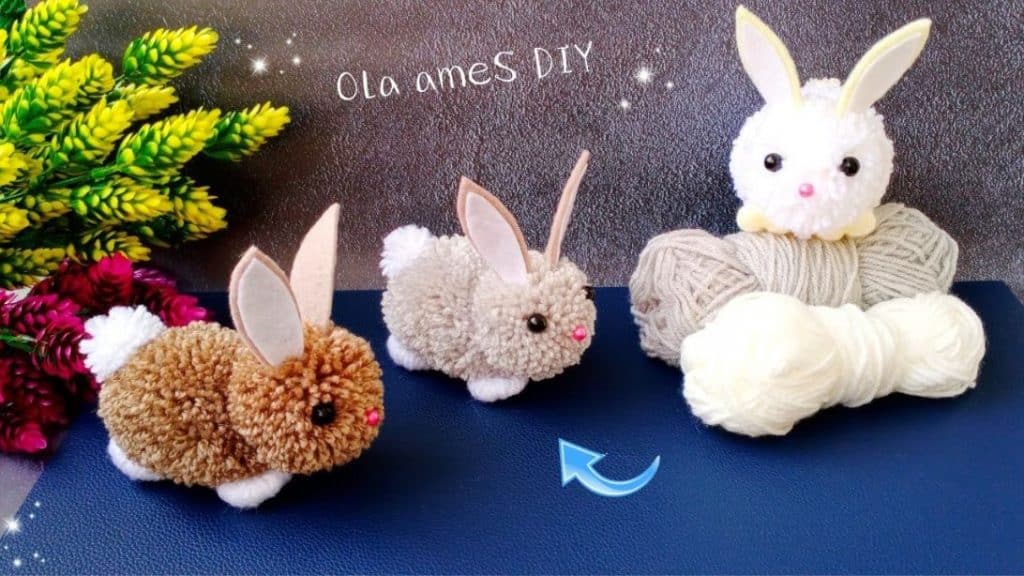
I have seen a lot of woolen projects lately, and they are all adorable! I wanted to make one for myself, specifically this cute woolen bunny by Ola ameS DIY on Youtube. When I was a kid, my mom bought me a bunny – that’s why I chose this, among others. This small project turned out perfect and just how I wanted it to be. It definitely brought a lot of happy memories from my childhood. I’ll keep this on my work desk, for sure, to remind me of the good times I spent with her.
Materials:
- YarnArt Baby 100% acrylic white and gray
- scissors
- fork
- hot glue
- white and brown felt
- black beads
- pink bead
[social_warfare buttons=”facebook,pinterest,twitter,whatsapp”]
Instructions:
Step 1:
Get a small strand of the gray thread, and place it between your index and middle finger. Next, roll your gray yarn around your three fingers 120 times. Tightly tie the small strand in the middle, then cut the loops. Make 2 more for a total of 3.
Step 2:
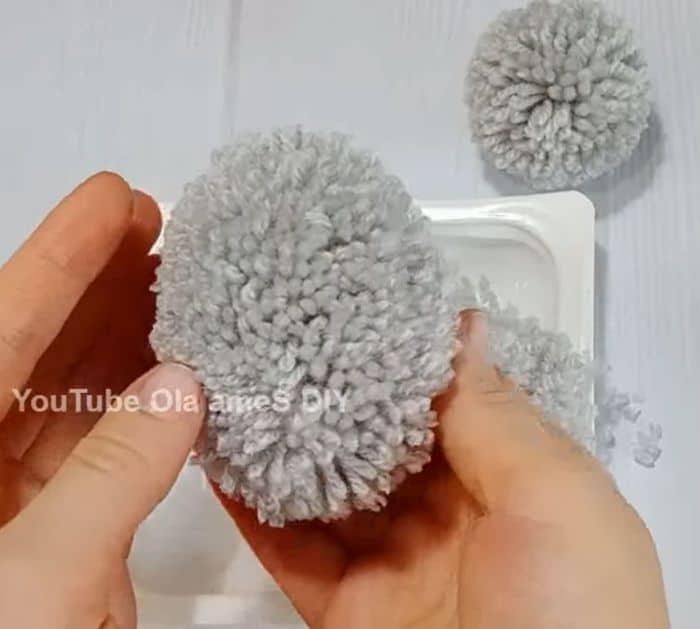
Trim one of the three. Get the remaining two and glue them together. Trim it to make an oval.
Step 3:
Glue the round pom pom on the top right of the oval pom pom.
Step 4:
Cut a small white yarn and set it aside. Wrap the white yarn around your index finger 20 times. Tie the small white yarn around it tightly. Cut the loops and trim. Glue it on the end of the body for the tail.
Step 5:
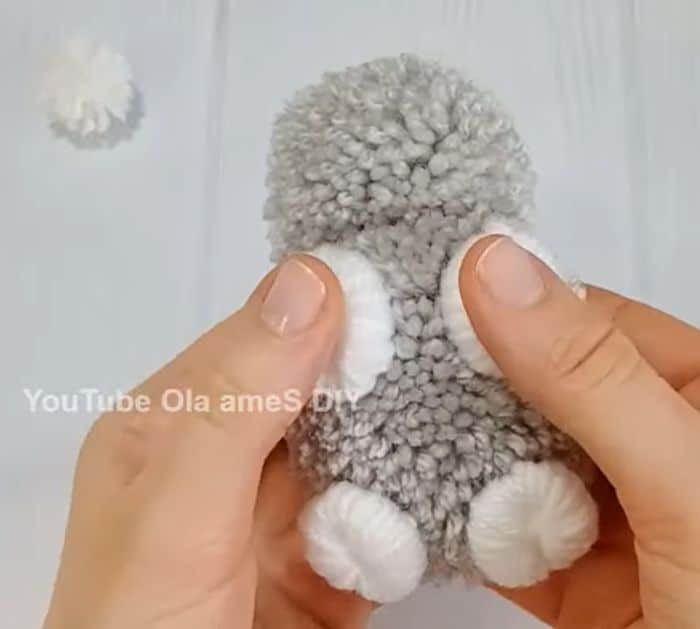
Cut a small thread of white yarn and place it in the middle of the tines. Wrap the yarn around the tines 30 times, then tie it in the middle with the small thread. Remove it from the fork. Make 3 more for a total of 4.
Step 6:
Glue the 4 pieces on the bottom of the body for the feet.
Step 7:
Cut two bunny ears on the brown felt. Cut two smaller pieces on the white felt. Glue the white bunny ears on top of the brown bunny ears. Bend it while it’s still not dry. Glue them to the head of the bunny.
Step 8:
Glue the black beads for the eyes and the pink for the nose.

