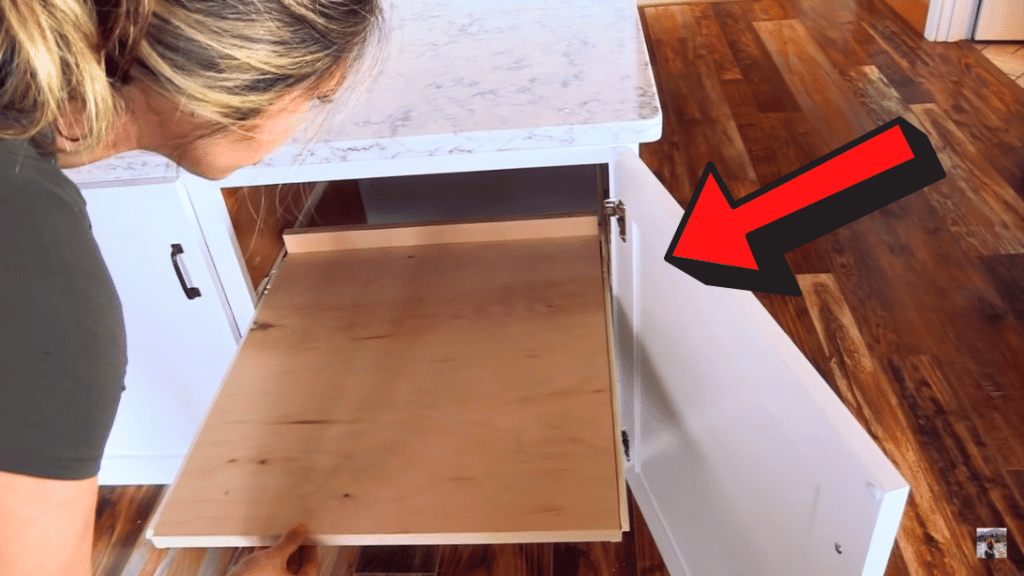
Have trouble getting things at the back of your cabinet? It’s time to convert them into roll outs! Don’t worry, it’s very cheap and easy to make. You can do it on your own in less than an hour. Learn the instructions through this tutorial by Ana White on Youtube.
Materials:
- circular saw or jigsaw
- drill
- gloves
- 22-inch euro drawer slides (have lighter duty weight capacity)
- 2-foot level
- tape measure
- screws
- a scrap of fabric
Note: if you have face frame cabinets, you’ll need shim material
[social_warfare buttons=”facebook,pinterest,twitter,whatsapp”]
Instructions:
Step 1:
Remove the existing shelf. If it’s fixed, you can unscrew it. Use that shelf for the new one.
Step 2:
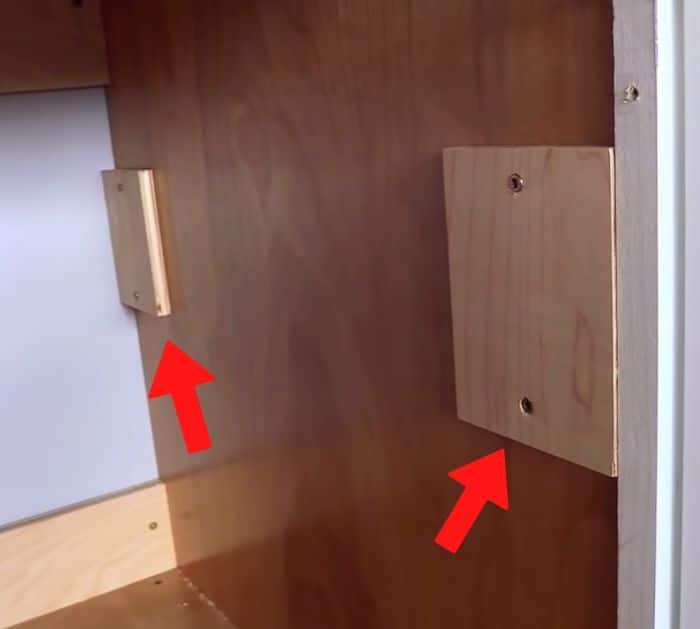
There are 2 types of cabinetry: frameless and framed. If it’s frameless, you don’t need to do this step. But if it has one, you need to put some material on the frame so that it’s flush. Measure the frame from the inside and get shims that are at least that thick. Once you have them, screw them or use a brad nailer, just make sure to use the right length fastener. Attach one on the front and one on the back.
Step 3:
Measure the inside width of the cabinet. If you have shims, subtract the width of that and cut your shelf to that length.
Step 4:
Mark the location where you want to mount the shelf at. Use a level to make sure that your drawer slides smoothly later on.
Step 5:
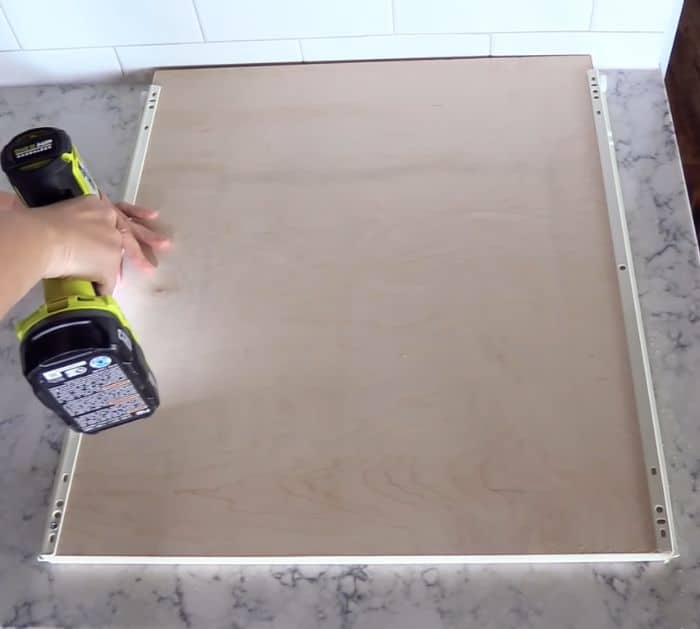
Flush the drawer members to the front with the wheels on the back on both sides. Screw them in place.
Step 6:
Next, screw the other part of the slides on the shims exactly on the marks.
Step 7:
Screw a fabric scrap the same size as your shelf to the end to avoid things from falling at the back of the shelf.

