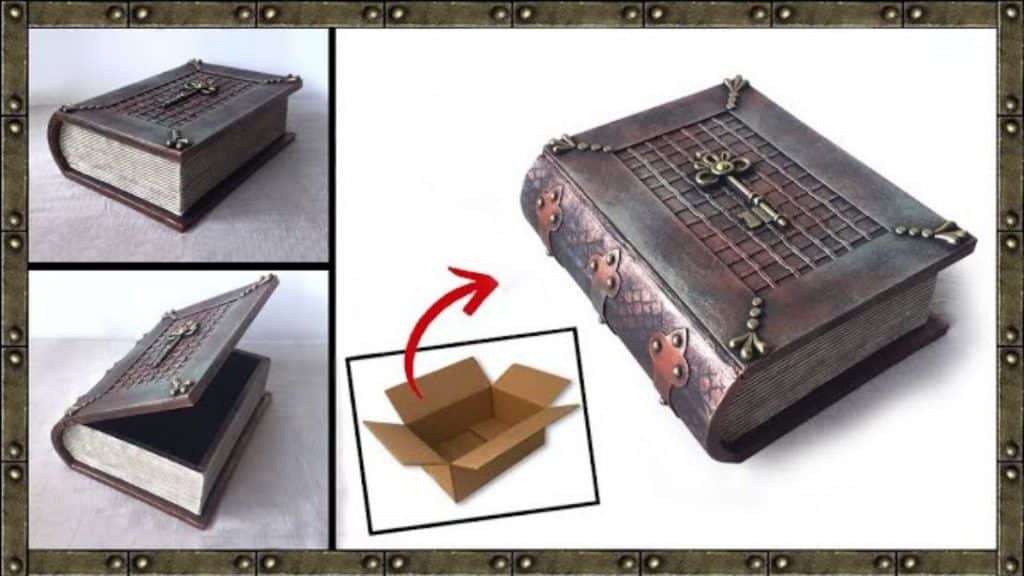
This colonial book box DIY by Sartes is truly a creative and wonderful art project! Who would even think that this is just made from cardboard? You can even open it and store your jewelries or items inside. It’s definitely a beautiful decor piece to put on your home. Watch the video below for the details instructions.
Materials:
- packing paper
- white PVA glue
- bread wrapping paper or paper towels
- micro-corrugated paper
- thick paper
- cotton cloth
- cold porcelain
- half pearl
- golden cord
- cookie key
- acrylic paint pr matte PVA paint
- metal acrylic paint (acrylic, or general varnish)
[social_warfare buttons=”facebook,Pinterest,twitter,WhatsApp”]
Instructions:
Step 1:
Cut 2 pieces of cardboard measuring 6.7 in width and 9.45 inches in length.
Step 2:
Cut 4 pieces of 6.3 by 2.4 in cardboard with the top curved. Next, make 2 pieces of 8 by 2.3 in, 1 piece of 9.45 by 3.54 in and 1 piece of 9.45 by 3.15 in rectangular card boards.
Step 3:
Glue the 2 pieces of 8 by 2.3 inches cardboard. Then glue 2 pieces of the curved cardboard together. Once done, assemble the book. With one of the 6.7 by 9.45 in cardboard on the bottom, glue the sides of the book. Use a slightly curved cardboard for the sheet side. Add some tape to secure them in place while they dry.
Step 4:
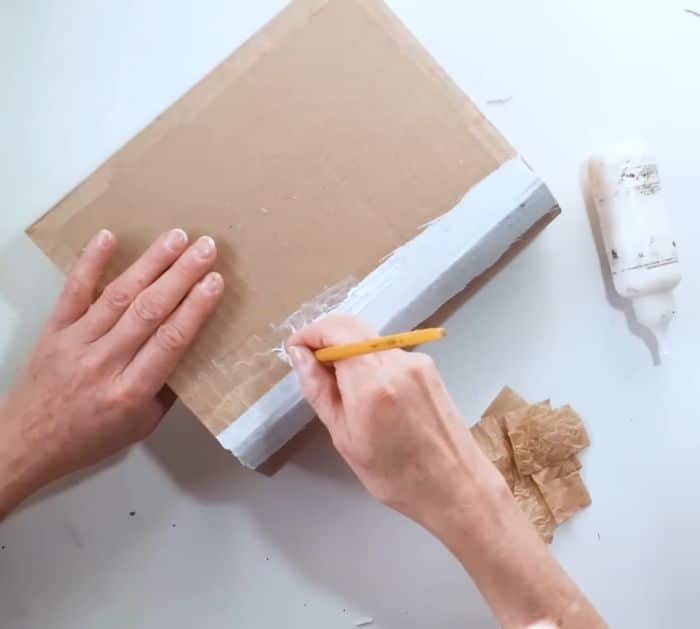
Glue some thin kraft paper on the tapes to cover them. Do the same to cover the sides of the bottom cardboard piece. Use the cotton cloth to reinforce the bottom cover of the book on the outside and inside, then cover with kraft paper.
Step 5:
Use micro corrugated paper to resemble the sheets on the 3 sides of the book. Next, glue strings of gold cord on the top of the book to make a criss cross pattern. After that, use thick paper to make the border and designs of the book.
Step 6:
Use cold porcelain and half pearl to make the details, then glue the cookie key in the middle.
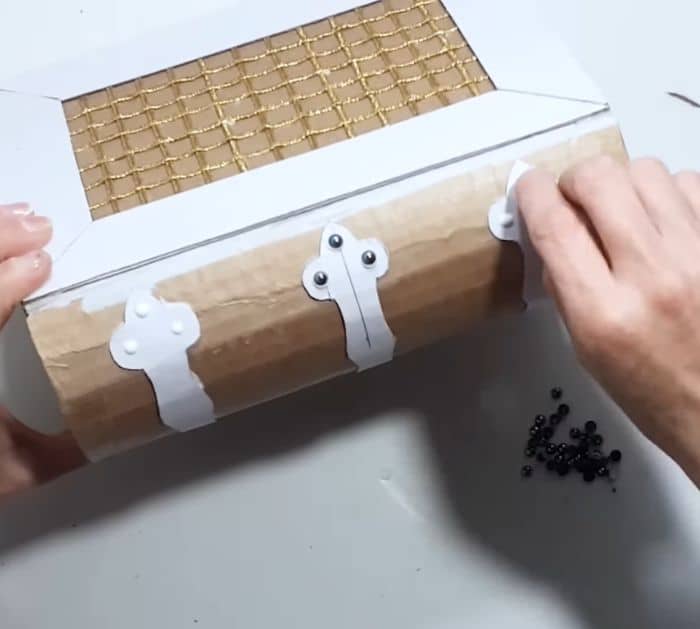
Step 7:
Paint everything with acrylic paint. Use black for the outside and brown for the sheets. Once done, use metallic acrylic paint to add gloss to the sheets. Make final touches using stencils and paint.


