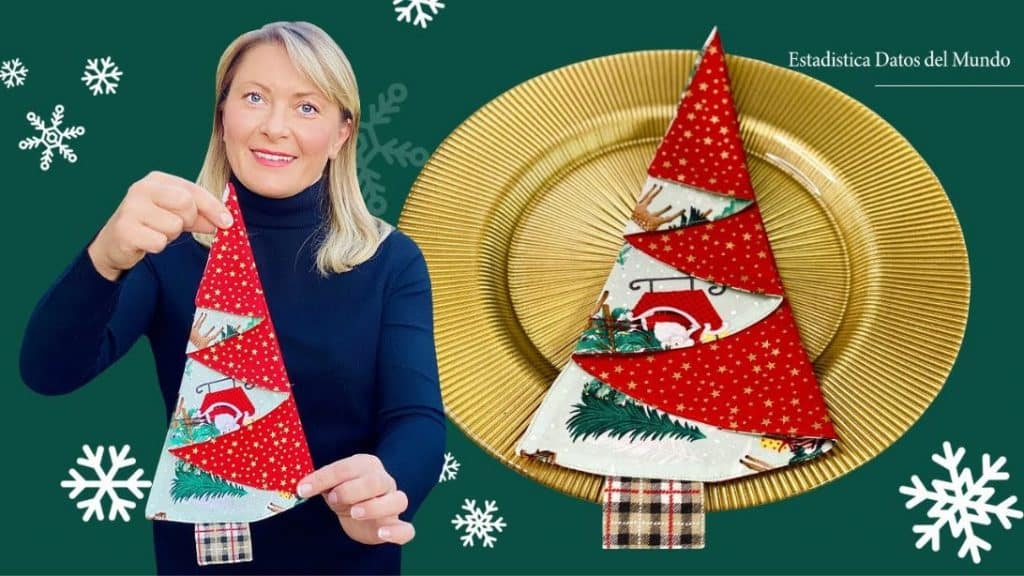
A Christmas feast is not complete without a beautiful dining table set up. Use this Christmas tree napkin not only as a napkin but also as decorations for your plates! This can be done last minute as it’s super easy to sew. Learn how to make it through this tutorial by Estadistica Datos del Mundo on Youtube. Watch the video below for detailed instructions.
Materials:
- 2 pieces of 19.7 inches by 10.6 inches Christmas printed fabrics (A)
- 2 pieces of 2.6 inches by 2 inches brown fabrics (B)
- ruler
[social_warfare buttons=”Facebook,Pinterest,Twitter,WhatsApp”]
Instructions:
Step 1:
Get one of fabric A and fold it in half to make a crease. Once done, flip it, so the right side is facing down.
Step 2:
From the bottom middle, measure 9 inches to the right, then mark. Hold the ruler on the bottom center of the fabric and begin changing the angle and marking it until you reach the other side. Connect the markings to make a half circle. Secure the inside edges of the half circle with pins, then cut it.
Step 3:
Get the 2 pieces of fabric B and place them on top of each other right sides together. Sew the three sides with a 0.2 inches seam allowance. Cut the corners, then flip it right side out. Top stitch it on the same three sides as close to the edge as you can. Place it in between the half circles. The unstitched side should be 2.4 inches up from the left corner. Secure it with a pin.
Step 4:
Measure 4.3 inches from the bottom of the half circle and mark it. This will be the opening. Sew the edges of the half circle with a 0.2-inch seam allowance except for the opening. Trim the corners and cut the seam allowance all around the curved part. Flip it right side out, then press with an iron.
Step 5:
Measure 5.1 inches from the left corner then mark it. Fold the half circle on that mark, and press with an iron to make a crease. Open and topstitch the half circle, as close to the edge and also the crease.
Step 6:
Fold it on the line, then press it with an iron. Get the end of the folded part, fold it halfway to the left at an angle, then fold it again to the right. It should line up with the second fold. Press with an iron. Flip it and fold the other end lining up to the other folds. After that, fold it one last time. Press with an iron.


