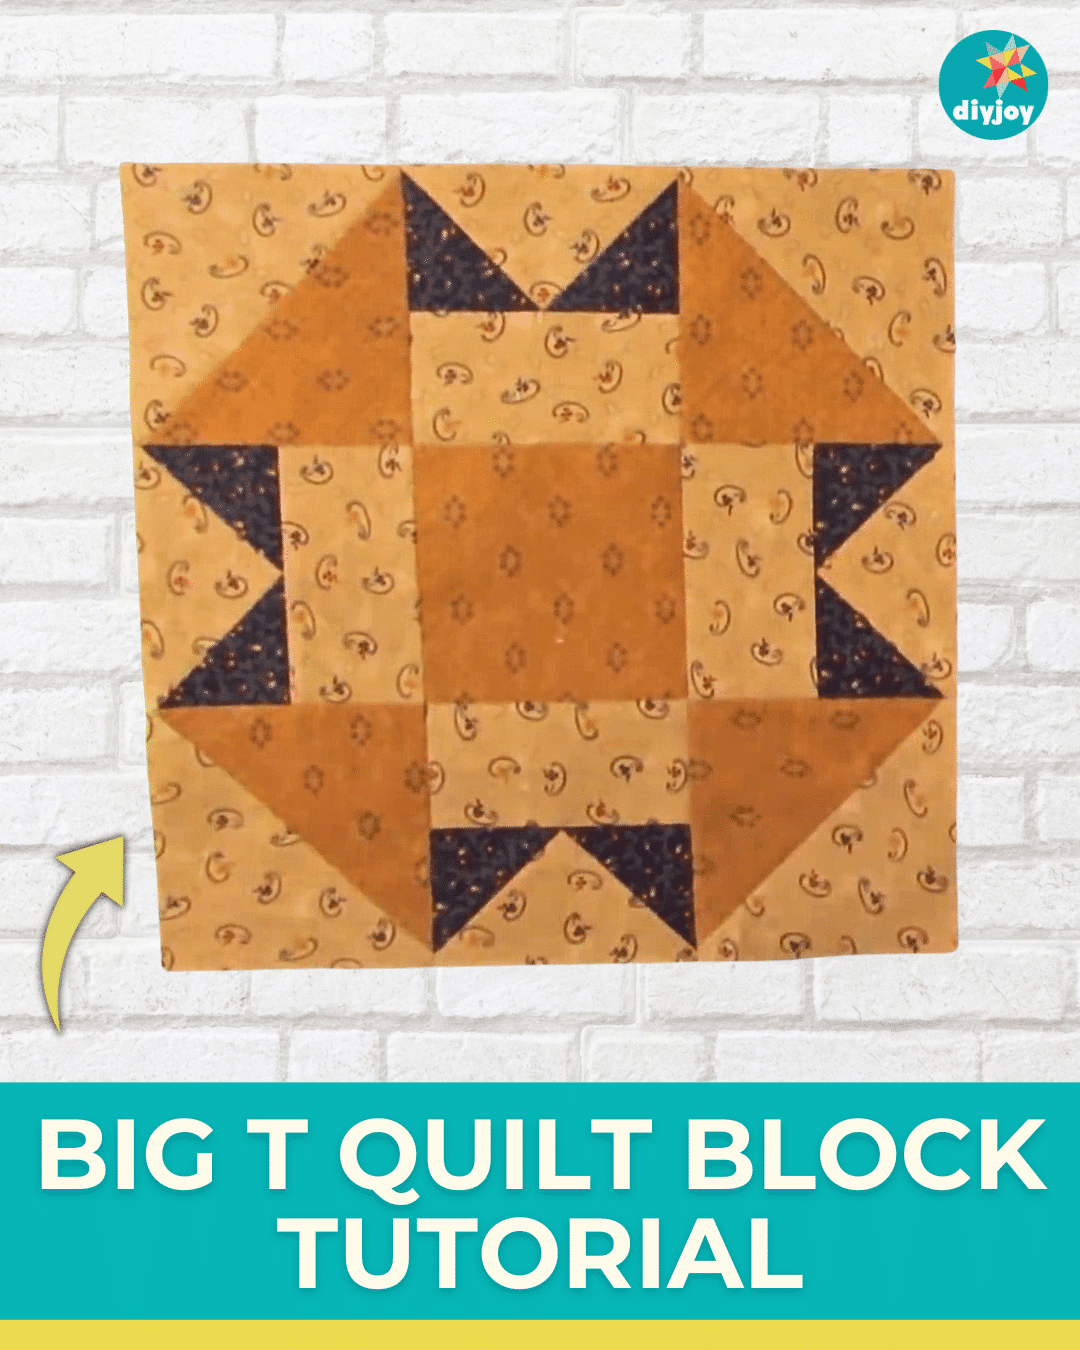
Looking for a free quilt pattern that’s not too hard but also not too easy? This big T quilt block is what you need! This project offers the perfect challenge to improve your sewing skills. Curious why it’s called the big T? It’s because of its large size and the “T” shape in the middle. Learn how to create it with Nancy’s Notions‘ video tutorial.
RELATED: Prairie Queen Quilt Block Tutorial
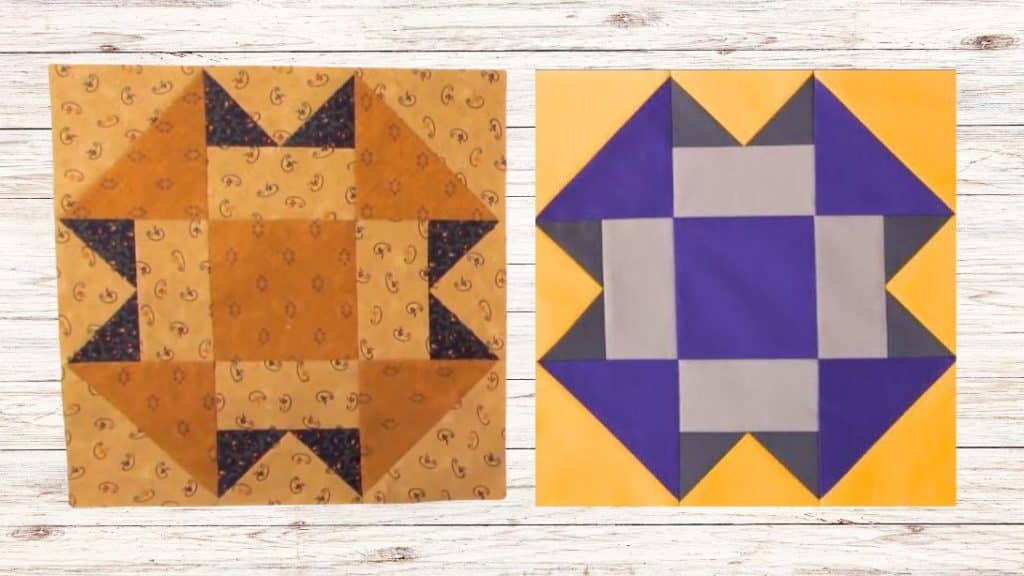
Also known as folded corners, it combines flying geese blocks, half-square triangles, and a square block. If you are familiar with the two blocks, this quilt will be a breeze. You can experiment with different fabric colors to create unique patterns. Don’t be afraid to try mix it up and see what quilt designs you can come up with.
Easy Big T Quilt lock Materials
- 4 pieces of 4 7/8″ squares – (2) first color and (2) second color
- 4 pieces of 2 1/2″ x 4 1/2″ rectangles
- 4 1/2″ square
For the flying geese:
- 4 pieces of 2 1/2″ x 4 1/2″ rectangles
- 8 pieces of 2 1/2″ squares
How to Make a Big T Quilt Block
Step 1:
Take two 4 7/8″ squares in different colors and place them on top of each other right sides together. Sew a diagonal line from corner to corner then sew 1/4″ away on either side of the line. Cut directly on the line and press each one open.
Repeat with the remaining two to get four half-square triangles.
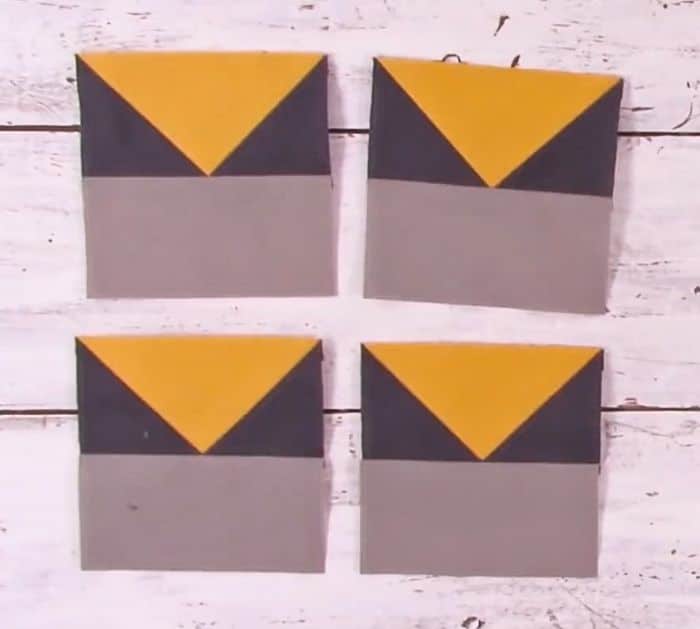
Step 2:
Make a flying geese block. Take the 2 1/2″ x 4 1/2″ rectangle and place the 2 1/2″ square on the top left end. Place them right sides together. Draw a diagonal line starting from the top left to the bottom right. Sew directly on the line. Cut the excess and press it open.
Take another 2 1/2″ square and do the same process on the other end of the rectangle to make a flying geese block.
Make a total of 4 flying geese blocks.
Step 3:
Take one flying geese and one 2 1/2″ x 4 1/2″ rectangle and sew them together. Repeat with the remaining flying geese blocks.
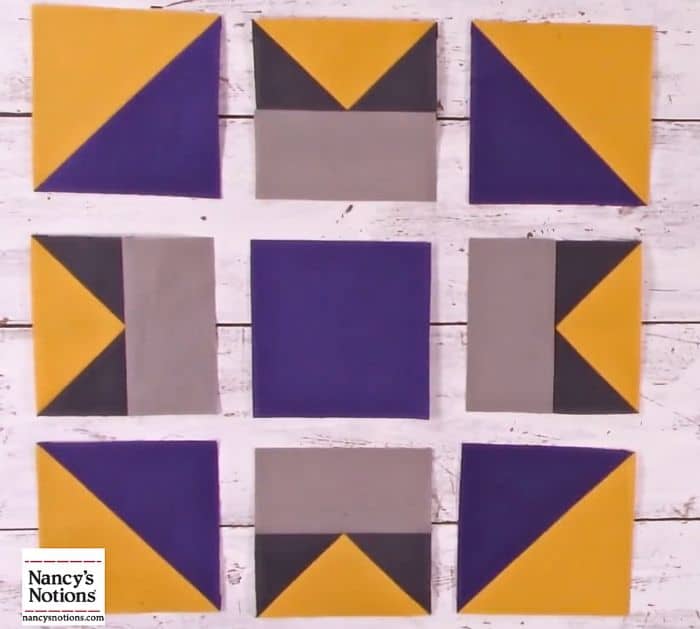
Step 4:
Assemble the block. Place the 4 1/2″ square in the middle, then place the units from step 3 on each side. Take the half-square triangles and place them on the corners. See the photo below for reference. Sew them together in rows first. Once done, sew the rows together to make the block.
Big T Quilt Block Tutorial