Have you always wanted to make an eight-point star quilt block but find it tricky? Y-seams can be complicated, especially for beginners, but with the help of this tutorial by the Fat Quarter Shop, you’ll be able to make your first 8-point star quilt block!
RELATED: Easy Starry Mosaic Mini Quilt Tutorial
They will give you tips and tricks on how to master Y-seams. The instructions are very clear. You’ll be able to follow the steps easily. All you need is a bit of practice, and I am sure it will be a breeze next time you make one.
You will also learn how to make diamond shapes with just your regular 45-degree ruler. Give this quilt project a try – it is definitely fun to make. Watch the video below for detailed instructions.
Here are other star quilt patterns: Easy Morning Star Quilt Block, Stretched Stars Quilt, Beginner’s Star Quilt With Jenny Doan
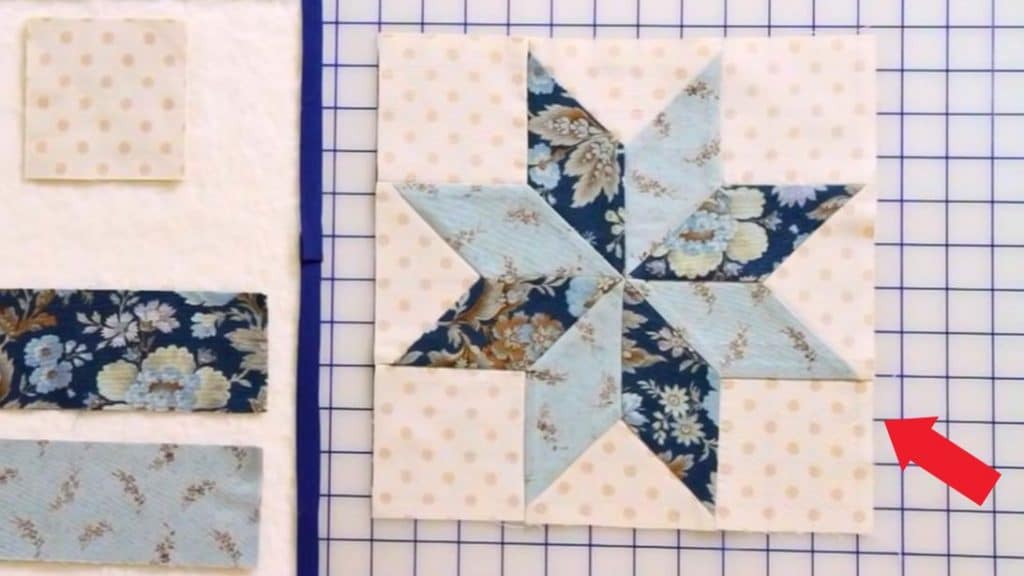
Eight Point Star Quilt Materials
- 2 pieces of 20″ x 2 3/4″ strips
- 4 pieces of 3″ x 3 1/4″ squares
- 1 piece of 5 3/4 inch square
How to Make an Eight-Point Star Quilt
Step 1:
Start by cutting the 5 3/4″ square diagonally from corner to corner in both directions to make triangles.
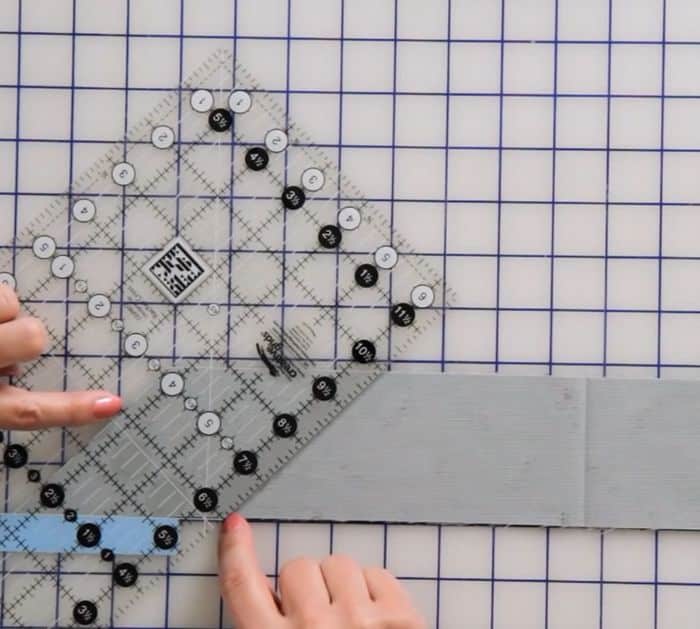
Step 2:
Place the two strips on top of each other right sides together. Find a 45-degree angle on your ruler and put the masking tape on top of that for your guide. Line the 45-degree angle with the bottom edge of both your strips. Trim the first edge. Slide the ruler to the side. The width of the strip determines the length of your diamonds. Find the 2 3/4″ on your ruler, making sure the 45-degree angle is still aligned to the bottom and cut. See the photo below for reference. Repeat 3 more times to get 4 sets of diamonds.
Step 3:
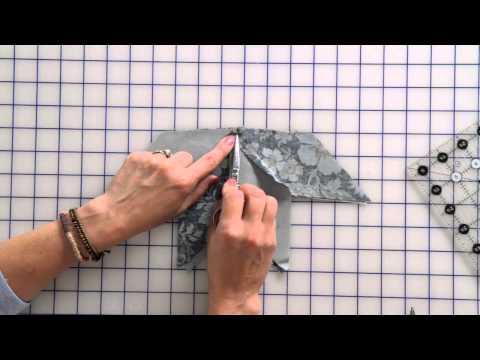
Start sewing the diamond pairs from the tip straight down, stopping a quarter inch away from the next line, and backstitch. Open them and finger-press the seams towards the left.
Step 4:
Place two pairs on top of each other right sides together. Sew from the top straight down, stop a quarter inch, and backstitch. Cut the bunny ears. Open and press the seam allowances to the left. Sew the last two pairs together. Sew from the center out. Press the bottom seams toward the left and the top to the right.
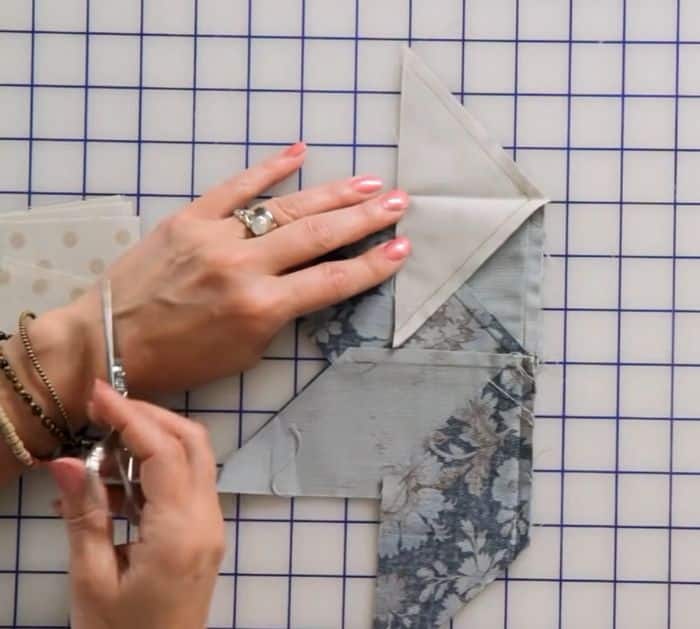
Step 5:
Fold it in half, fold one of the points down, and place one triangle. Sew it in place just like in the photo below. Repeat with the other triangles.
Do the same process for the corner squares.
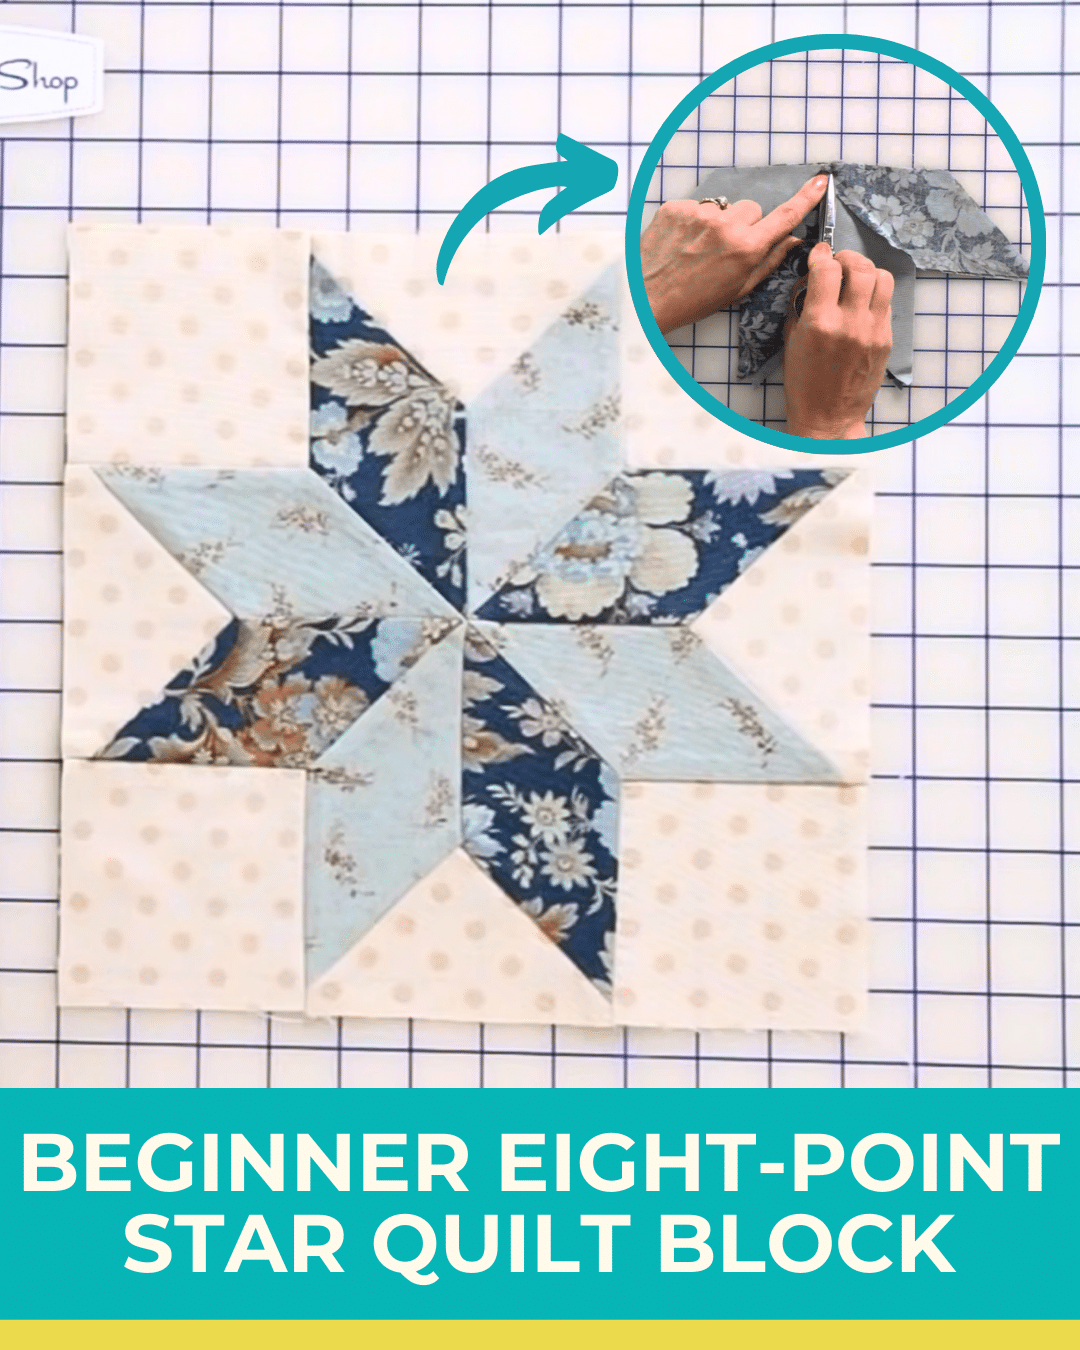
Beginner Eight-Point Star Quilt Block