You will surely adore this bear paw quilt from Sew Yeah on YouTube! If you love fun and whimsical quilt patterns, this one is definitely for you. It’s quick, easy, and for beginners. But even if you’re a seasoned quilter, I’m sure you’ll enjoy making this quilt.
RELATED: Jelly Roll Bear Paw Quilt Tutorial
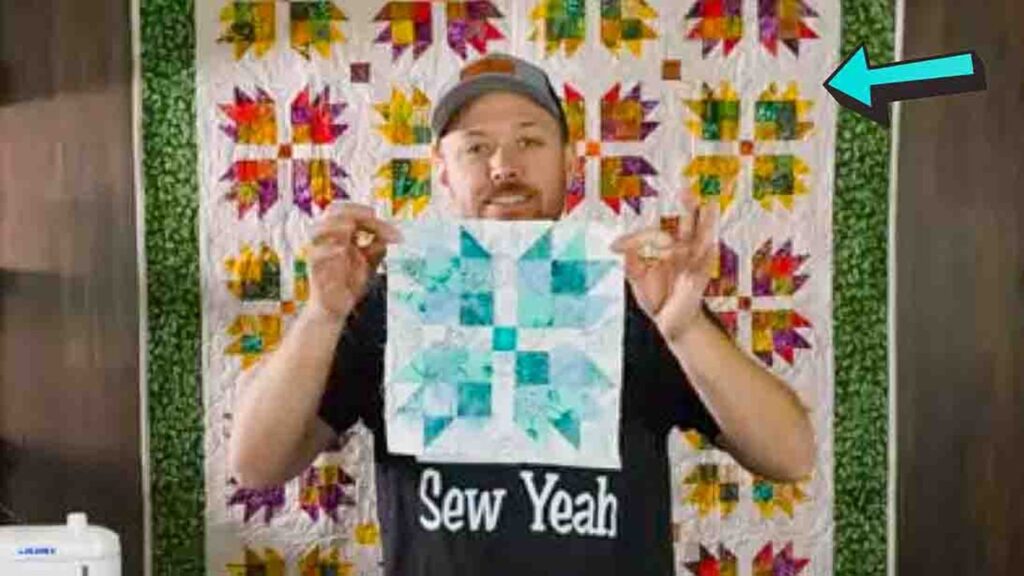
This is perfect if you’re looking for a personalized gift for your loved ones or if you’re attending baby showers. They will surely love the adorable pattern of this quilt. Watch the video tutorial below to learn the step by step instructions.
Materials:
- one roll up
- 2 1/8 yards of plain fabric (fabric A)
- 7/8 yard of printed fabric (fabric B)
- 5/8 yard binding
- 3 – 5/8 yards backing
- (click here for the free pattern)
Directions:
Step 1
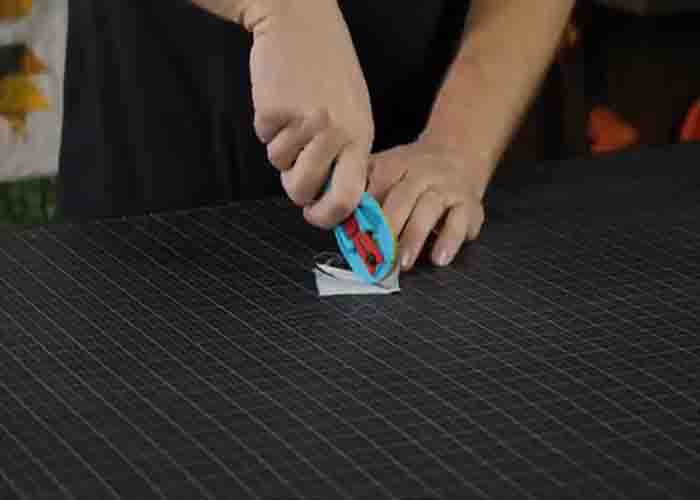
Divide the roll up into two stacks of warm and cool tones. From the warm stack, cut a total of eighty 2 1/2″ squares for the HSTs, one hundred sixty-six 2″ squares, and ten 1 1/2″ squares for the block centers. From the cool stack, cut a total of eighty 2 1/2″ squares for the HSTs, one hundred sixty-six 2″ squares, and ten 1 1/2″ squares for the block centers. From fabric A, cut ten 2 1/2″ x WOF strips, then subcut thirty-one 2″ x 1/2″ block sashing strips, and eighty 2″ squares for the blocks. Next, sew the remaining five strips together, end-to-end, then trim two 2″ x 56 1/2″ side inner borders and two 2″ x 48″ top/bottom inner borders. After this, subcut the ten 1 1/2″ x WOF strips into eighty 1 1/2″ x 5″ rectangles for the blocks.
[social_warfare]
Step 2
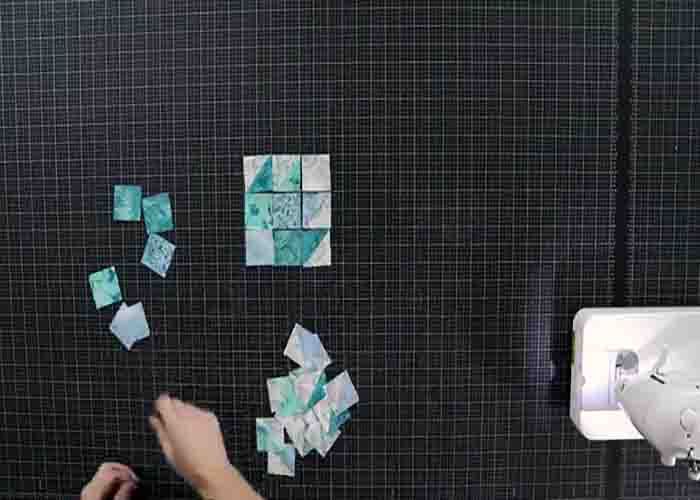
From fabric B, cut six 5″ x WOF strips. After this, sew the strips together, end to end, then trim them into two 5″ x 59 1/2″ side outer borders and two 5″ x 57″ top-bottom outer borders. Lastly, cut the binding fabric to seven 2 1/2″ x WOF strips. Once you have all the components, start assembling the block. Lay out the half-square triangles and the squares according to the free pattern, then sew. Press afterward. Make four of these. Once done, lay the four bear paws with sashing in between, then one small square in the middle to complete the block. Sew them by rows, then sew those rows together to complete the block.
Pre-Cut Friendly Bear Paw Quilt Tutorial