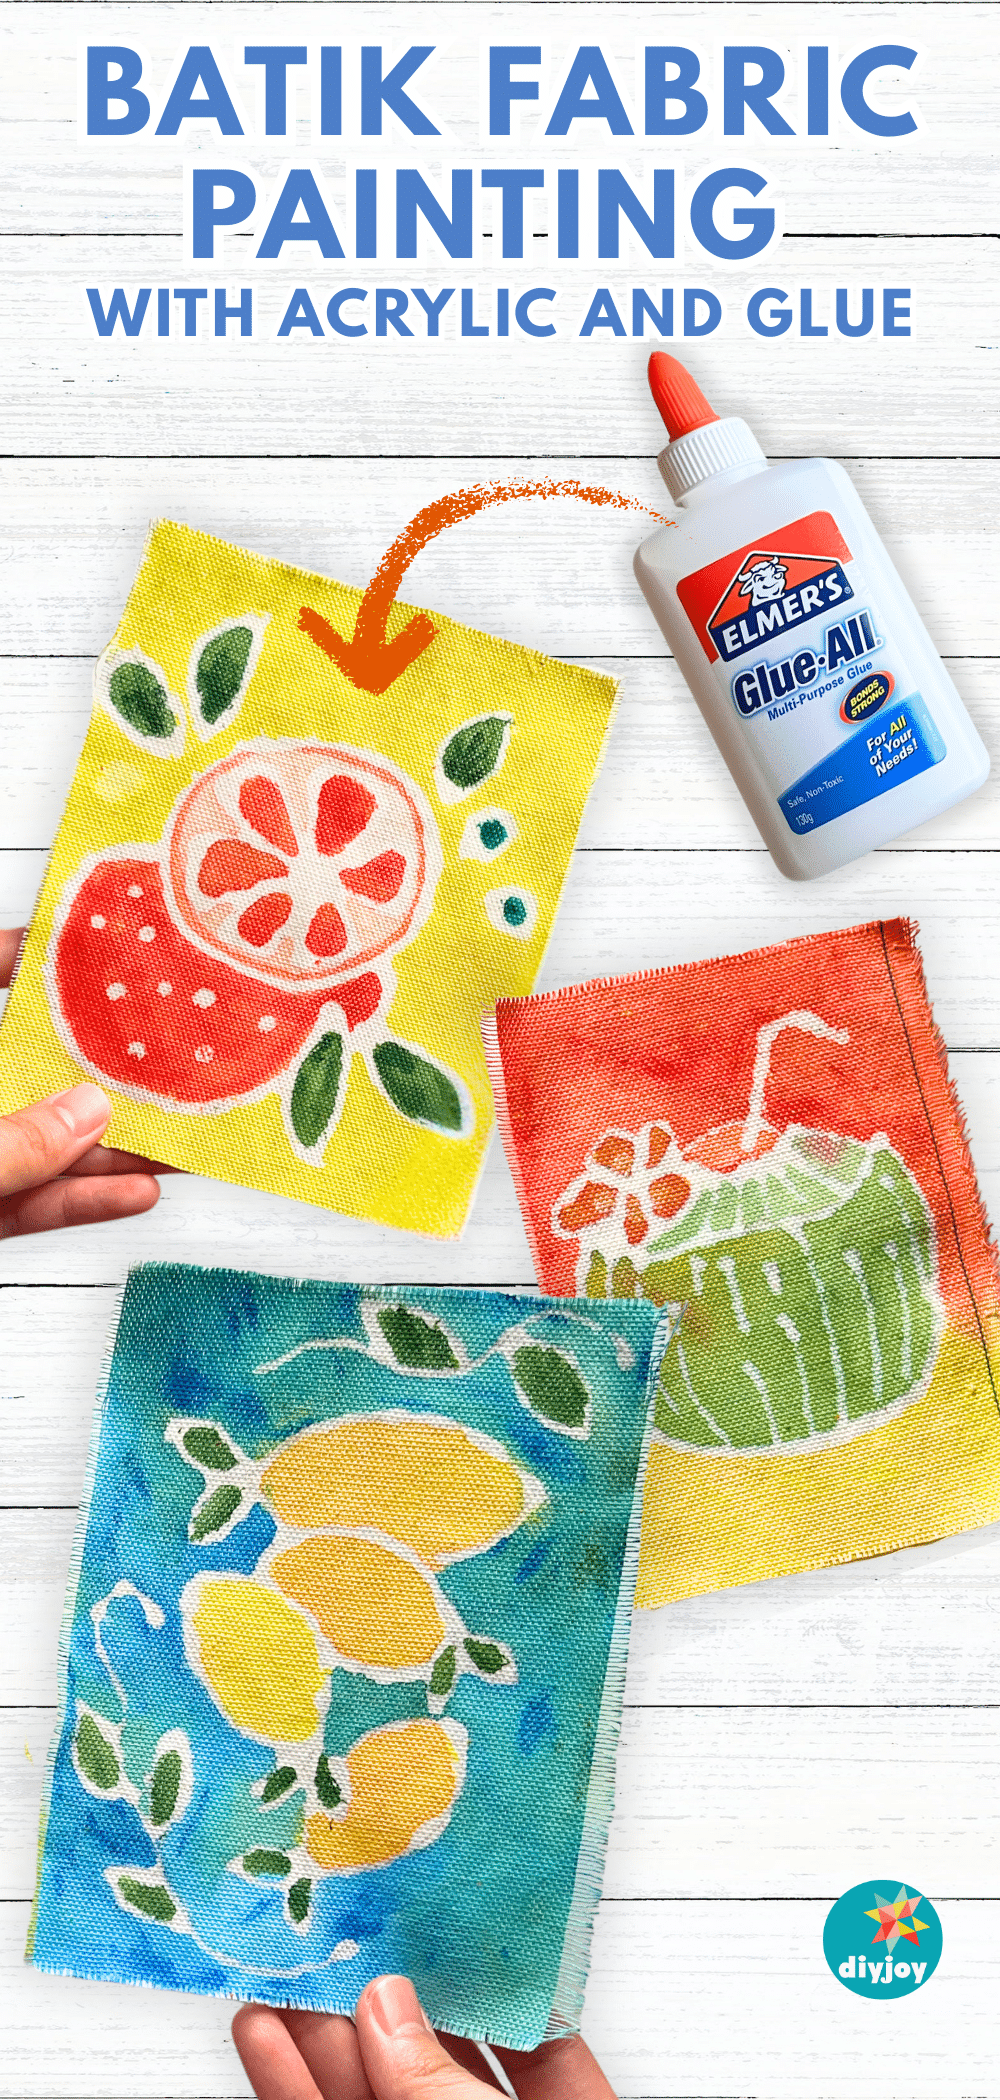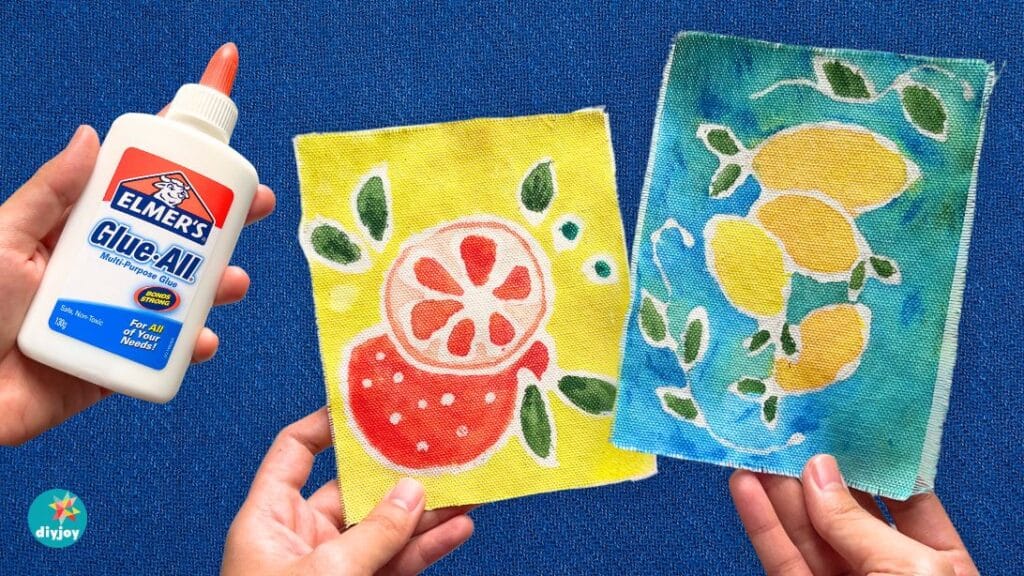
Looking for easy crafts? I’ve got you! This batik fabric painting with acrylic and glue is a simple and accessible way to explore the world of textile art, drawing inspiration from the traditional art of batik. Unlike the conventional way, which relies on molten wax to stop colors from spreading, this technique uses readily available white school glue (PVA glue) as a resist to vibrant acrylic paint, allowing even absolute beginners to achieve unique fabric designs.
RELATED: Easy Flower Painting Idea – Bubble Wrap Art
You are probably wondering how to do batik with glue. The process is actually easy to follow. It involves applying glue to the fabric, allowing it to dry, and then painting over the entire surface with acrylics. Once the paint is dry, you soak the painting in water to allow the glue to dissolve. After that, all you need to do is let it dry. How fun and simple is that? This is a creative art idea for anyone looking to explore batik fabric painting. Keep on reading to learn this painting tutorial for beginners.
What is Batik?
Batik, also known as batik art, is a dyeing technique that uses wax as a resist. It is an ancient art form that creates intricate and colorful designs on fabric. Hot wax is applied to the cloth, drawing lines shapes and dots using a tool called canting. The wax prevents the paint or dye from spreading these areas. The fabric is then dyed or painted. After dyeing, the wax is removed.
Why Choose This Alternative Painting Method?
If you are new to textile art, this is perfect for you! It reduces the learning curve associated with traditional wax batik, eliminating the need for handling hot wax. The materials required – acrylic paint, fabric, and common white school glue (PVA glue) – are easily accessible and affordable, making it a great option for budget-conscious crafters. It is a fun and engaging art project, perfect for beginners of all ages who wants to try fabric paining.
This approach is also an option for those who are looking for easy batik ideas. It makes a great Mother’s Day gift, handmade DIY gift for any occasion, or DIY wall art.
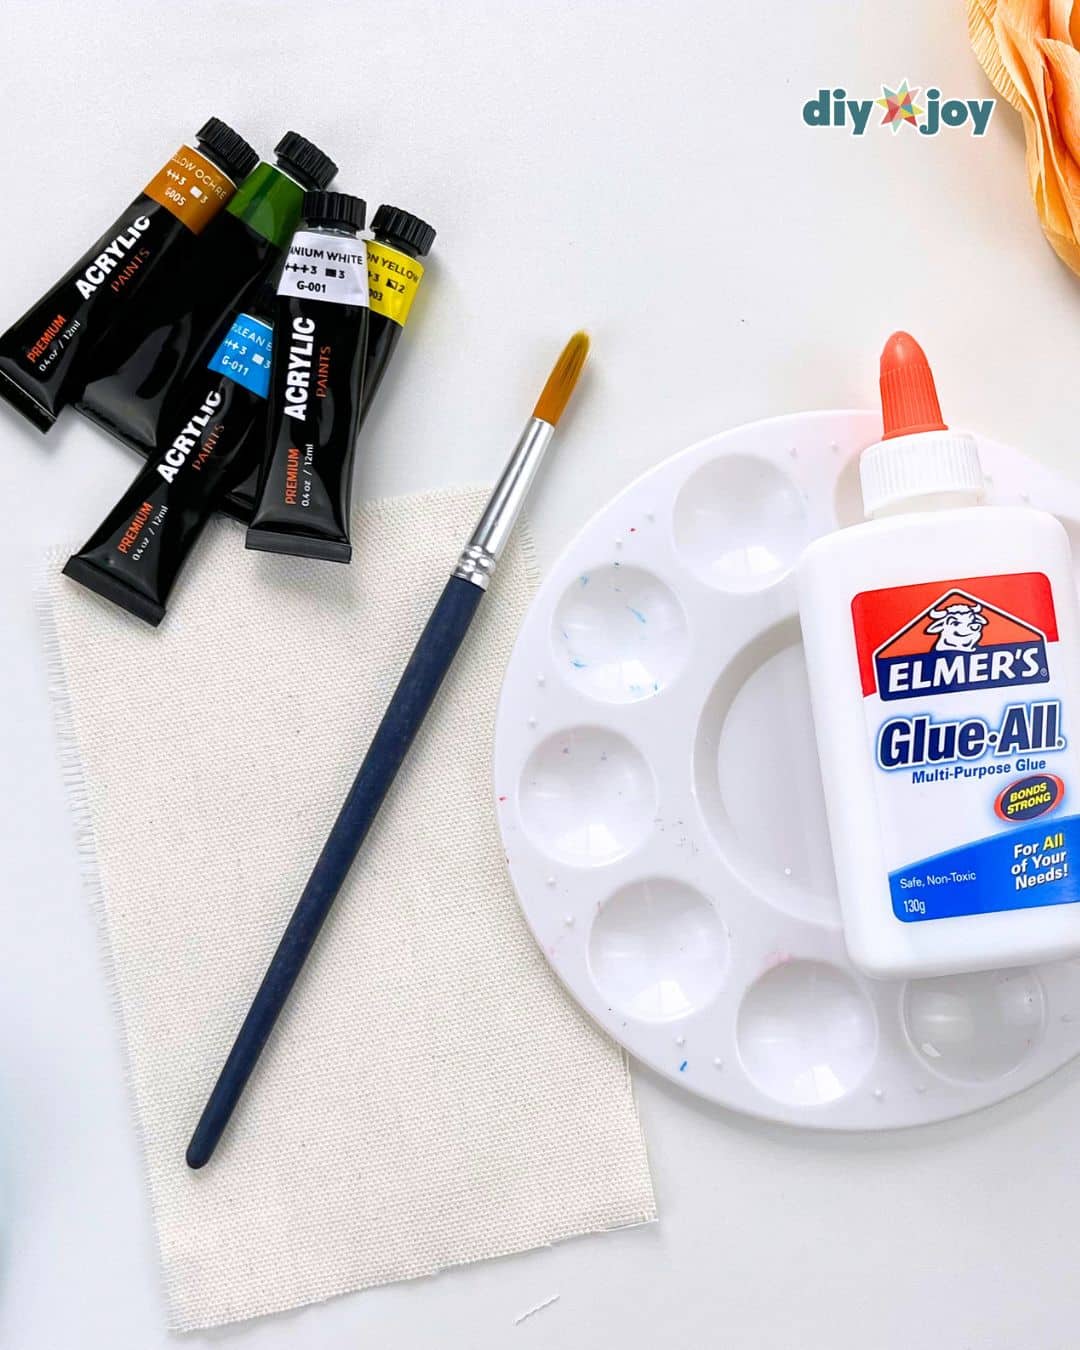
Materials You’ll Need for Your Acrylic and Glue Batik Project
- fabric (I used canvas fabric)
- acrylic paints in your preferred colors
- white school glue (PVA glue)
- paintbrushes
- small and large containers for water
- water
- paper plates or paint palette
Optional materials:
- paper towels or sponge to keep your space tidy
- plastic sheet to prevent spills
- pencil for tracing patterns
Step-by-Step Guide to Batik Painting
Step 1: Prepare your Fabric and Work Surface
Cover your table with a plastic sheet or newspaper to prevent paint spills from damaging your work area. Prepare your fabric and fill the small containers with water. Make sure your fabric is smooth, dry, and clean. You can secure the fabric to your work surface using painter’s tape or pins.
Step 2: Applying the Glue Resist
Decide on your design or pattern. For your first try, it’s better to keep the design simple to get a feel for how glue and paint interact.
Carefully apply the glue onto the fabric, slowly tracing the lines and shapes. Keep in mind that the areas covered by the glue will resist the paint and will remain the original color of the fabric.
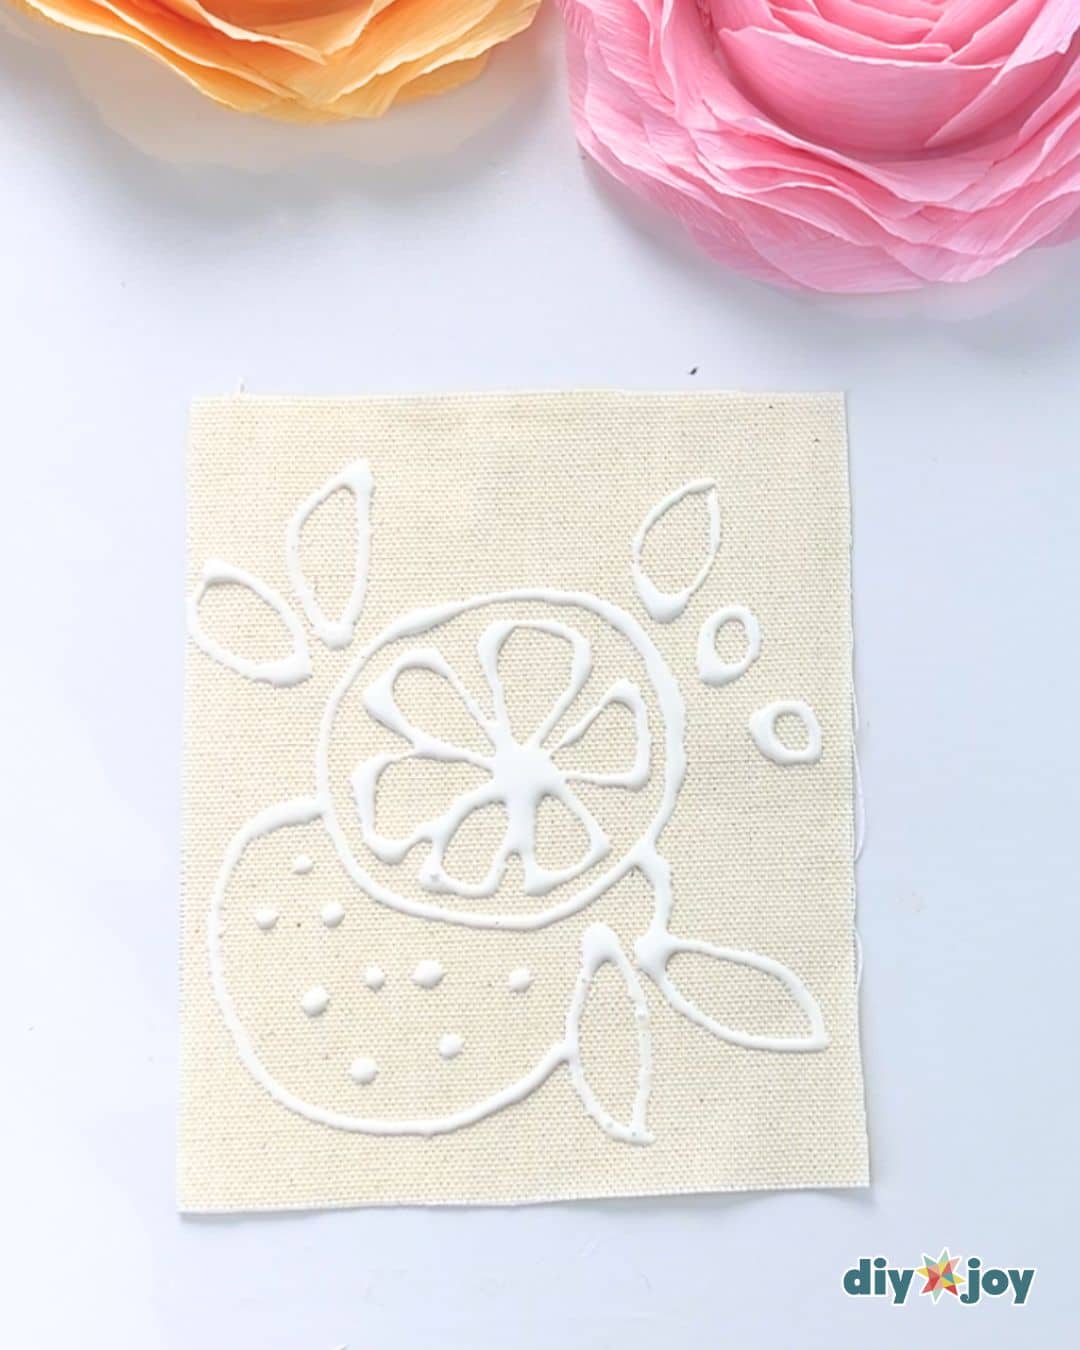
You can experiment with different line thicknesses for a varied effect.
Once you are done, allow the glue to dry completely.
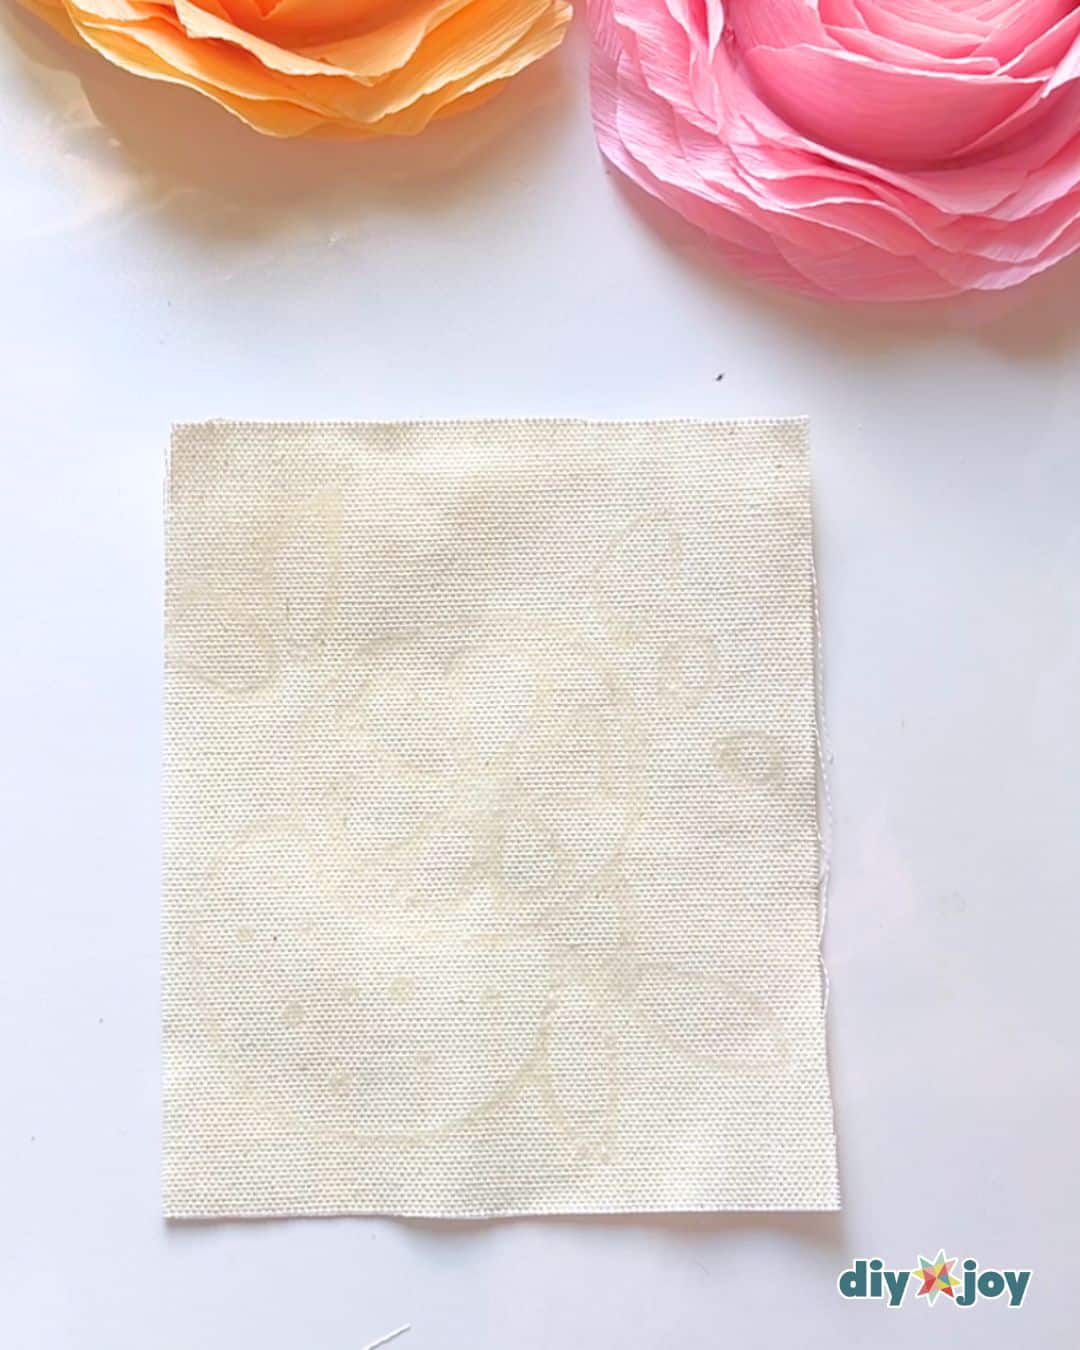
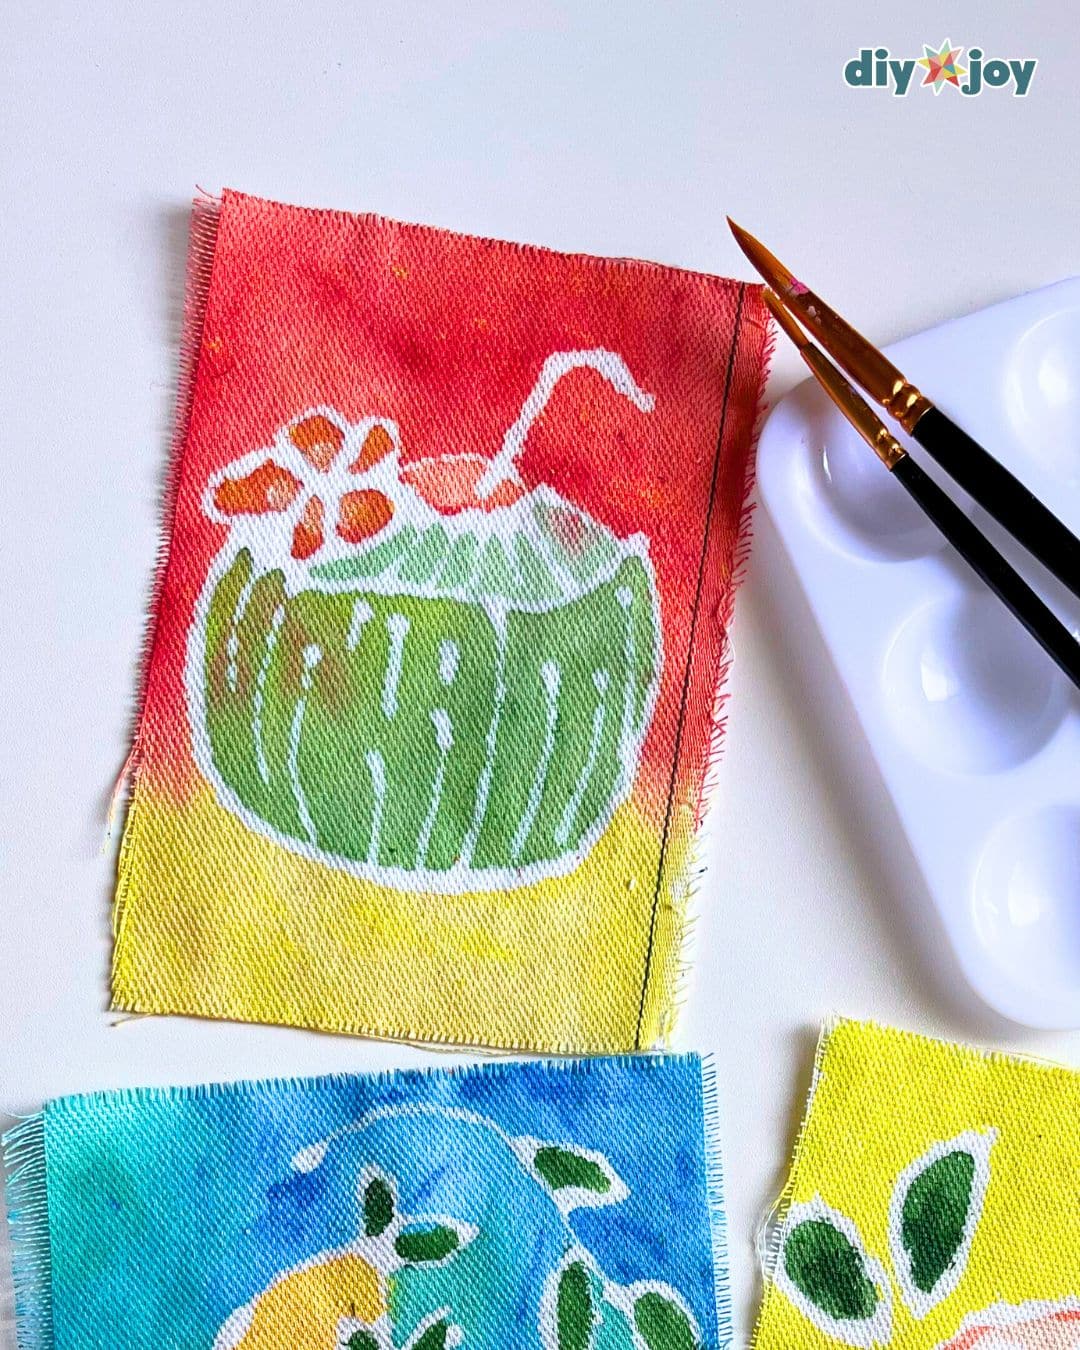
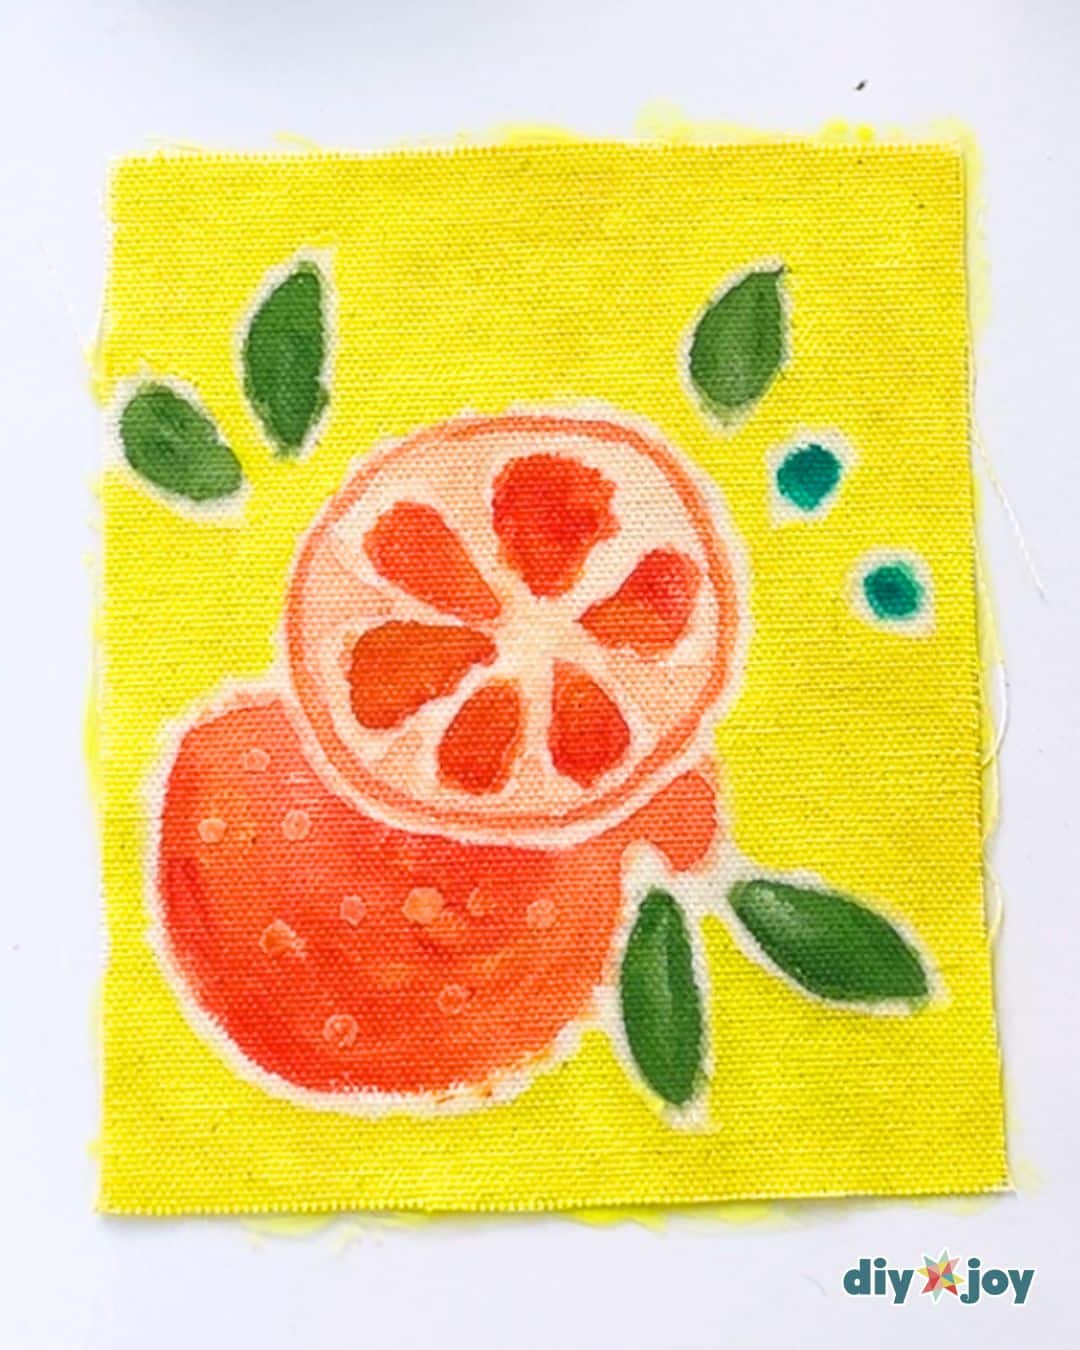
Step 3: Painting Acrylic on Fabric
Once the glue is thoroughly dry, bring your design to life by painting your fabric with acrylic paint. Carefully paint the areas of the fabric that are not covered by the dried glue. Don’t hesitate to experiment with different brushstrokes and techniques.
Once you are done, allow the acrylic paint to dry completely.
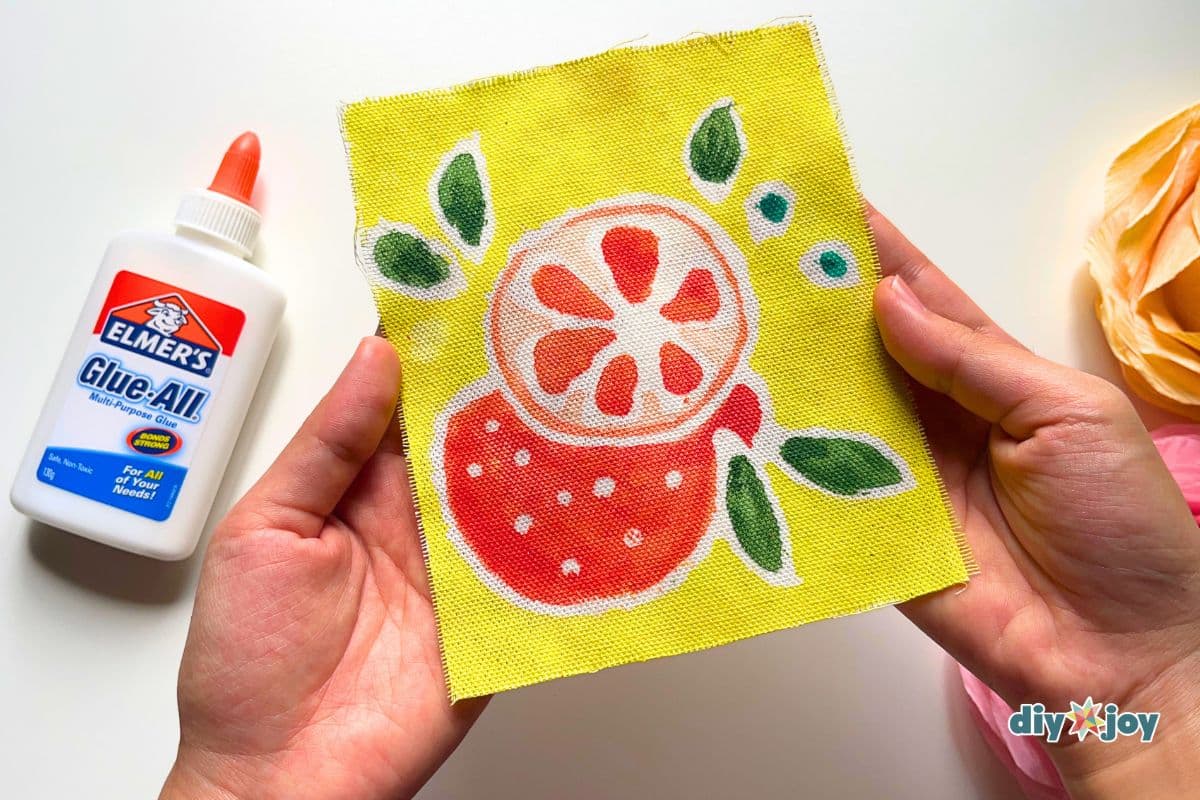
Step 4: Removing the Glue Resist
This step is the most rewarding part of batik fabric painting with acrylic and glue, where your design truly comes into focus. Soak the painting in water and let the glue dissolve. You can speed up the process by rubbing the glue lines. The acrylic paint will not dissolve.
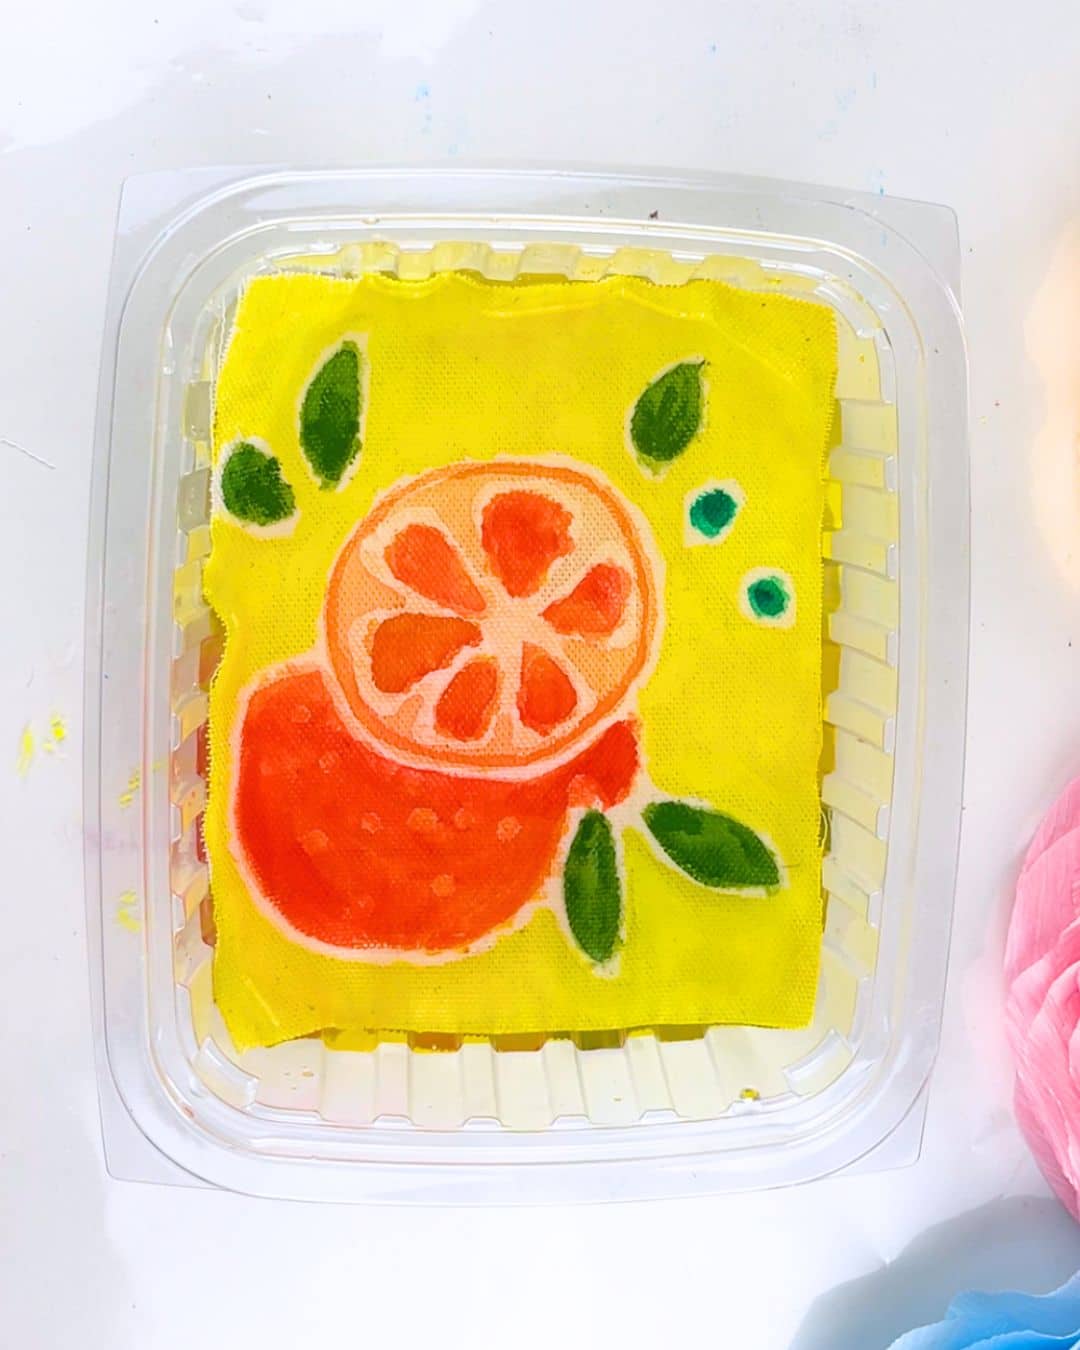
Step 5: Drying
Remove the batik painting from the water and place it on a flat surface. Let it air dry.
![]()
Painting Tips
- Don’t water down the acrylic paint too much, or it will bleed under the glue.
- Let the glue and paint dry completely before proceeding to the next step.
- Don’t be afraid to embrace freehand.
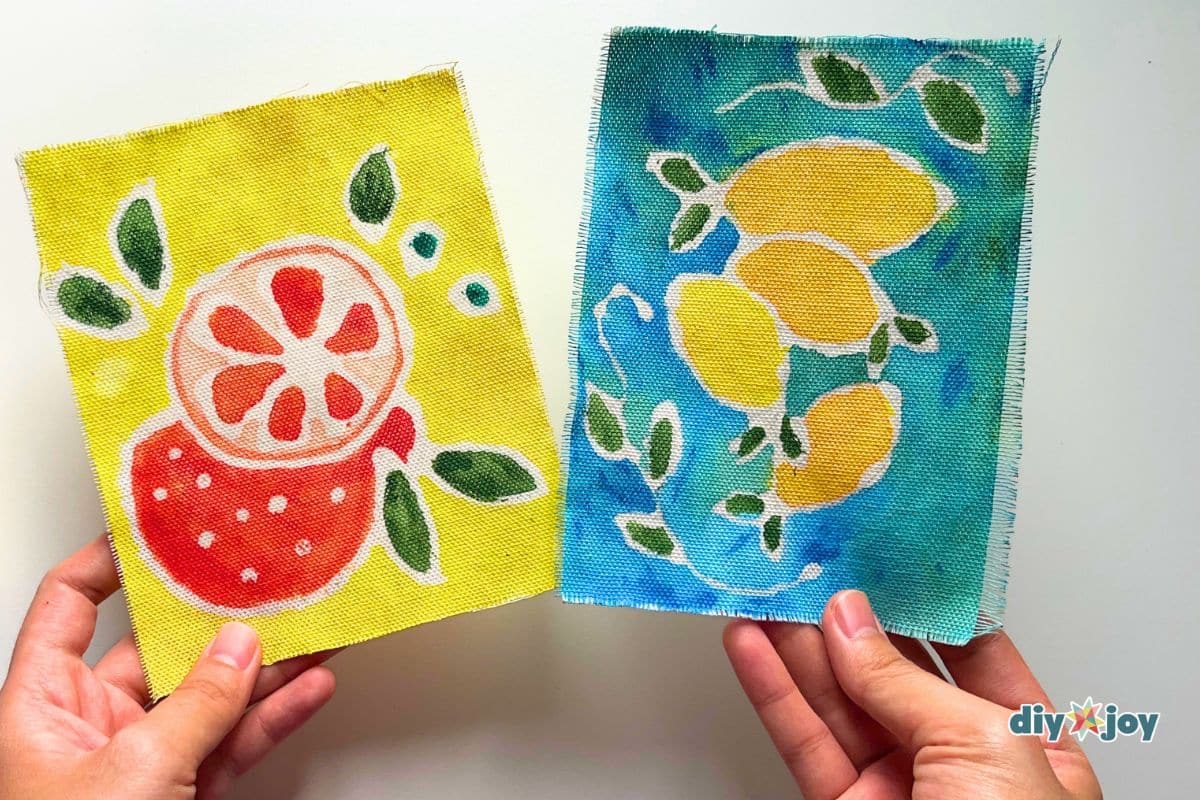
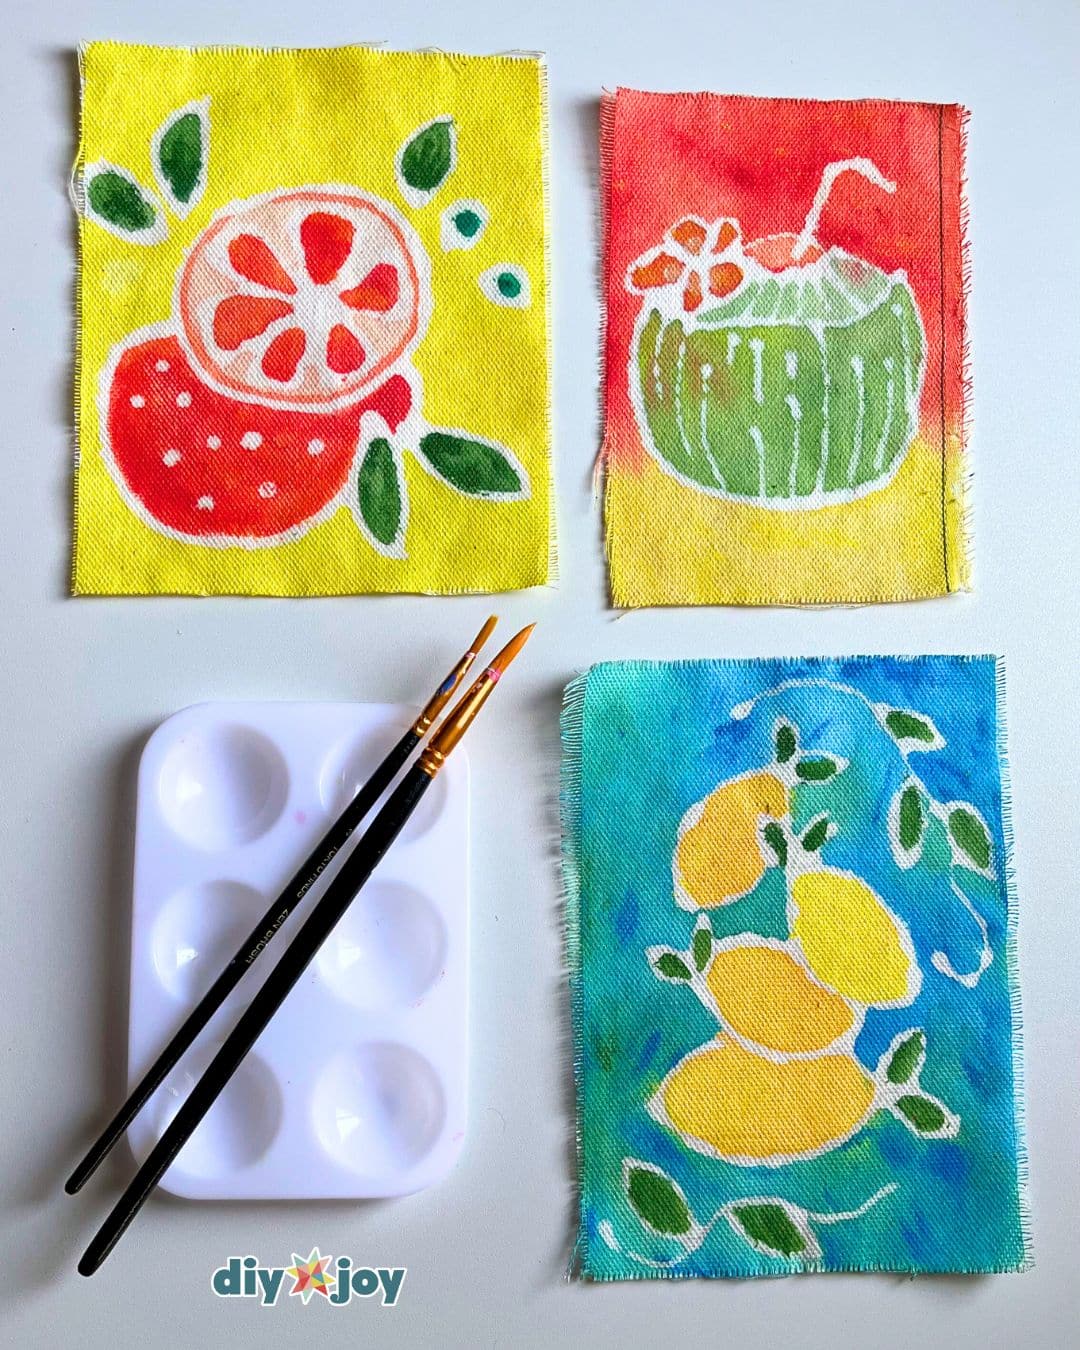
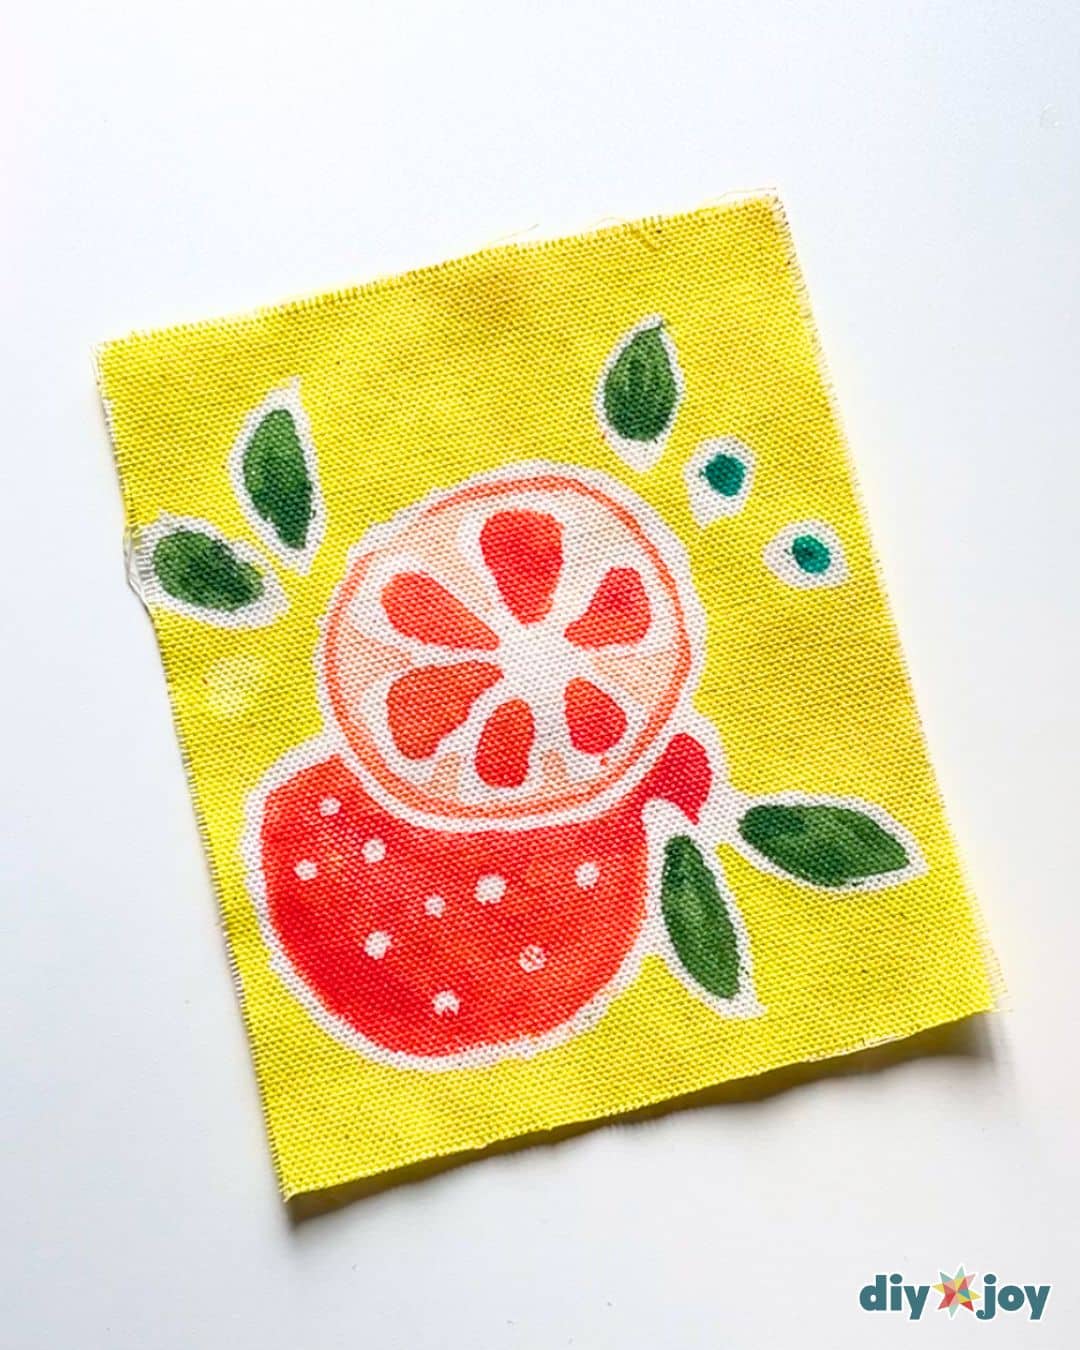
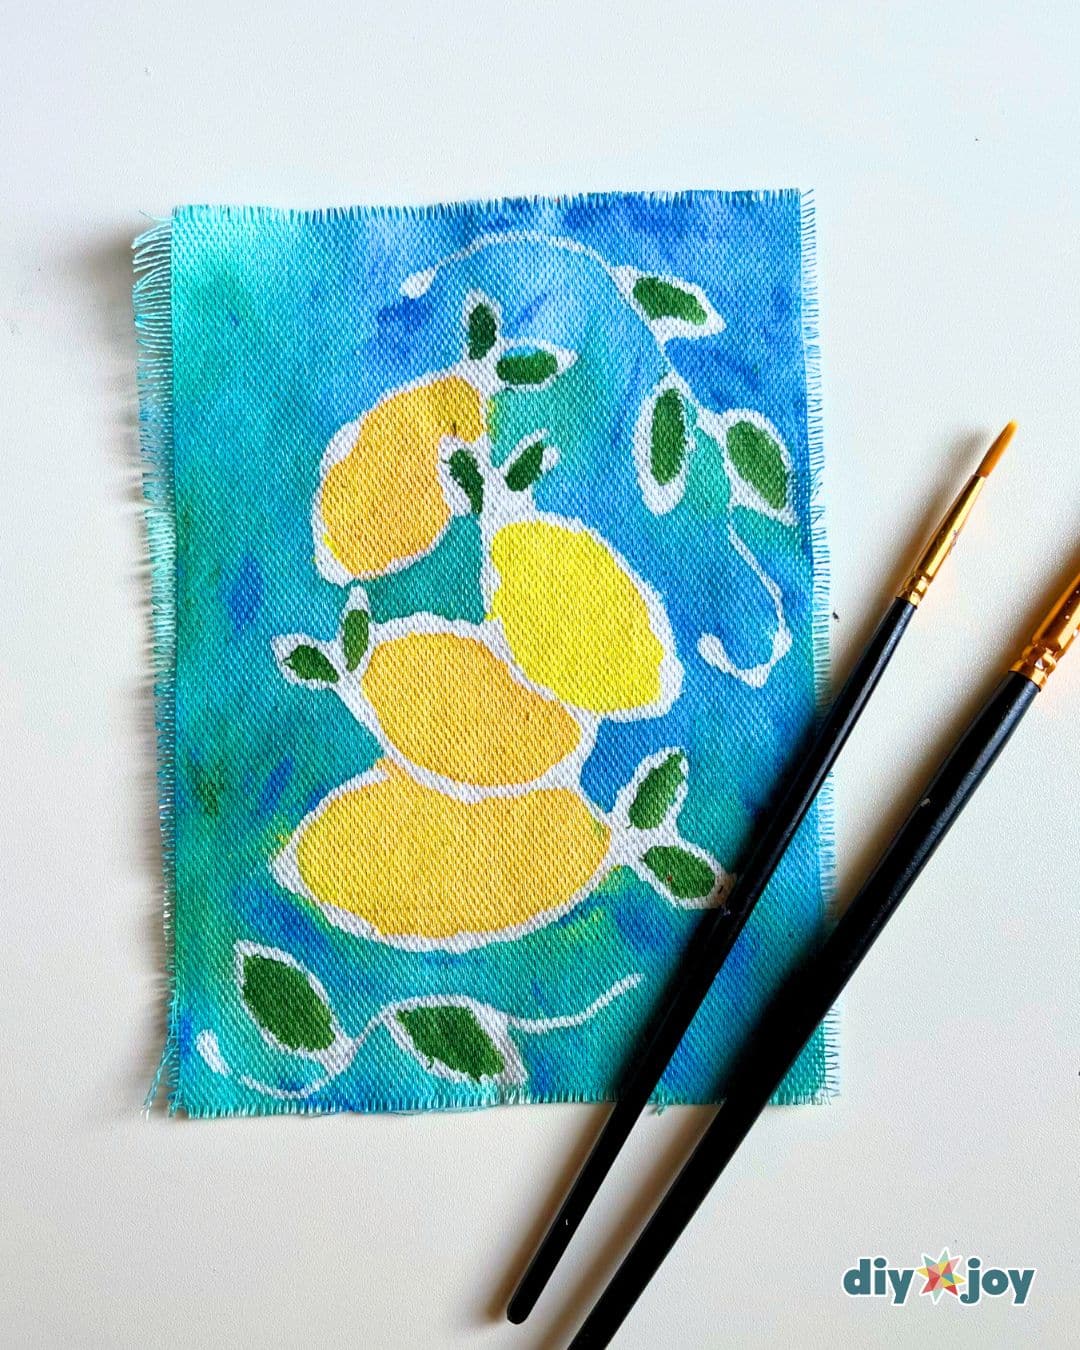
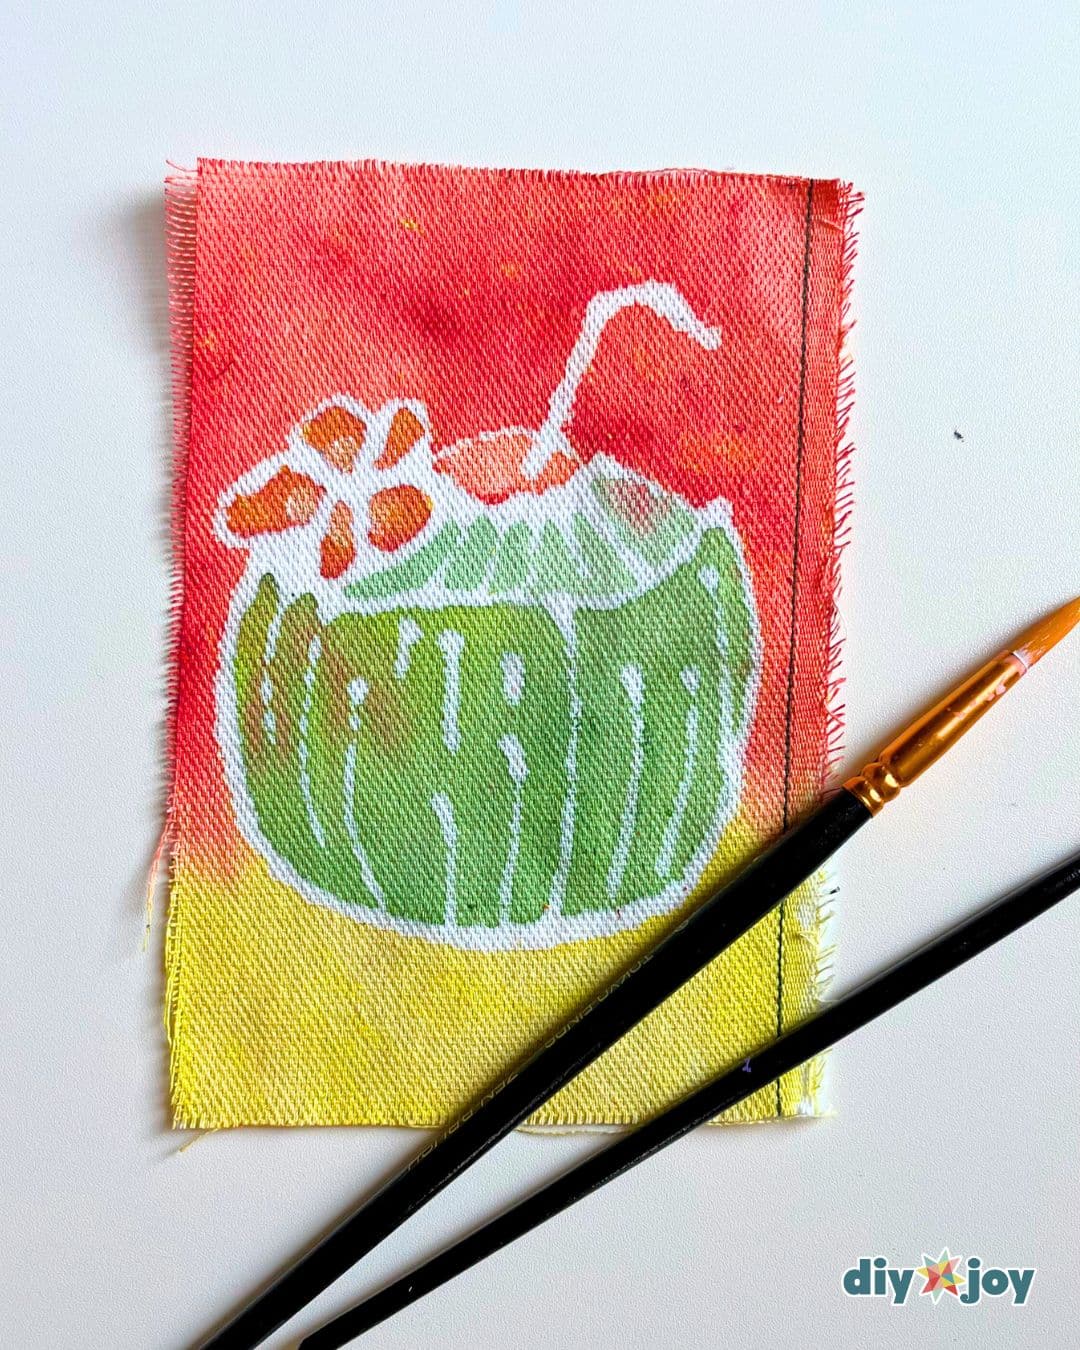
Creative Ideas and Variations
Here are some other batik artworks that I made.
Batik Fabric Painting With Acrylic and Glue Video Tutorial