I love doing gnome projects, and I have quite a large collection of all kinds of gnomes that I have made over the years. The one kind of gnome that I have never made is a gnome that actually lights up, so when I found this DIY lighted gnome video tutorial by CreArtive By Nature DIY & Decor, on YouTube, I could not wait to begin this cute project. This is such an easy gnome project, I already had all of the materials for this project leftover from my other gnome projects, and I used a recycled jam jar for the gnome’s lighted body.
Materials For The DIY Lighted Gnome Project:
- A small jam jar
- A sock
- String (or ribbon)
- Bells (for the gnome’s hat decorations)
- A wooden bead for the gnome’s nose)
- A Santa Globe night light
- Masking tape
- Off white spray paint
- Felt
- A pair of scissors
- A hot glue gun
- Glue sticks
- Faux fur (for the gnomes beard)
- A string of battery-operated miniature fairy lights
Directions:
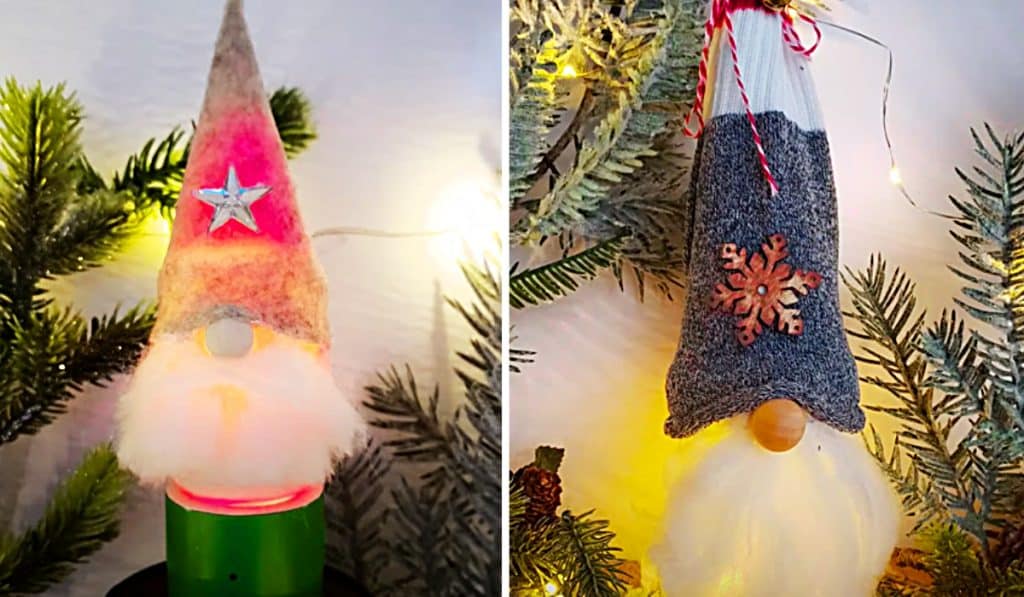
In this DIY lighted gnome video tutorial by CreArtive By Nature DIY & Decor, you will learn how to make these highly unique lighted gnomes in a few easy steps. You will begin by adding all of the gnome’s features and hat.

Then, you will put your battery-operated inside the jar-body of the gnome and replace the decorated gnome lid.
[social_warfare]

This lighted gnome idea is so cute, the whole family loves it!
How To Make Lighted Gnomes