Have you already mastered four-patch blocks and half-square triangles? If so, this waterwheel quilt block pattern is for you! I found this free video tutorial on Nancy’s Notions‘ YouTube channel and thought it was a beautiful block that is perfect for those who are just starting to explore more patterns beyond the basic ones.
RELATED: Prairie Queen Quilt Block Tutorial
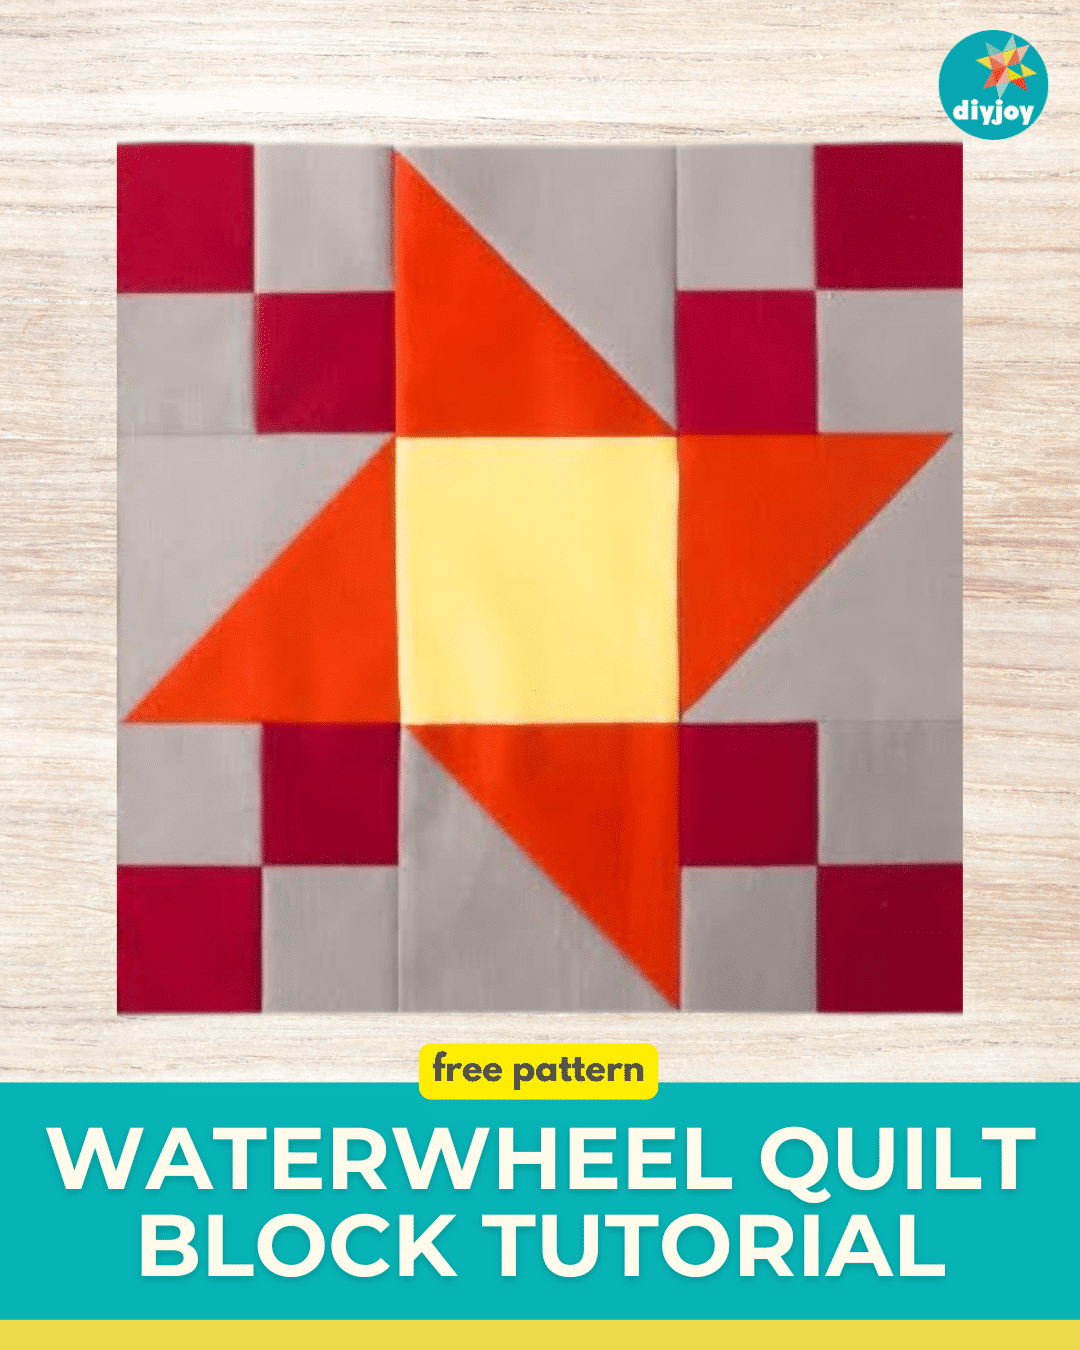
This block combines four four-patch blocks, four half-square triangles, and a square block. It might seem familiar to you because the center square and HSTs create this beautiful ninja star quilt pattern. The four-patch blocks in the corners add an extra touch to this beloved pattern. See the video below for the full instructions.
Easy Waterwheel Quilt Block Materials
- 2 1/2″ squares – (8) first colors and (8) second color
- 4 7/8″ squares – (2) first color and (2) second color
- 4 1/2″ square for the center square
How to Make Waterwheel Quilt Block
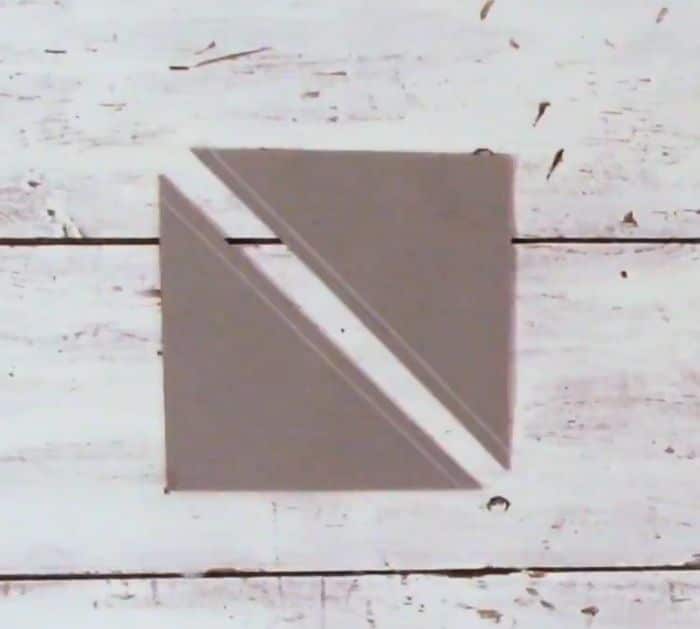
Step 1:
Make the half-square triangles. Take two 4 7/8″ in two different colors. Place them on top of each other and draw a diagonal line from corner to corner. Sew 1/4″ on either side of the line. Once done, cut directly on the line. Open and press. You should have 2 half-square triangles.
Step 2:
Make the four patches. Take two 2 1/2″ squares in different colors and place them on top of each other. Sew on one side and press open. Repeat to make another two-unit strip. Sew them together with different colors touching to make a four-patch.
Do the same steps for the remaining 2 1/2″ square to make four four-patches.
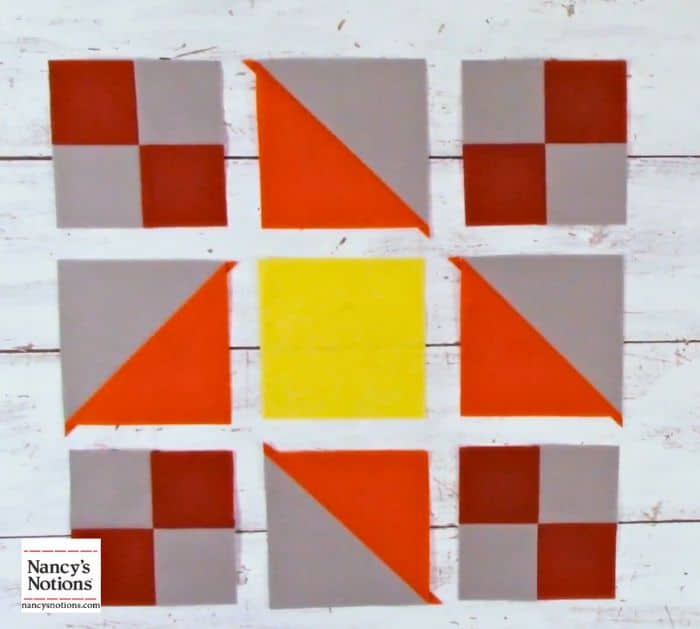
Step 3:
Take the 4 1/2″ center square, then place the half-square triangles on each side. Fill the corners with the four patch blocks. Pay attention to the orientation of the blocks. See the photo below for reference. Sew them in rows first, then sew the rows together to make the block. Press it flat.
Waterwheel Quilt Block Tutorial