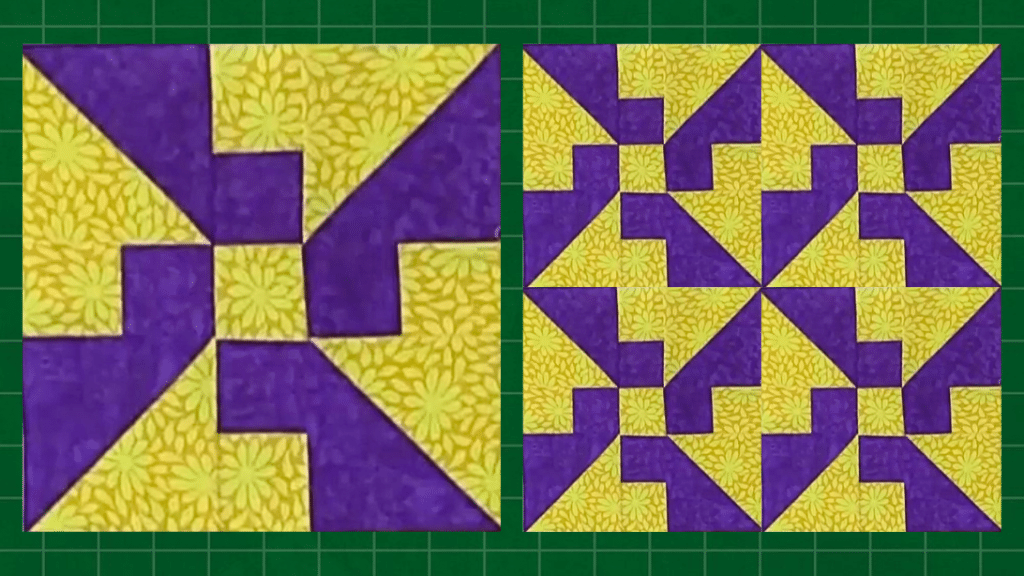
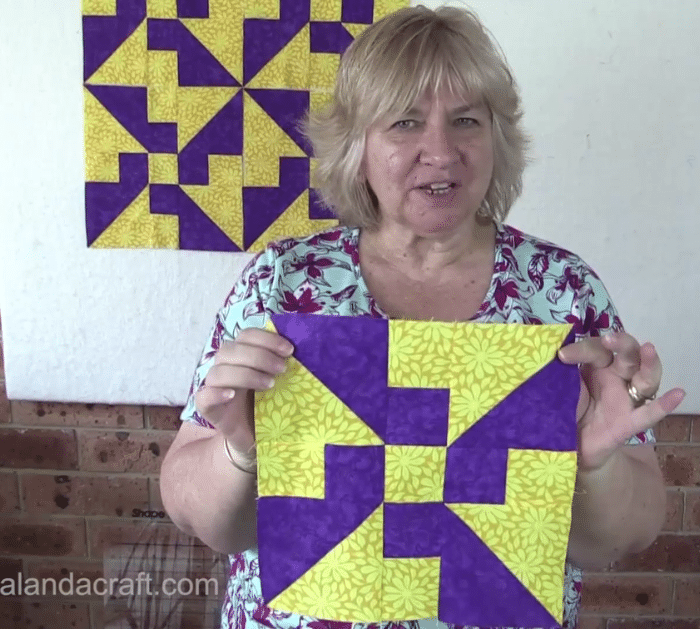
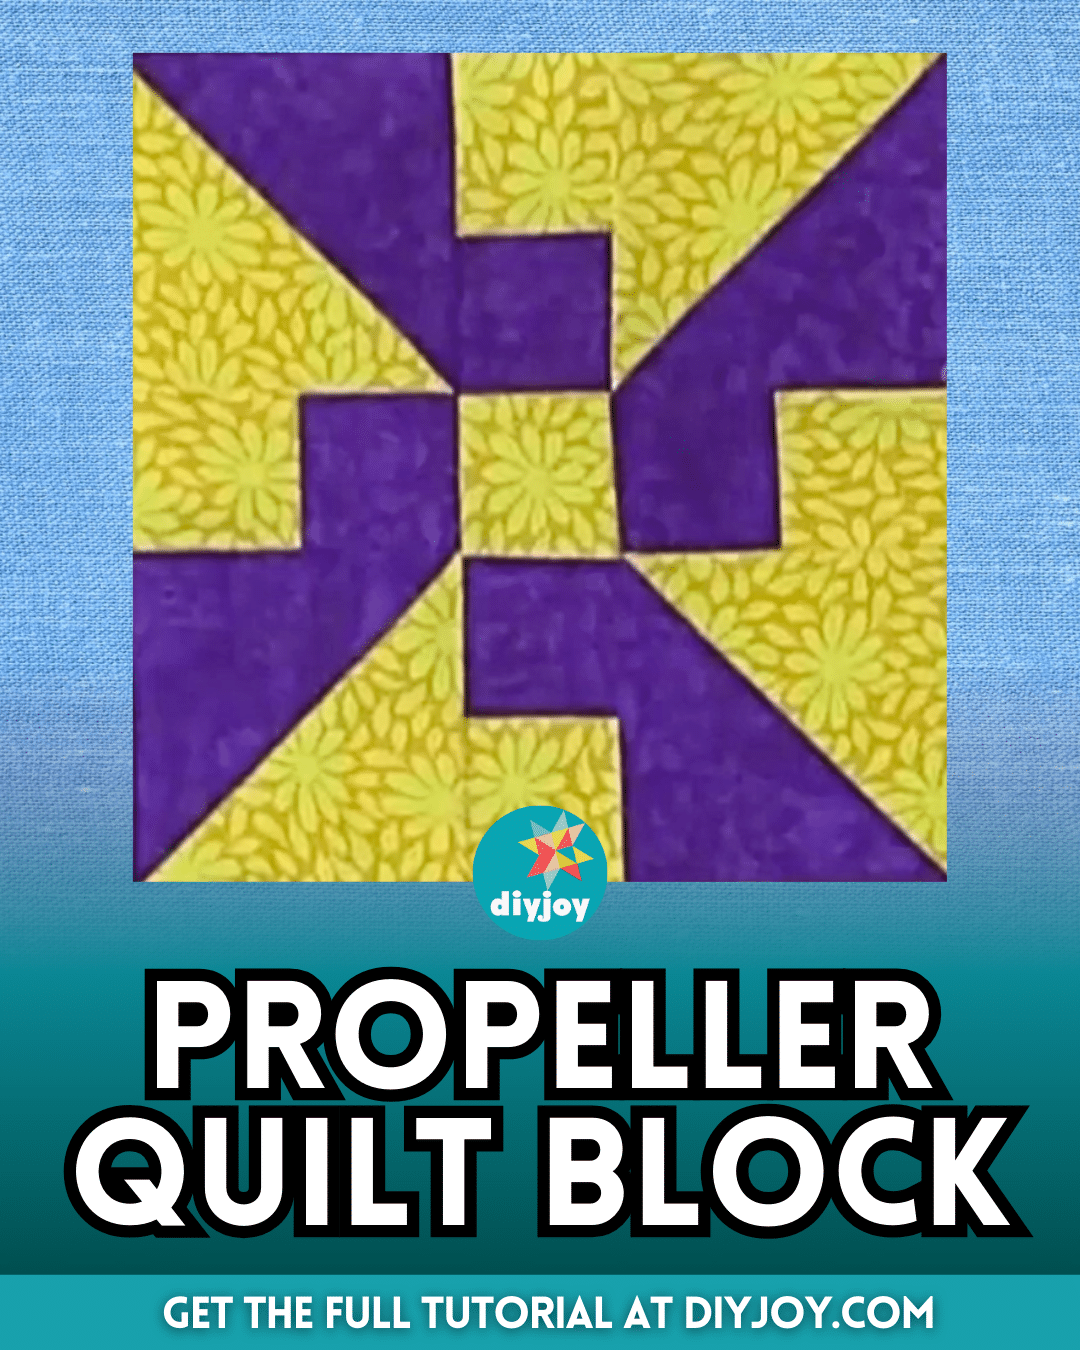
I’ve tried a different kind of propeller quilt block before and I had a lot of fun doing that project, so I was surprised to see a similar quilt block online but with a totally different layout and design. This version by Quilting Blocks & Patterns on YouTube looks more interesting and complicated to make, but surprisingly it’s way easier than any other quilt blocks that I’ve done.
RELATED: Easy Propeller Quilt Block Tutorial
The instructions in the video tutorial are also super easy to follow which makes this the perfect quilt project for beginners to try. I’m sure that you’ll love making this propeller quilt block and this might even be your new favorite project. Learn how now by watching the video tutorial below and give it a try to see for yourself!
Materials for Propeller Quilt Block:
- 2 contrasting print fabric
- Marking pen, pencil, or chalk
- Ruler
- Scissors or rotary cutter and a cutting mat
- Fabric pins
- Needle and thread
- Iron, for pressing
- Sewing machine
How to Make a Propeller Quilt Block:
Step 1
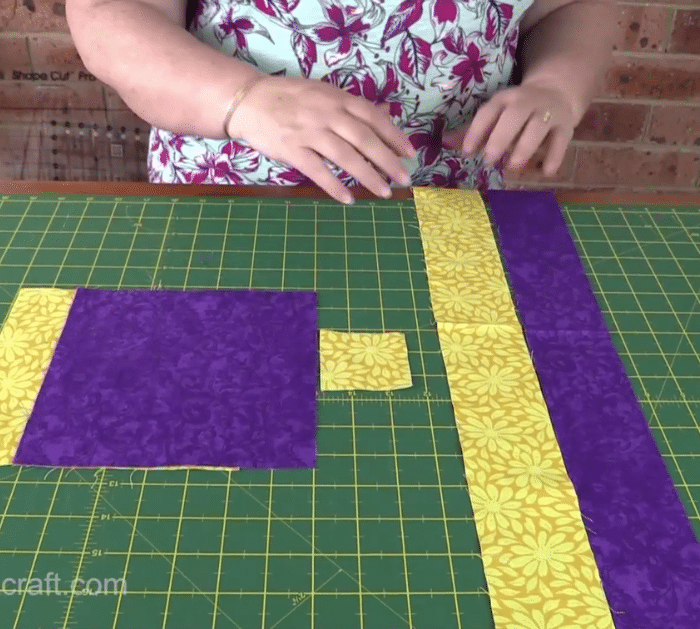
Cut a strip of each fabric print, then stack them together with their right sides facing, sew them down with ¼” seam allowance, and press the seams toward the darker fabric.
Step 2
Subcut the strip unit into 2½” pieces, then set them aside and cut a 7¼” square on each fabric print.
Step 3
Stack the squares together with their right sides facing, then stitch them on all sides with ¼” seam allowance, and cut them diagonally in both directions from corner to corner.
Step 4
Open the half-square triangles and press them nicely, then trim them to 4½”, and assemble everything together as demonstrated in the video.
Step 5
Stitch them per row, then stitch the rows to each other, and press the seams nicely as you go.
*All image credit belongs to Quilting Blocks & Patterns via YouTube. Follow and subscribe to her channel for more!
