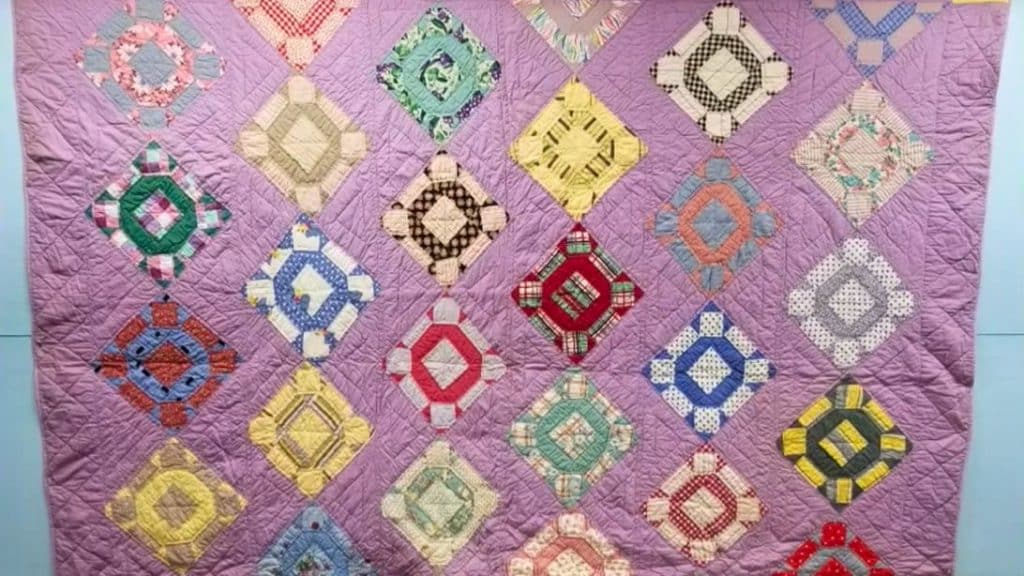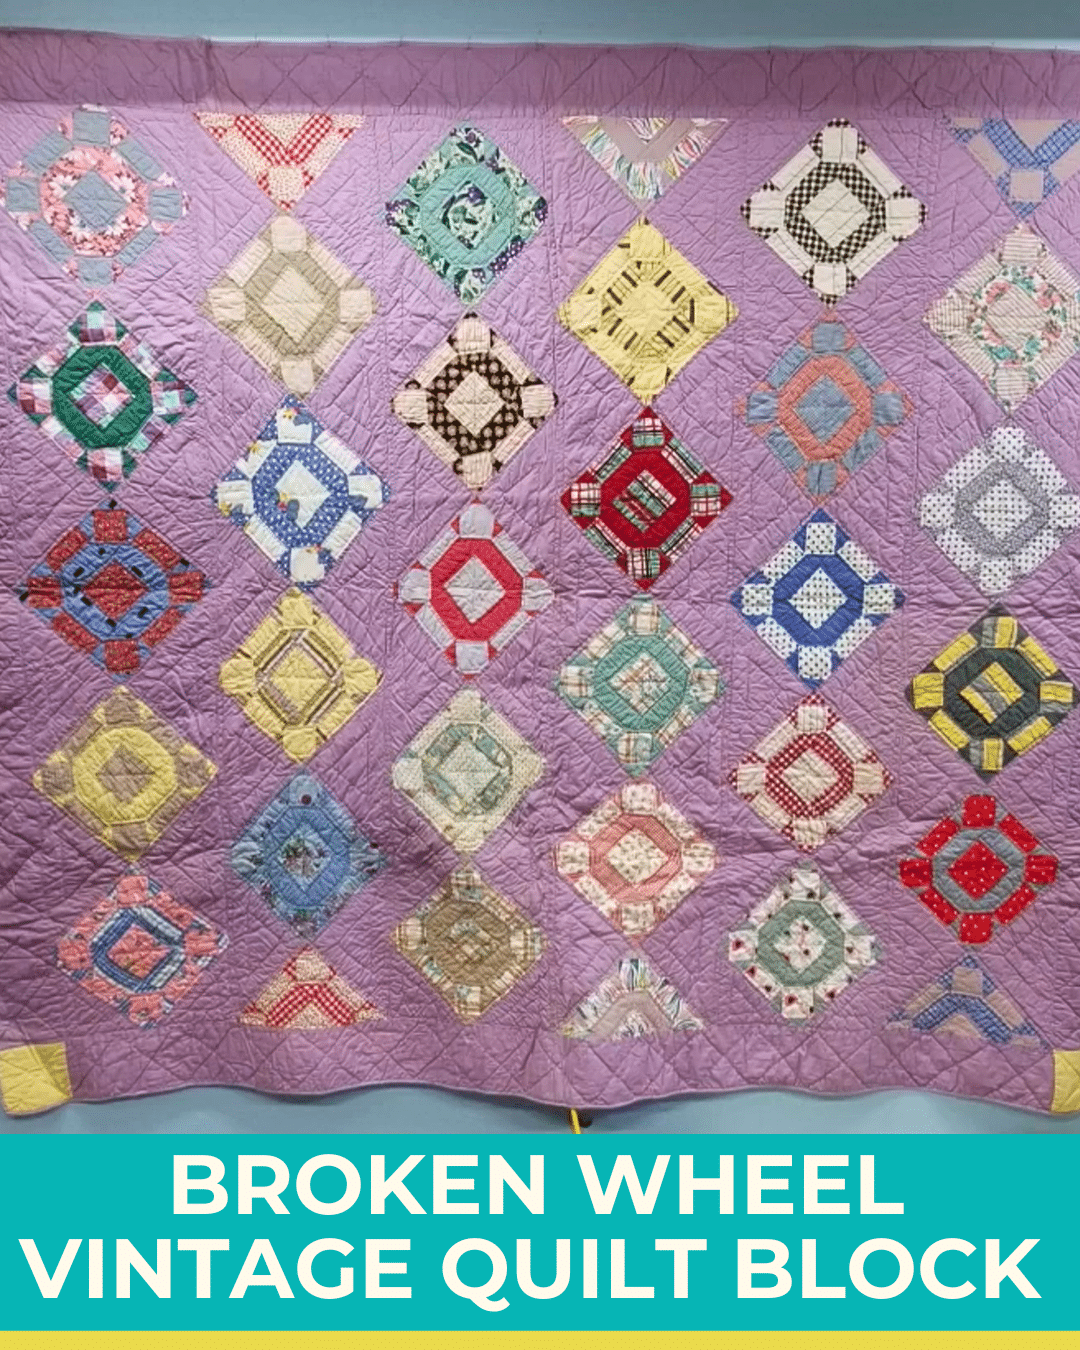
Are you a fan of vintage quilt patterns? If you are, add this broken wheel vintage quilt block to your list! I learned about this pattern through Sunrise Quilt Studio‘s video tutorial on YouTube. It instantly caught my eye, and I knew I had to share it with you.
RELATED: Shattered Pinwheel Quilt Block Tutorial
I love how the blocks are arranged in the quilt. The staggered pattern made the blocks look like dangling gemstones, making it the perfect wall-hanging quilt. You will surely receive a lot of compliments when you make this pattern. Learn the full instructions by watching the video below.
Looking for other vintage quilt blocks? Check these out: Blossom Quilt, Wings Quilt Pattern, Road to Oklahoma Quilt Block
Easy Broken Wheel Quilt Block Materials
For the print fabric
- 4 pieces of 4 1/2″ x 2 1/2″ rectangles (A)
- 12 pieces of 2 1/2″ squares (B)
For the background fabric
- 5 pieces of 4 1/2″ squares (C)
- 4 pieces of 4 1/2″ x 2 1/2″ rectangles (D)
How to Make a Broken Wheel Quilt Block
Step 1:
Get the A and D rectangles and pair them. Place them on top of each other right sides together and sew along one long edge. You should have four pieces. Press seams toward the dark side.
Step 2:
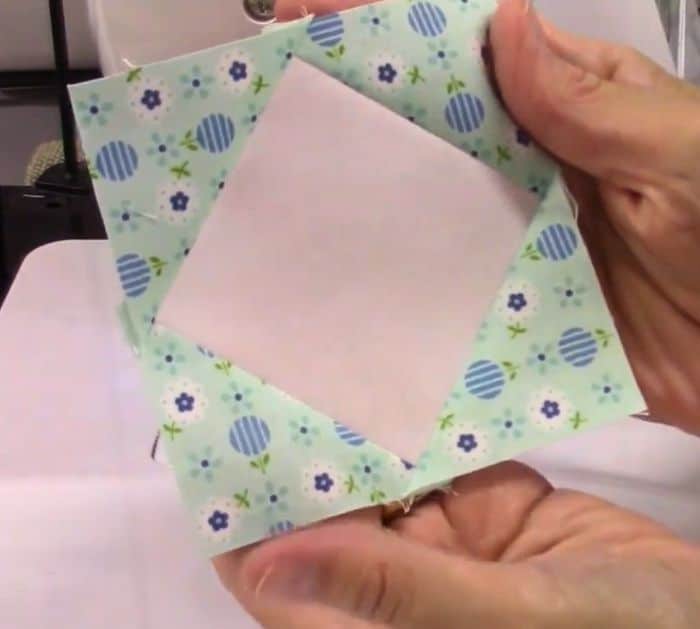
Get a B square and fold it in half diagonally to make a crease. Place it on the top corner of a C square right sides together. Sew along the crease, then trim the excess 1/4″ away from the seam line. Press towards the triangle.
Repeat the same process on all corners.
You need 4 pieces of this unit.
Step 3:
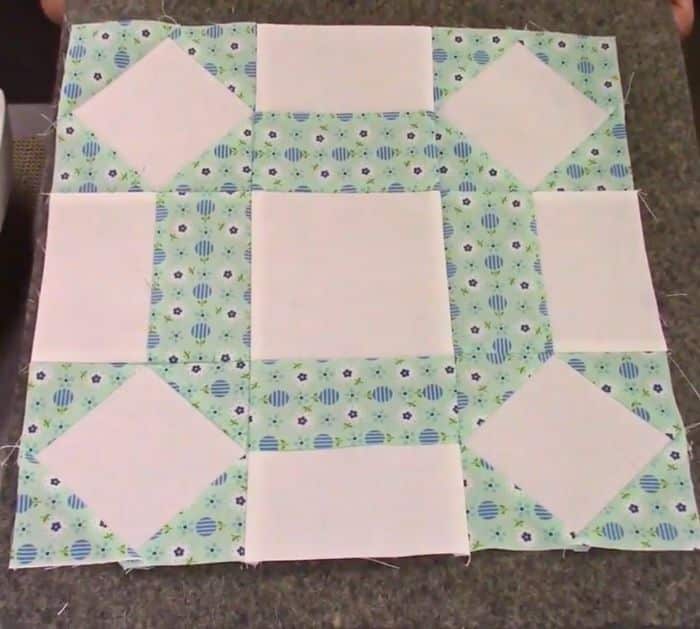
Arrange the units just like in the photo below to make the block. Sew them in rows first. Press the seams toward the center for the first and last rows, then press the seams toward the center for the center row.
Sew rows together, making sure to match the seams.


