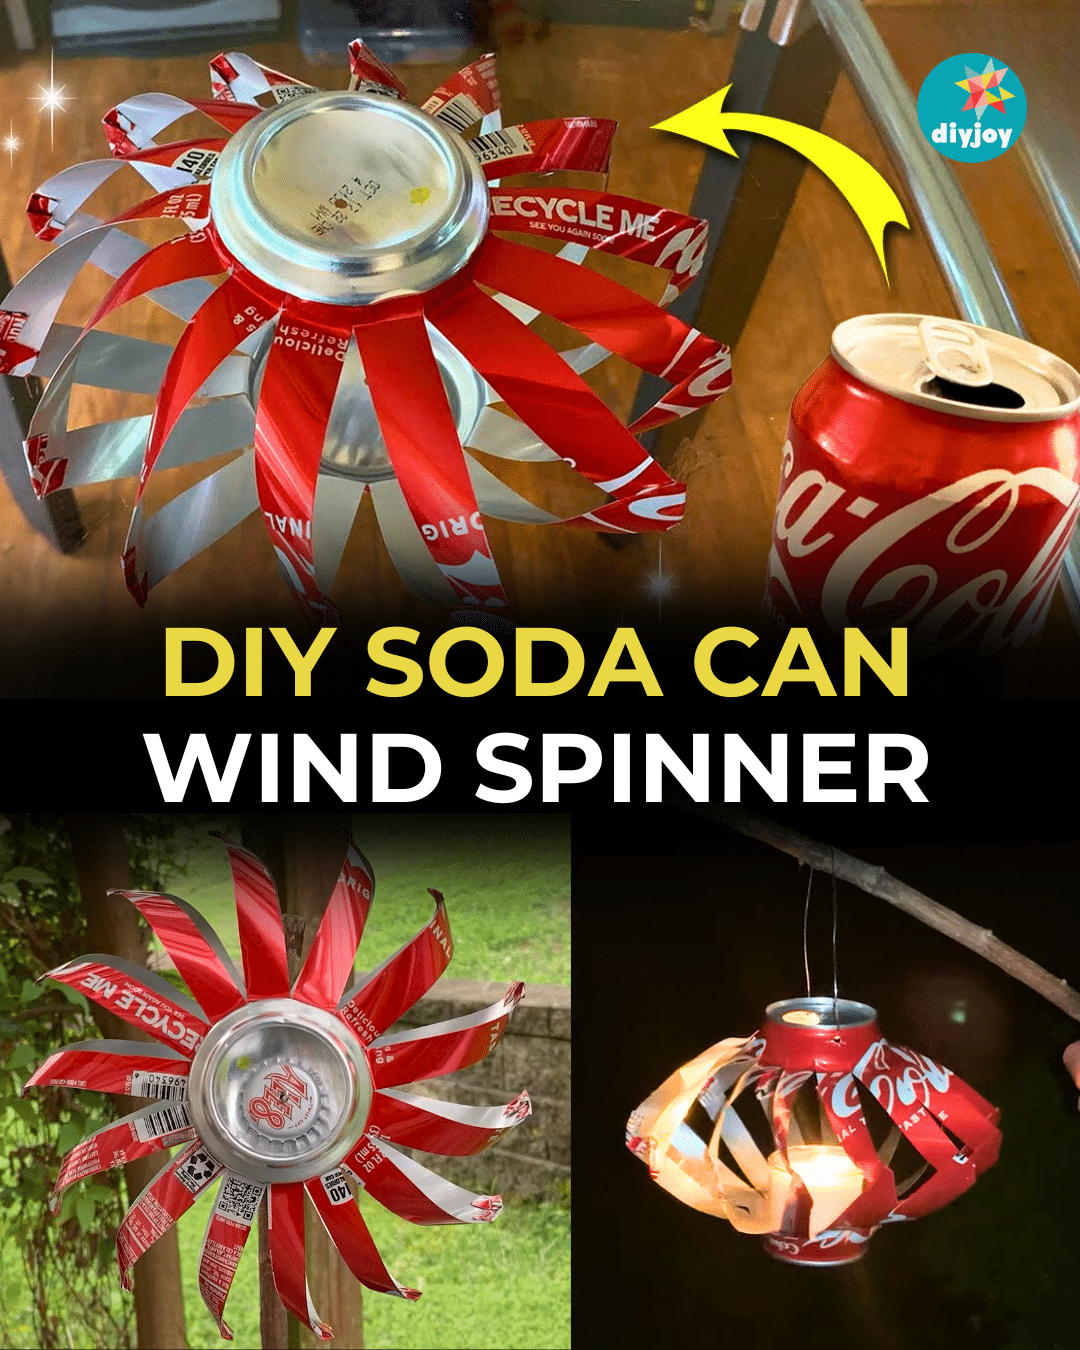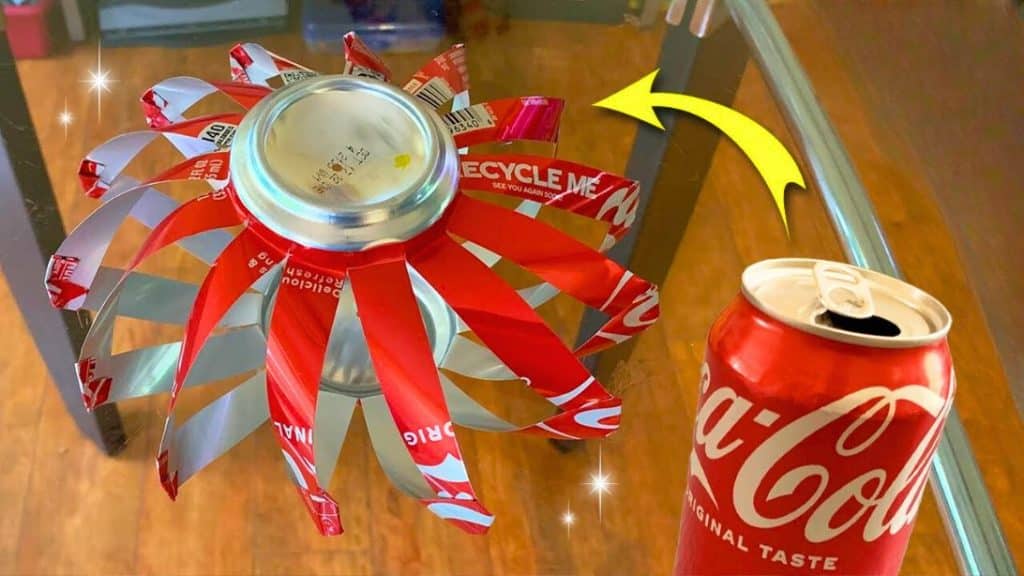
Searching for a fun project to make this summer? Turn your soda cans into a wind spinner with Happy Life in Craft‘s tutorial! Do not throw empty soda cans away. Recycle them instead! You can create many things with them, such as flowers, gemstones, planters, jewelry, and more. But my absolute favorite is this DIY soda can wind spinner.
RELATED: DIY Soda Can Hot Air Balloons
Making it at home is a great way to pass the time. You can stack them in pieces, paint them bright colors, and decorate them with beads. Let your creative juices flow! Just be careful when you make this project at home, as the edges can be sharp. Dull them out using sandpaper. They are lovely to look at, whether windy or not.
Easy Soda Can Spinner Materials
- 6 soda cans
- stencil cutter
- scissors
- pliers
- thin wire
- beads
How to Make a Soda Can Wind Spinner
Step 1:
Take one can and make a small center hole on the bottom.
Step 2:
Using a stencil cutter, carefully cut the top part of the can. Clean the edges using sharp scissors. Be careful not to touch it. Remove the tab from the top part.
Step 3:
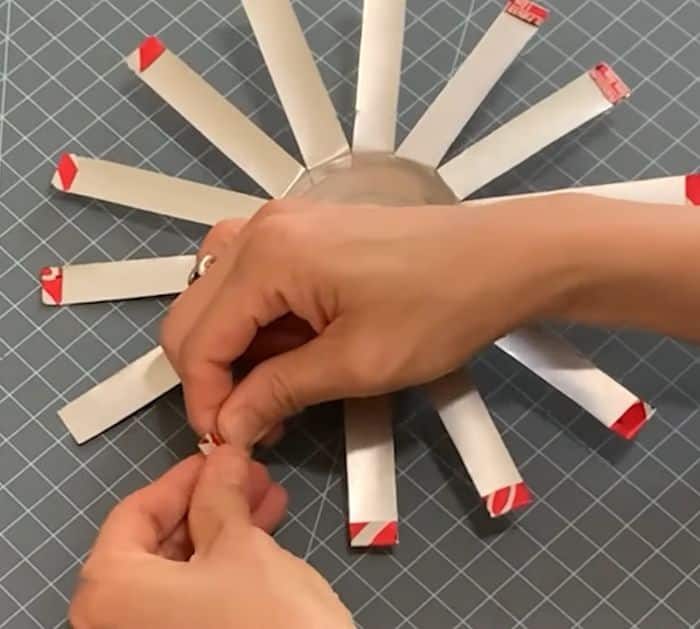
From the open edge of the bottom part of the can, make marks all the way around that are 0.6 inches away from each other. Use those marks to cut the can into strips, and keep them intact. Fold each strip flat, then fold all the ends.
Step 4:
Repeat steps 1 to 3 to the second can. Make sure they have the same number of flaps.
Step 5:
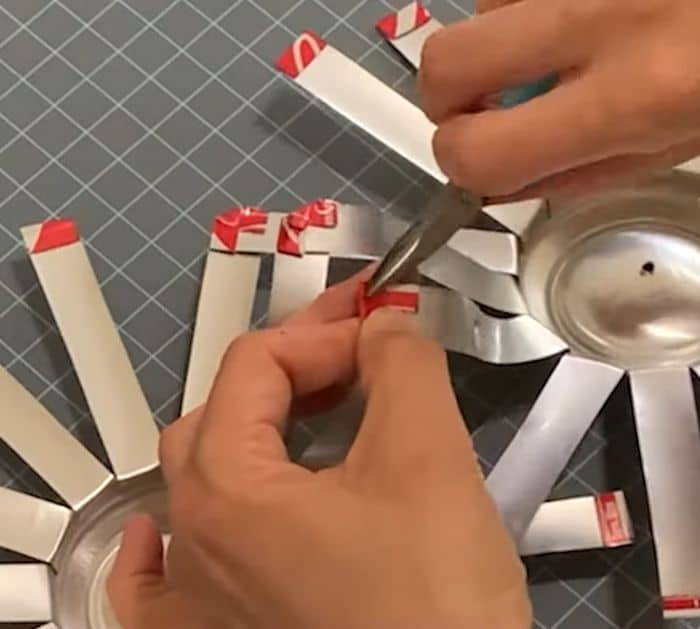
Get one flap from one can and another flap from the other can. Connect them perpendicularly. Insert the tip into the folded end. Using pliers, fold the corner to secure it in place. Repeat with the other flaps.
Step 6:
Cut a thin wire and attach the tab to one end, then insert beads. Insert the wire through the holes in the center of the wind spinner. Fill the other end of the wire with beads, then attach the other tab.
