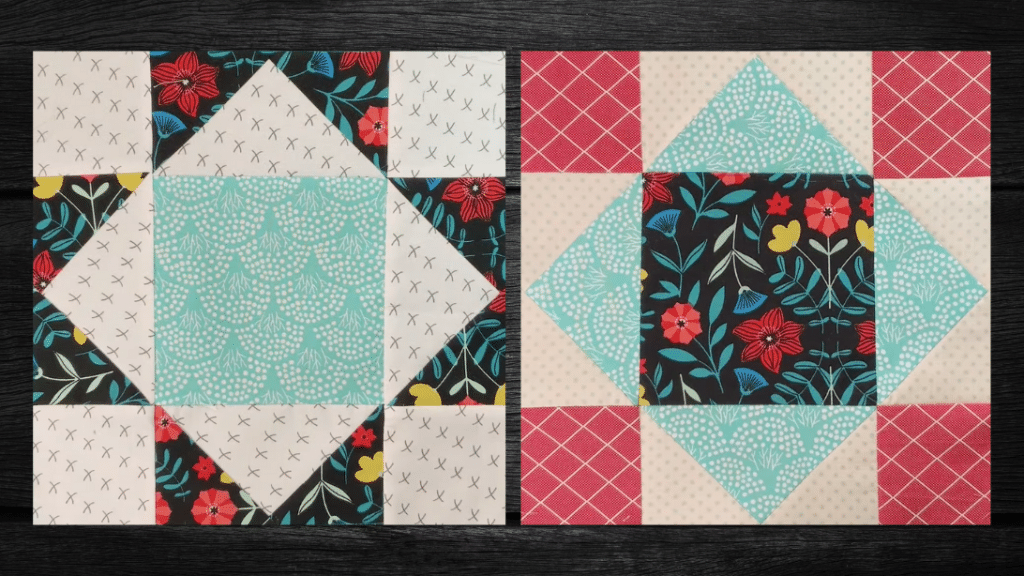
A couple of days ago, I organized my craft room which also happens to be my sewing room, and I realized that I have a lot of pretty fabrics that I bought a few months back that I still haven’t got to use. That is why I went and browsed the internet to look for inspiration and quilt ideas that I could do on the weekend.
RELATED: Easy Chain Link Quilt Tutorial
When it comes to choosing the right quilt project, I always opt for simple patterns that are very easy and quick to make. Out of all the video tutorials I found, this one by Teresa DownUnder on YouTube stood out to me the most. It was super fun to make and is perfect to pass the time.
Materials for Kings Crown Quilt:
- Light print fabric, for the flying geese
- Background fabric
- Dark print fabric, for the center
- Medium print fabric, for the corners
- Marking pen, pencil, or chalk
- Ruler
- Scissors or rotary cutter and a cutting mat
- Fabric pins
- Needle and thread
- Iron, for pressing
- Sewing machine
How to Make a Kings Crown Quilt:
Step 1
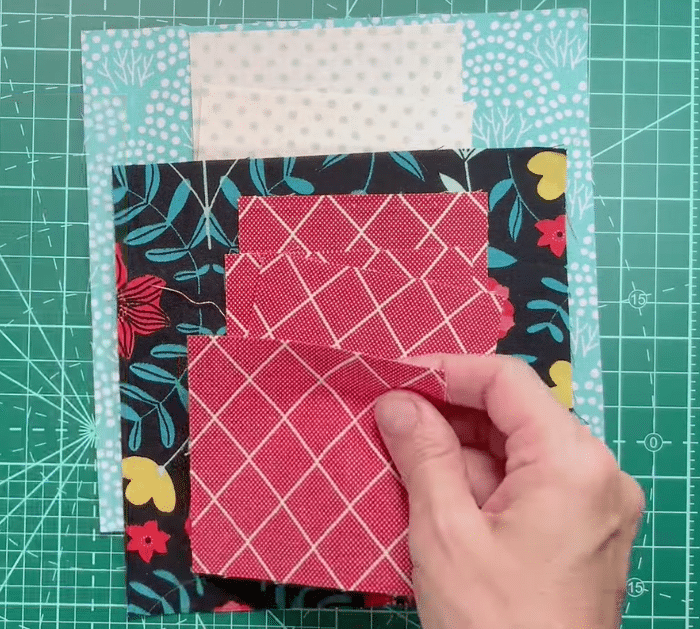
Cut 1 light print fabric to a 7¼ inches square, then 4 background fabrics into 3⅞ inches squares, 1 dark print fabric to 6½ inches square, and 4 medium print fabrics into 3½ inch squares. Draw a line at the back of the background squares diagonally from corner to corner, then put 2 squares on top of the light fabric square with their right sides facing, and make sure to put them on opposite corners so that their diagonal lines are connecting as shown in the video.
Step 2
Pin them in place, then stitch them on both sides of the line with ¼ inch seam allowance, and cut them apart along the line. Press the seams toward the darker fabric, then place another square at the bottom corner with their right sides facing, and sew on each side of the line with ¼ inch seam allowance.
Step 3
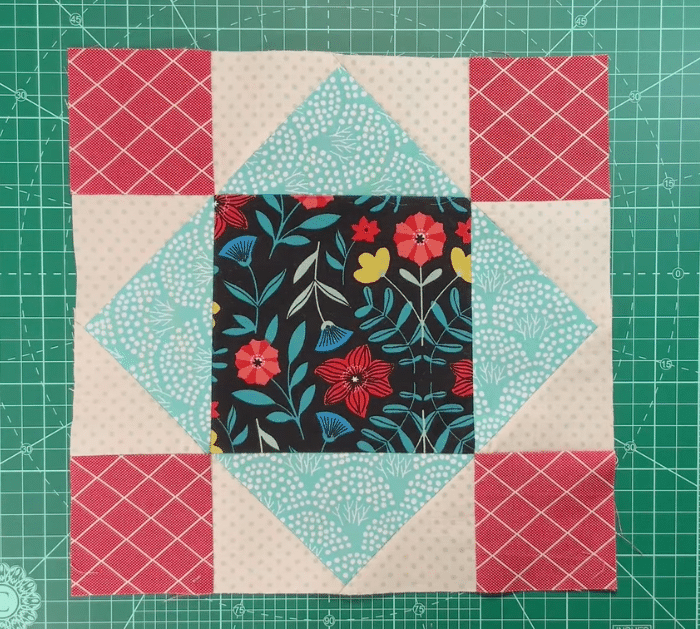
Cut it apart along the line, then press the seams toward the darker fabric, and make another set for a total of 4 flying geese units. Lay the center square on a flat surface, then place the flying geese units on each side of the center square with their points facing outward, and fill the empty spaces with the corner squares. Stitch them per column, then stitch the columns to each other, and press the seams as you go.
*All image credit belongs to Teresa DownUnder via YouTube. Follow and subscribe to her channel for more!
