The Fall season is almost over which means that the time for the cold season is coming, and what better way to prepare for the chilly temperature than with a DIY heater to keep you warm? You can also use this heater for your greenhouse and what’s best about this is that it’s not expensive or complicated to make. Make this DIY heater now using upcycled materials with the help of this video tutorial by Don Wynn on YouTube.
RELATED: How to Make a DIY Greenhouse Heater
This is the best project idea I’ve ever tried and probably one of my favorites, it’s very useful and lasts for a long time. It is also very easy to maintain because the DIY candle used in this takes a long to completely melt and run out, plus, you can easily replace it with a new one. Once you’re done using this heater, you can use them as planters again or store them away until needed.
Materials for DIY Heater:
- Terra cotta saucer
- Terra cotta pot
- Stainless steel vent pipe
- Rocks, wood, or any objects to elevate the terra cotta pot
- Mason jar
- Vegetable shortening
- Candle
How to Make a DIY Heater:
How to Make a DIY Candle Jar:
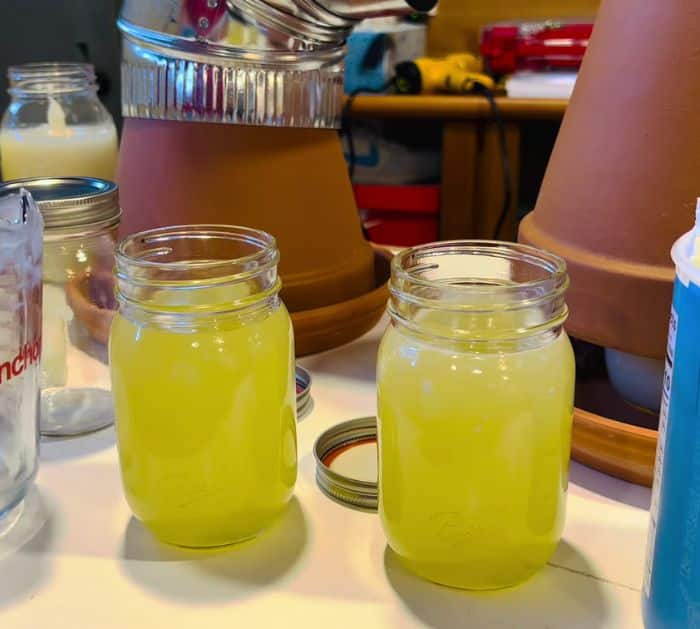
Add some vegetable shortening to a measuring cup, then put it in the microwave, and heat it until completely melted. Pour the melted shortening in each mason jar dividing them evenly, then make sure that each jar is filled at least up to the neck, and set it aside to cool. Once the shortening is starting to cool and set, place a candle right down the center, then let it continue to cool until completely set.
[social_warfare]
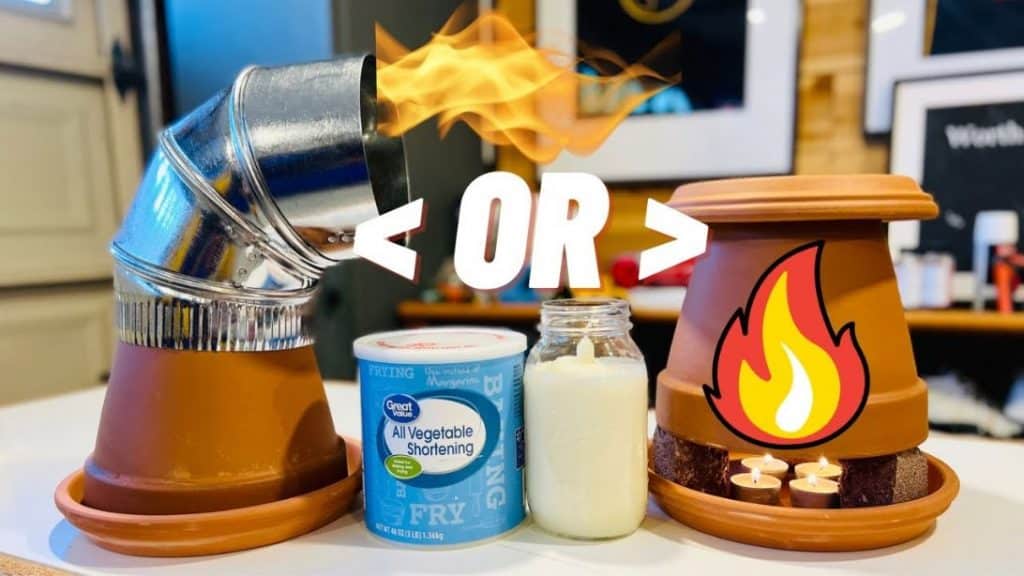
DIY Heater #1:
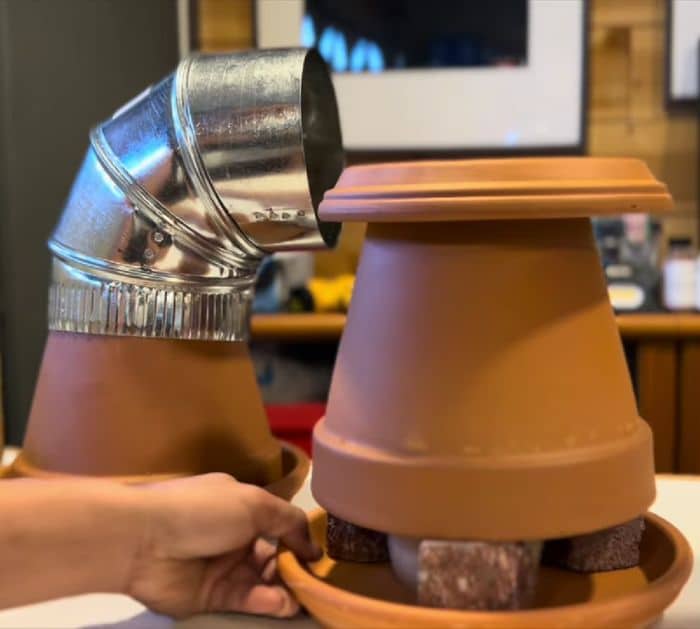
Get a terra cotta saucer, then place a candle jar at the center, and cover it with a terra cotta pot placed upside down. Insert the vent on the pot as shown in the video, then light up the candle, and you’re done!
DIY Heater #2:
Put a candle jar on the center of a terra cotta saucer, then place some small flat rocks or any other objects to elevate the pot, and place the terra cotta pot upside down to cover the candle jar as shown in the video. Place another clay saucer on top of the pot to cover the hole at the center of the pot’s bottom.
*These amazing images are all credited to Don Wynn via YouTube. Check his other content and follow for more!
