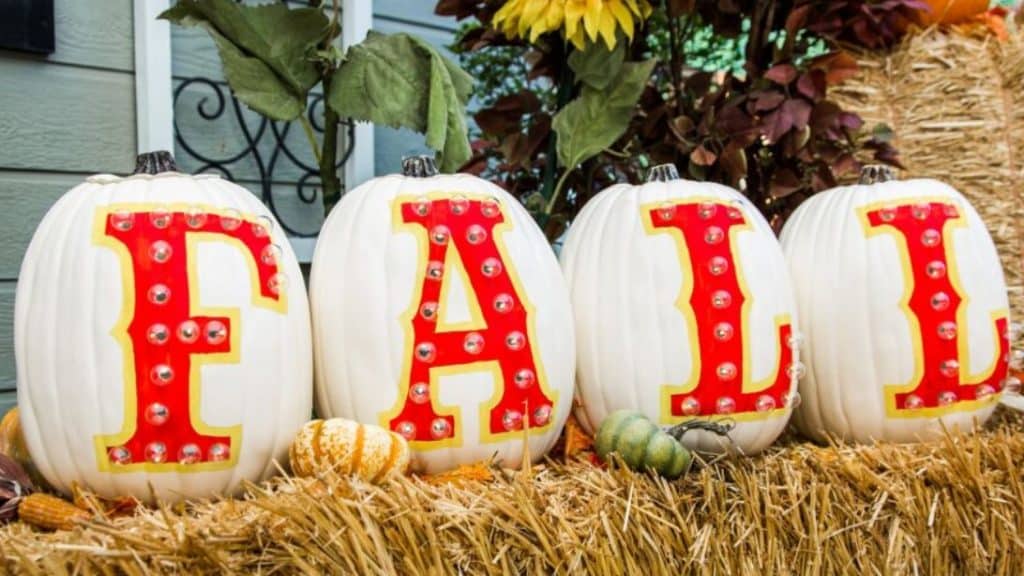
These DIY marquee pumpkins might be one of the best fall decor projects I’ve ever seen and would definitely give them a try! This project is very easy and fun to make, plus, you can personalize them and use any words or letters that you want on the pumpkins. You can learn the step-by-step instructions written below and while you’re at it watch this video tutorial by Hallmark Channel on YouTube as well to see how it’s done. I hope you love this decor project as much as I did. Enjoy!
Materials:
- Pumpkins
- Paint
- Paintbrush
- Lights
- Pencil
- Drill
- Scissors
Directions:
Step 1
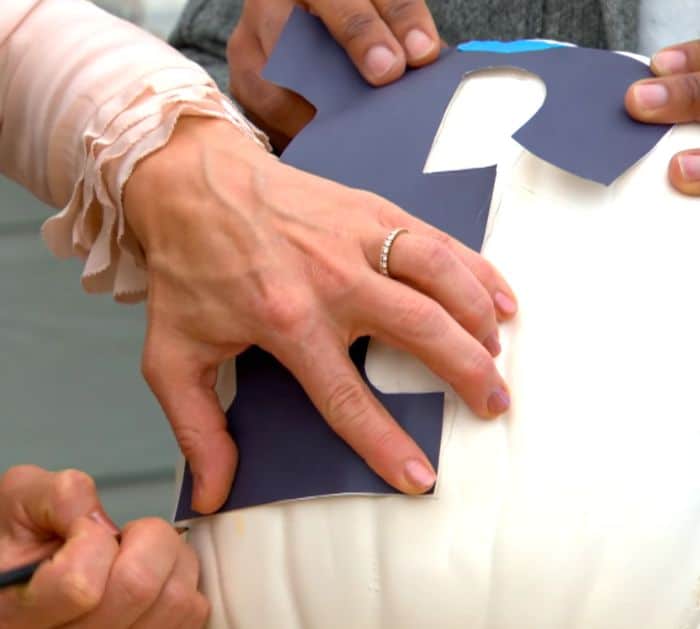
Pick the pumpkins that you want to use and make sure that they are of the same size as much as possible, if you’re using real pumpkins, carve out the inside to make them hollow. Coat the pumpkins with white paint, then allow them to dry completely, and apply another coat if needed. Print out the letters that you want on your pumpkin making sure they are each printed on 8½ x 11 inches of paper, then cut them out, and trace them each on the pumpkins.
[social_warfare]
Step 2
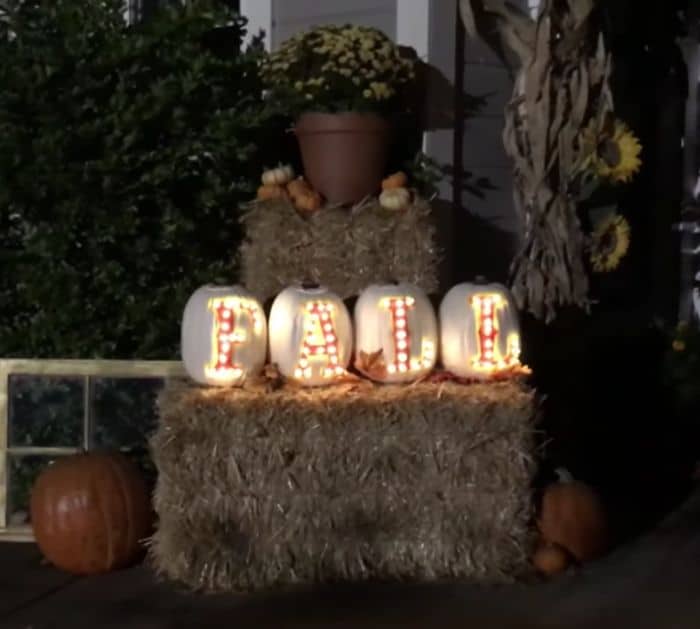
Start painting the letters with whatever color that you want as long as it will compliment the color of the pumpkin nicely, then let it dry completely, and mark the areas where you want the lights to go. Drill holes on those markings, then attach the lights as shown in the video, and place the wires inside the pumpkin. Place the pumpkins where you want them and turn the lights on.
*Thanks to Hallmark Channel via YouTube for all the images used here. If you love this DIY project, then you’ll surely love their other videos too, so give their channel a visit and subscribe!
