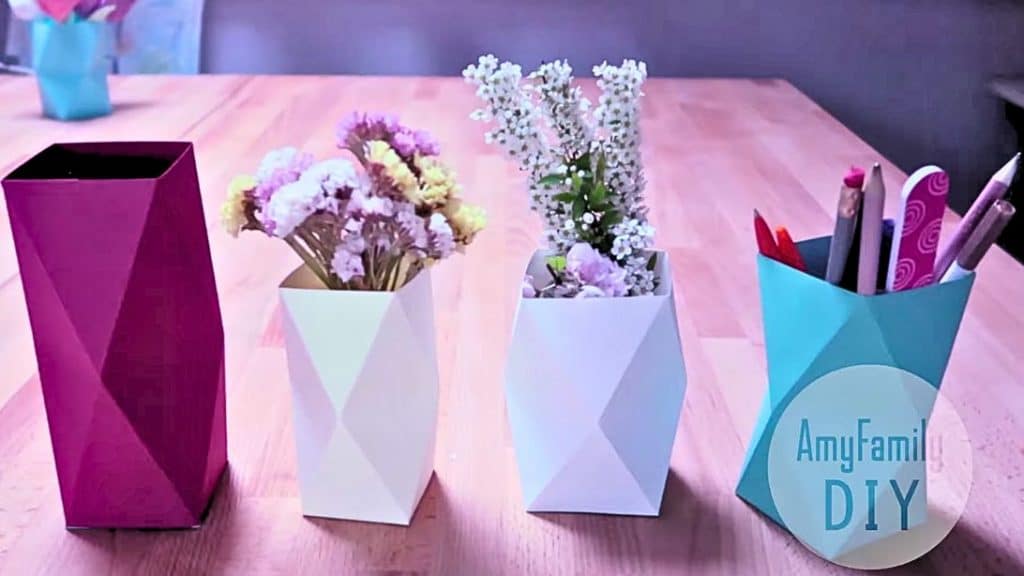
At first glance, you’d think that this DIY vase by AmyFamily DIY on YouTube is a real store-bought vase but it actually is made out of paper which is also what caught my attention. This project makes great decor and they don’t even cost that much to make, plus, the steps are very easy to follow, too. You can finish a vase in as fast as 5 minutes, isn’t that great? Try it out now and see for yourself!
Materials:
- 60gsm pastel paper or any colored cardboard paper
- Pencil
- Ruler
- Scissors
- Toothpick
- Glue stick
Directions:
Step 1
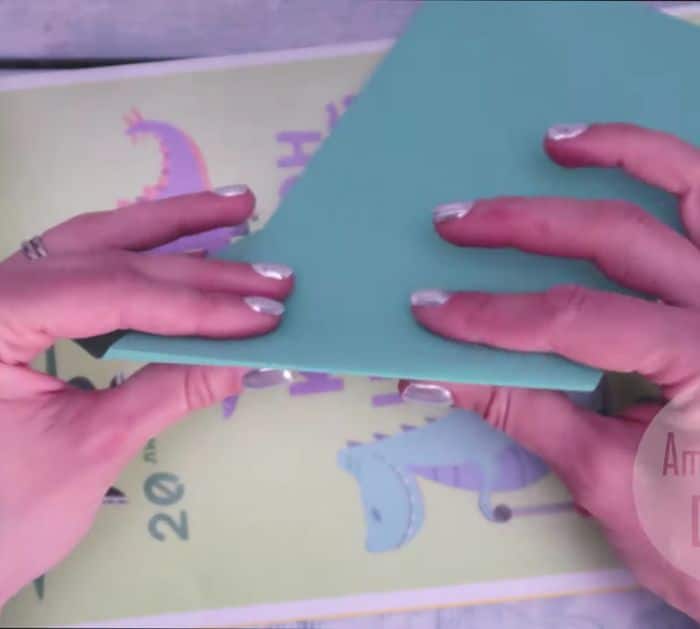
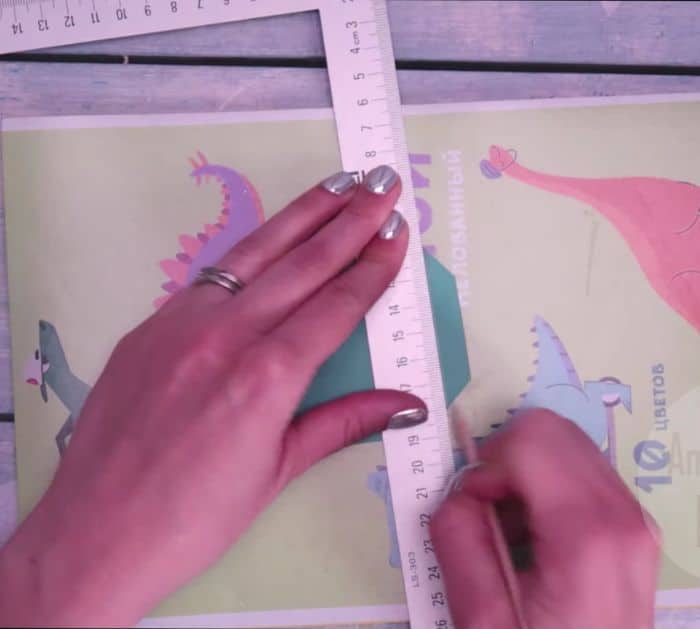
Cut a rectangle at 2cm x 12cm or 0.8″ x 4.7″ (you can make it taller or shorter), then mark 6cm or 2.3 inches along the length of the sheet, and repeat on the other side. Join the points together diagonally by scoring a line using a toothpick as shown in the video, then repeat the same to the other points but score them in the opposite direction, and then start folding the paper in one direction first followed by the opposite direction.
[social_warfare]
Step 2
Join the edges of the sheet making sure to line up the bends together nicely, then apply a generous amount of glue to the bends at each end, and carefully press them together. For the bottom of the vase, draw an 8cm or 3 inches square, then another square inside at 6cm or 2.3 inches, and cut out the square. Trim off the corners diagonally, then score the inner line with a toothpick, and erase the lines drawn with a pencil.
Step 3
Bend the ear along the marked lines, then cover the outer side of the ears with a generous amount of glue, and insert the bottom into the vase making sure to hide the ears inside. Press them nicely to the sides of the vase until completely adhered and you’re done. You can use this vase as a pen holder, place a jar or vase of real flowers inside, or put artificial flowers instead.
*All image credit belongs to AmyFamily DIY via YouTube. Follow and subscribe to her channel for more!
