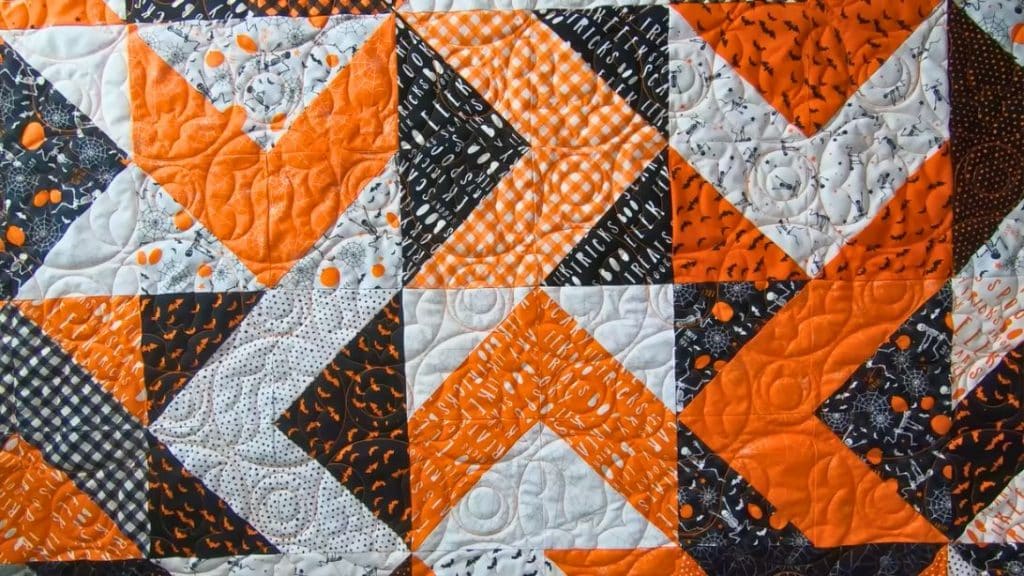
Searching for a fast, easy, and beginner-friendly design for your next project? How about this “This Way Quilt” pattern by Moonkin Stitchery? This was one of the first patterns I learned when I was just starting my journey in quilting. Read on or watch the video below for full instructions.
Materials
- 1 pack of layer cakes or 10″ squares
Note: you don’t need background fabric for this pattern
[social_warfare buttons=”facebook,pinterest,twitter,whatsapp”]
Instructions
Step 1:
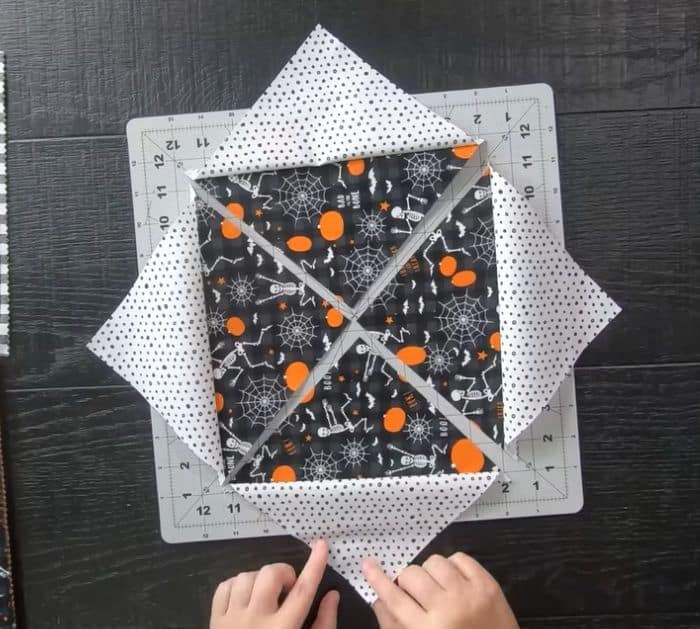
Start by taking two different prints and laying them on top of each other right sides together. Sew with a quarter of an inch seam allowance all the way around the square.
Step 2:
Take a long ruler, place it diagonally on top of the sewn squares from corner to corner, then cut the square. Rotate and cut it diagonally on the opposite side. You will now have four half-square triangles. Open them, iron and lay them flat. If it’s wonky, you might need to trim your blocks down to a 6 1/2″ square.
Step 3:
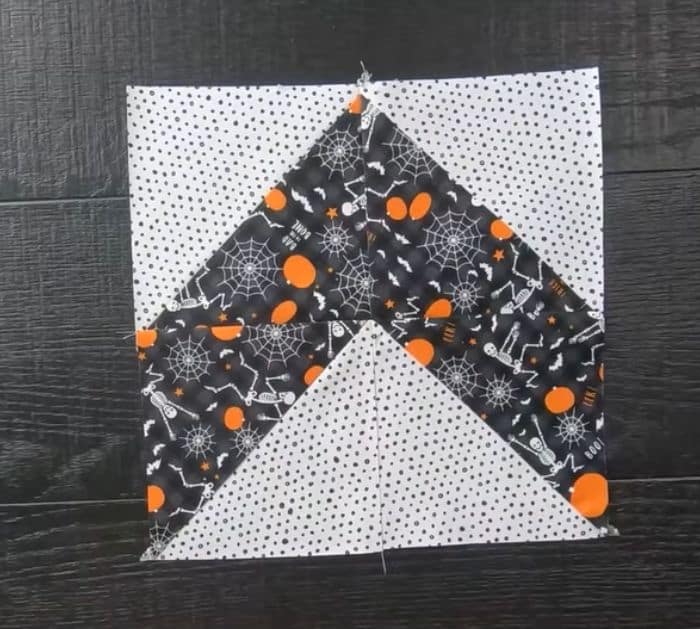
Lay your half-square triangles just like in the photo below to form an arrow shape. Sew your blocks together to form a row, then sew the rows together with a quarter of an inch seam allowance to complete your quilt block.
Step 4:
Repeat steps one to three for the other squares.
Step 5:
Once all of your blocks are made, it’s time to lay your quilt. Start by taking each block and rotating every other block 90 degrees. Continue the pattern throughout the quilt top and sew your blocks together to form rows. Lastly, sew your rows together to complete the quilt top. Add the backing, bind, and quilt. Enjoy sewing!
If you love this simple pattern, make sure to check Moonkin Stitchery on Youtube. She has tons of amazing video tutorials for you.


