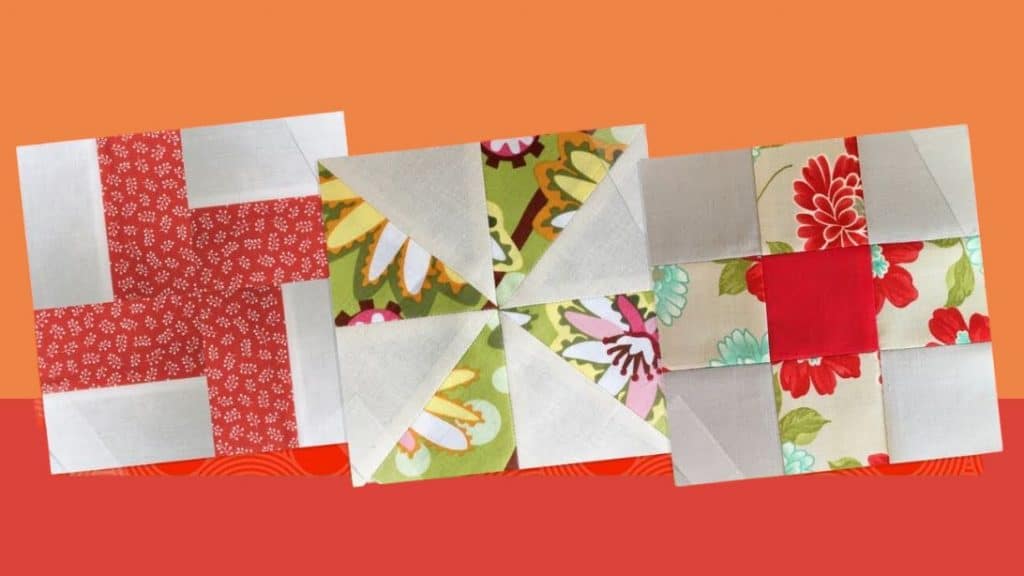
Are you new to quilting? Here are 3 basic beginner-friendly quilt blocks by Teresa DownUnder for you! Start with these designs, so you’ll learn the fundamentals of quilting. The steps are very easy to follow and not complicated at all. Read on or watch the video below for full instructions.
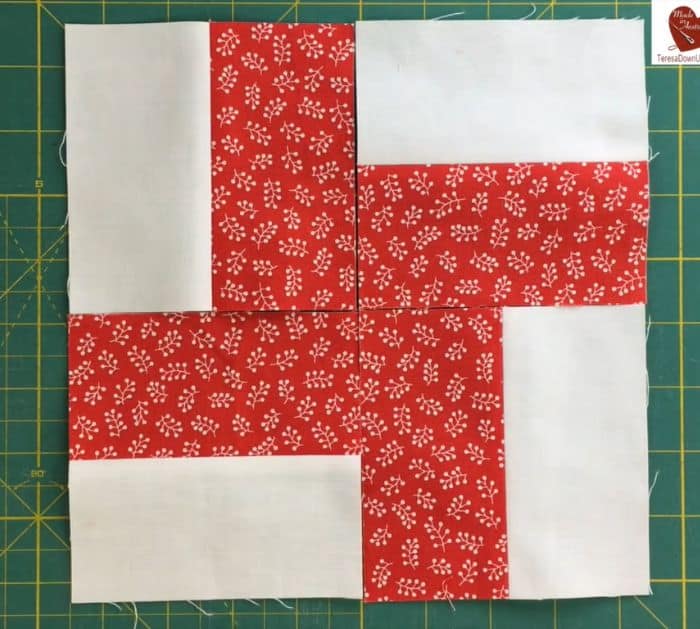
First block
Materials:
- 2 strips of 2 1/2″ x 19″ in different colors
Instructions:
Step 1:
Place the strips on top of each other right sides together. Sew on one edge with a 1/4″ seam allowance.
Step 2:
Cut four pieces of 4 1/2″ squares.
Step 3:
Arrange them in a four-patch, rotating each piece so the same color connects in the center. You can also just alternate the two colors so they look like blocks stacked together. Sew with a quarter of an inch seam allowance. The finished size will be an 8″ square.
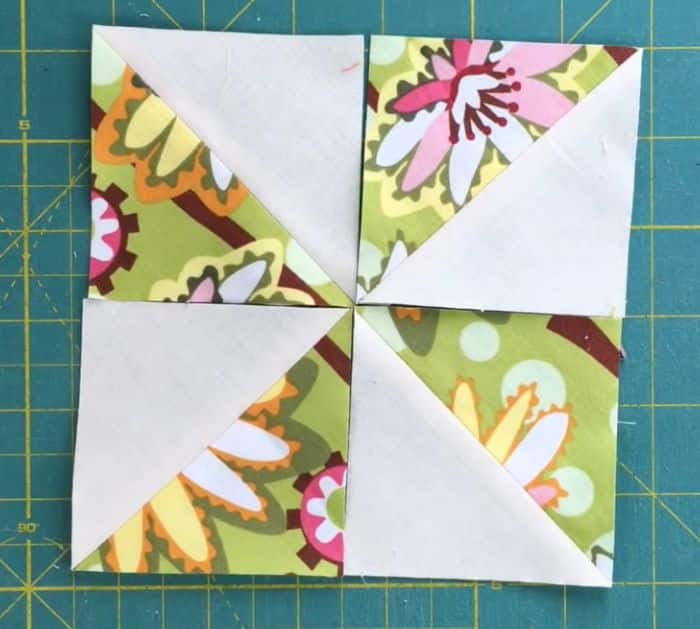
Second block
Materials:
- 2 pieces of 5″ squares (one plain and one colored)
Instructions:
Step 1:
Place the squares on top of each other right sides together and pin. Sew around the edges using a 1/4″ seam allowance.
Step 2:
Cut the square diagonally on both sides from corner to corner. Trim the corners and press the seams open. Trim half-square triangles to 3″ squares.
Step 3:
Arrange them in a pinwheel and sew with a quarter of an inch seam allowance. Press it flat. The finished block should be 5″.
Third Block
Materials:
- 4 pieces of 2 1/2″ white squares
- 4 pieces of 2 1/2″ print squares
- 1 piece of 2 1/2″ red square
Instructions:
Step 1:
Place the red square in the middle, then put the printed squares on four sides. Fill the corner with white squares.
Step 2:
Sew the blocks in rows with a 1/4″ seam allowance. Press the seams of the first and last rows in the same direction and the middle in the opposite direction. This will make sewing them easier. Sew the rows together. Make sure the seams are aligned. Once done, press it flat. The finished block will be 6″.


