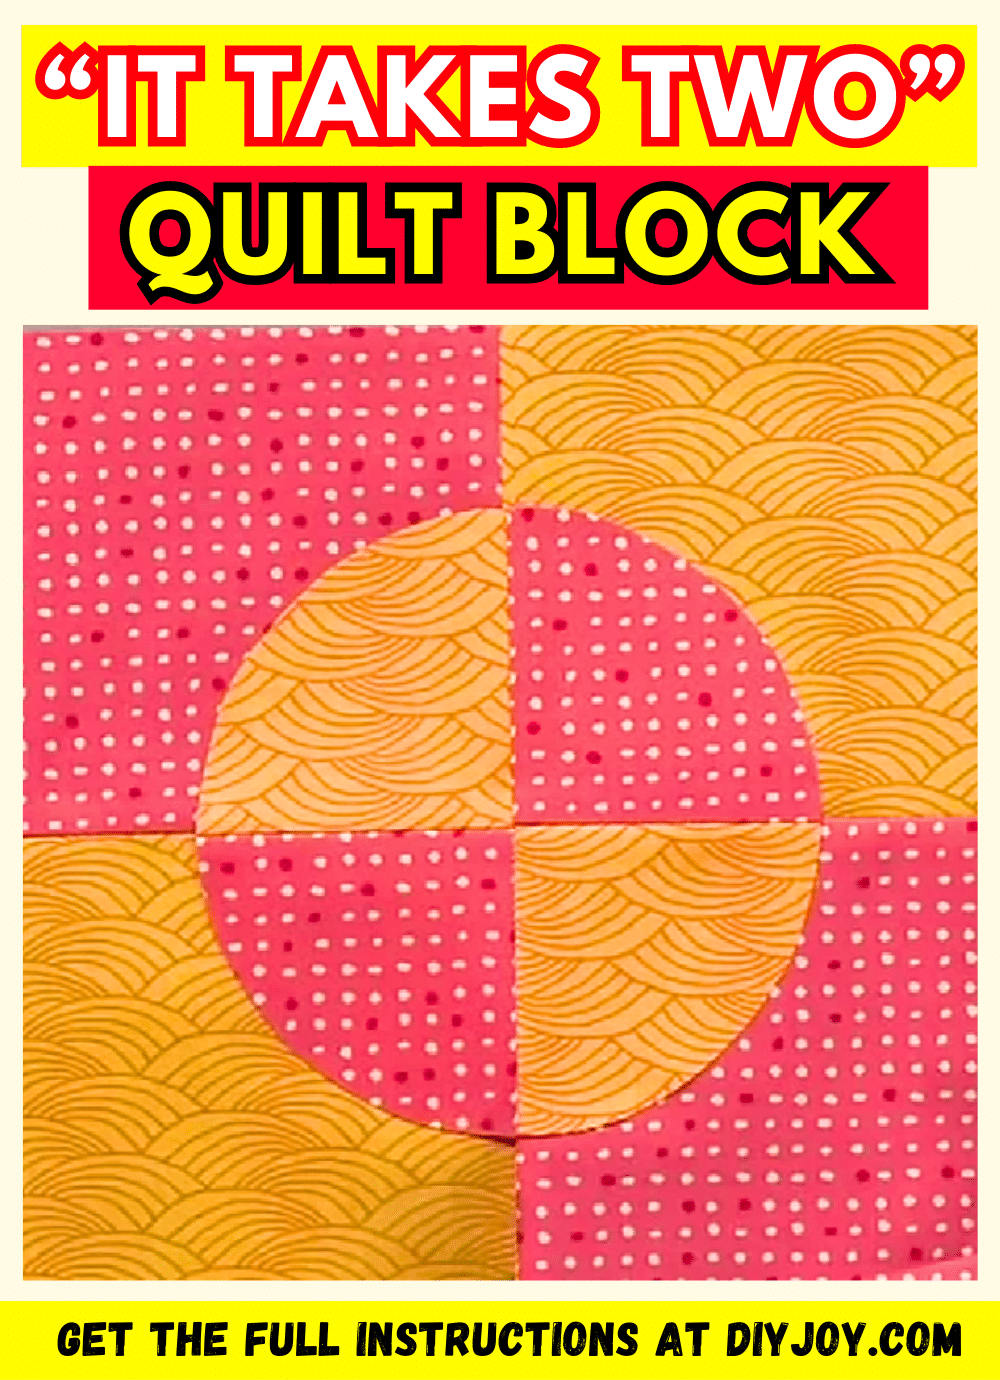
I love quilt projects that are interesting to look at or have an illusion pattern because they are so fun to make! This technique by National Quilters Circle on YouTube is one of my favorite techniques to use because there are a lot of ways that you can do it, just watch the video tutorial until the end to see all of the methods that you can try in your quilt block once you’ve learned the basic steps.
Materials:
- 2 contrasting print fabrics
- Needle and thread
- Marking pen, pencil, or chalk
- Ruler
- Fusible paper
- Iron, for pressing
- Sewing machine
Directions:
Step 1
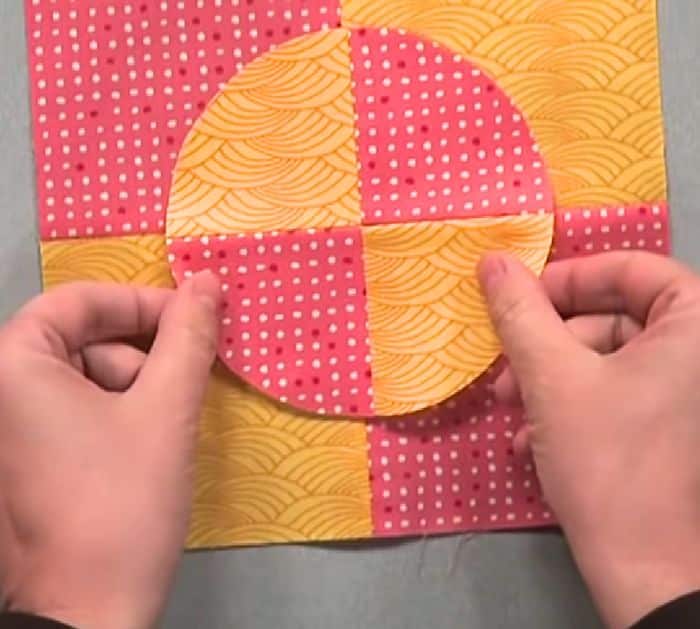
First, make 4-patch blocks, then decide what size you want your circle to be, and draw one on a piece of paper, make sure to add the horizontal and vertical lines at the center as well. Trace the shape onto a fusible paper, then roughly cut it out, and lay it on top of the wrong side of a 4-patch block.
[social_warfare]
Step 2
Make sure to center the template and match the edges nicely, then gently iron it, and once cool to the touch, cut the circle out along the drawn line. Peel off the paper, then place the circle fabric on top of a 4-patch block’s right side, and rotate it so that it’s contrasting.
Step 3
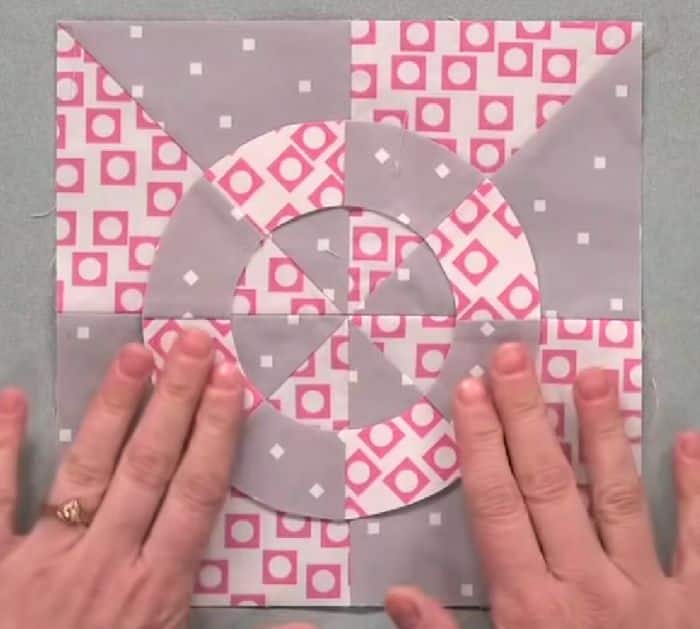
Press it in place, then blanket stitch or zigzag stitch around the edges of the circle and proceed to make more blocks as you want. You can also try different versions using this method as shown in the video.
*Thanks to National Quilters Circle via YouTube for all images used here. If you loved this tutorial, then you’ll surely love her other videos too, so give her channel a visit and subscribe!


