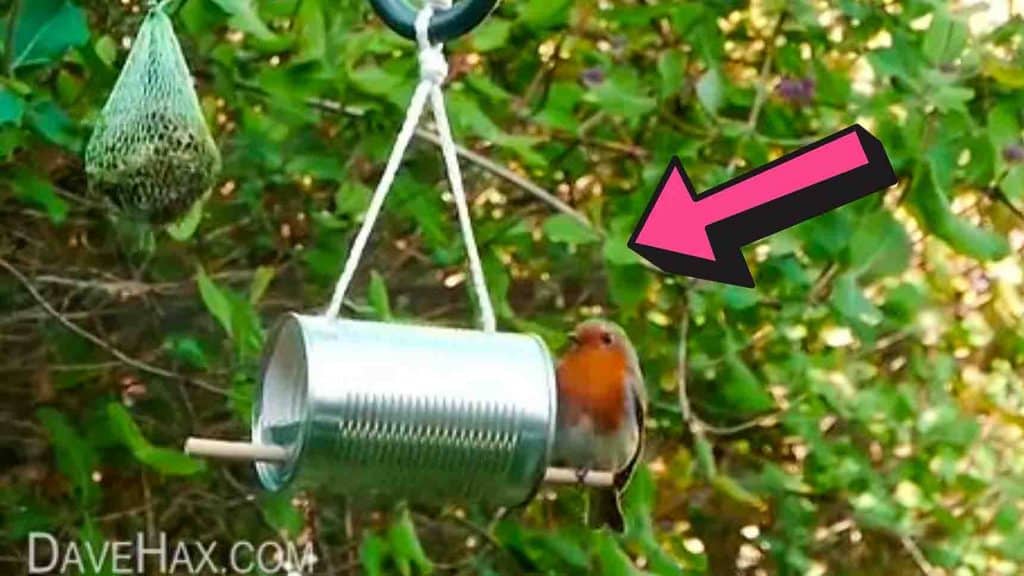
There are a lot of birds in the area where I live, and I thought to myself to make a DIY feeder for them. The problem is, I don’t know where to start, so I browse Youtube for some inspiration. While searching, I came across this bird feeder using a tin can from DaveHax. I followed the instructions carefully, and now I’m able to enjoy bird-watching with the bird feeder I made! This tutorial is super easy to follow, and it’s also perfect for recycling old tin cans. Watch the video tutorial below to learn the step-by-step instructions.
Materials:
- tin can
- tin opener
- knife
- scissors
- drill
- piece of bamboo (or wooden dowel)
- heavy-duty cord
Directions:
Step 1
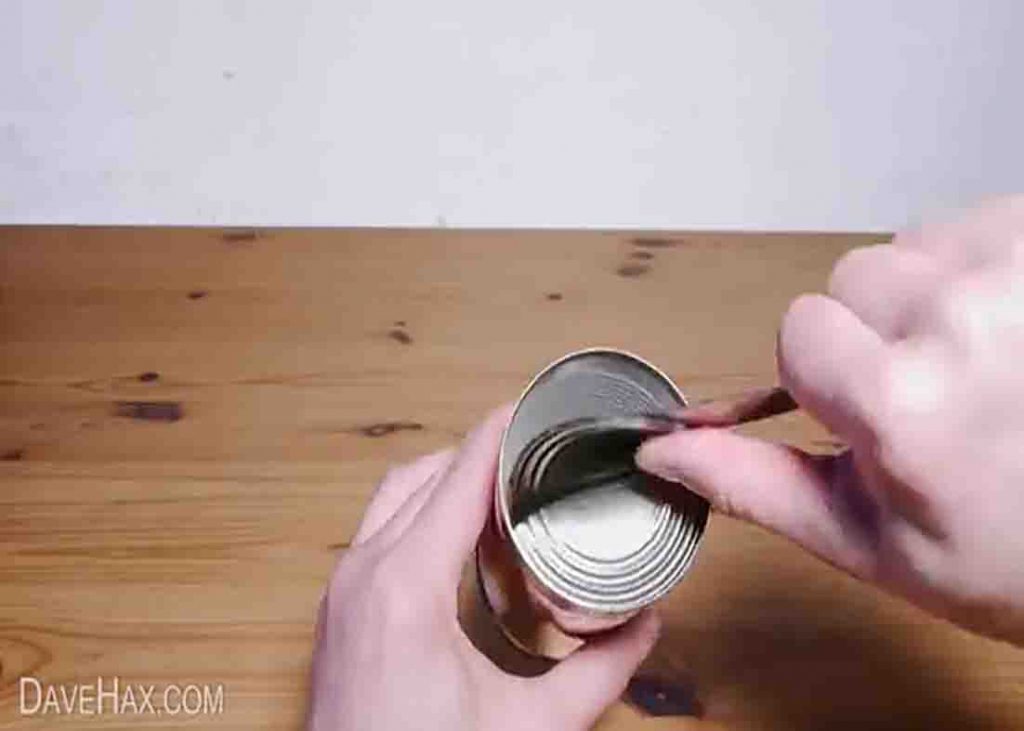
To start, remove the lid off the tin can using a tin opener, but stop just over halfway. Then, bend the can lid open carefully using a knife and pour out the contents inside. (Make sure to cut the can so the lip would stay on the body, not on the lid, making sure the body doesn’t have sharp edges.) After this, wash the can thoroughly and do the same exact thing on the bottom side, ensuring both sides match. Next, take a small slice from the lid and base using a pair of scissors, then bend these over to the inside of the can. (Be very careful with this step, you can use gloves and a blunt knife for support while pushing both lids inside.)
[social_warfare]
Step 2
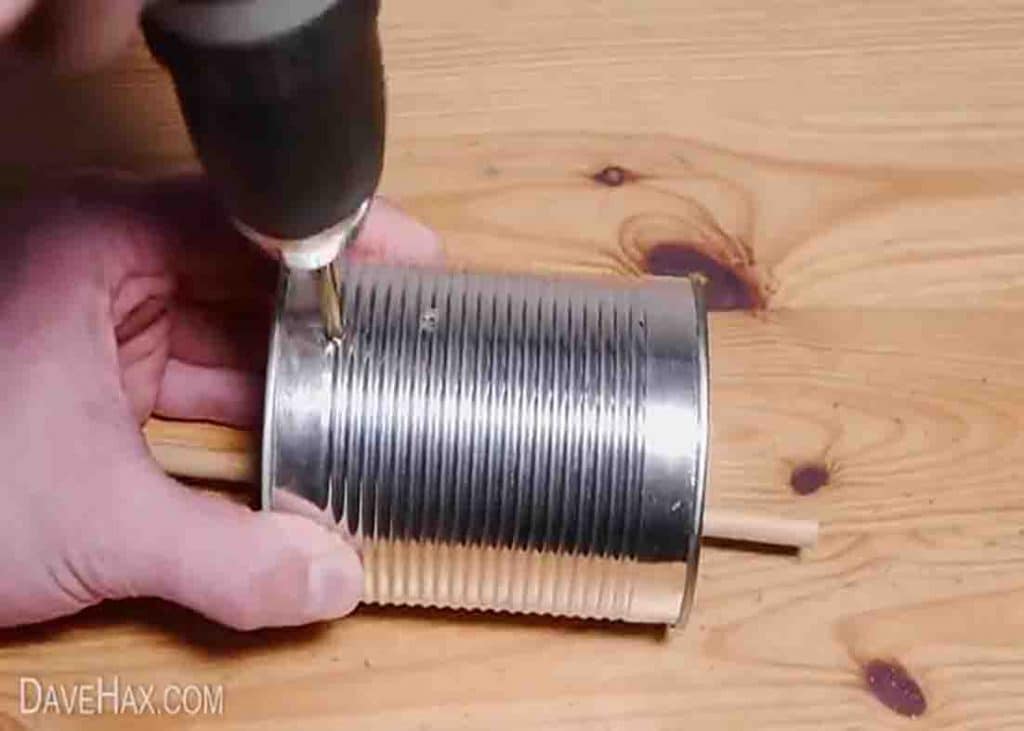
After this, drill a hole roughly in the middle, making sure both layers of the lid are being drilled. Repeat on the other side. Now, feed a piece of bamboo through the holes. Finally, drill two holes in the top, flatten any burrs with a grip, then thread a heavy-duty cord through the holes and tie the ends. Your DIY bird feeder is now finished! Put some food inside and hang it outside for the birds.
