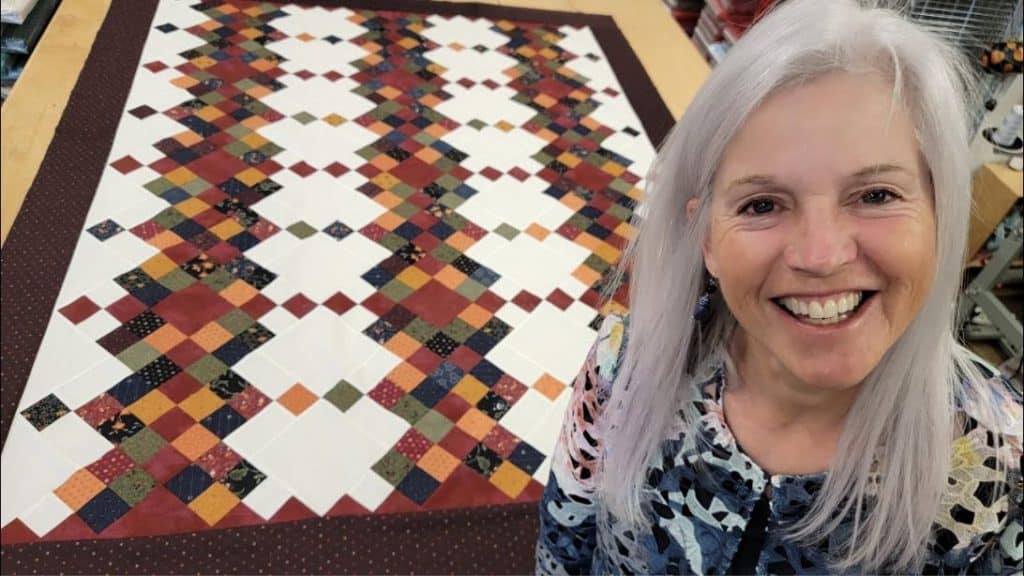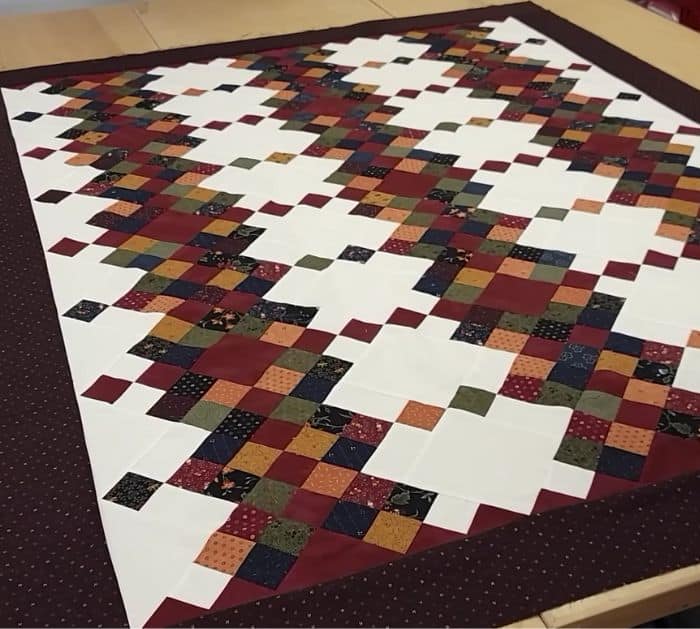
A few days ago, I was looking for a new quilt project that I can try and stumbled upon this video tutorial by Jordan Fabrics on YouTube and I immediately went to the fabric store to buy the supplies that I needed. It was such a great and beautiful quilt that I just can’t stop admiring it, and it is also one of the projects that I’ve tried which gave me quite the challenge. I enjoyed making this quilt and I will probably do this again with a different set of fabrics in the future.
Materials:
- Jelly roll strips
- 1½ yards of solid fabric, for the background
- 1⅛ yards of fabric, for the accent and binding
- 1⅛ yards of fabric, for the outside border
- 5 yards of fabric, for the backing
- Ruler
- Scissors or rotary cutter and a cutting mat
- Iron, for pressing
- Sewing machine
- Pattern (Click here to download the pattern)
Directions:
Step 1
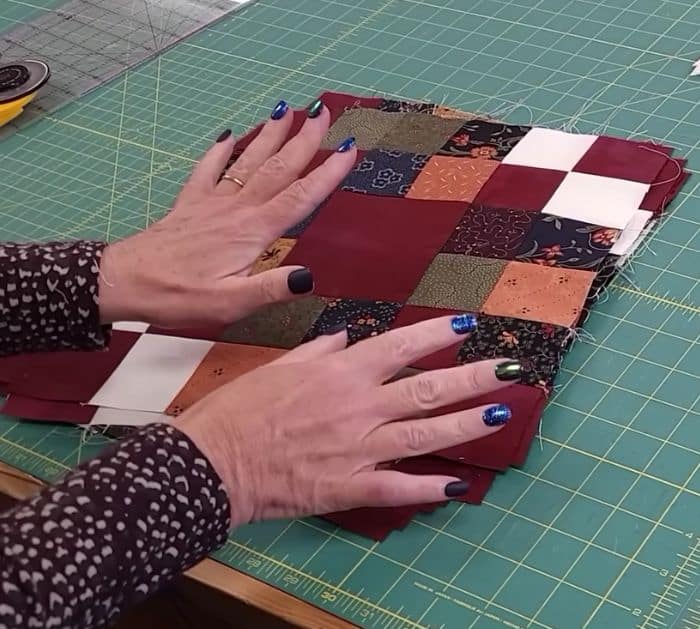
Pick out the 23 strips of fabric that you want to use, then cut them into squares, and then cut the accent and background fabric as well according to the pattern instructions. Get 4 printed squares of different colors, then sew them together to make a 4-patch block, and make sure to press the block nicely. Proceed to piece together the rest of the units, then make more of each unit as the pattern instructs, and give them a good press. Lay the patchwork blocks to make a larger block, then sew them piece by piece making sure to press every now and then, and repeat with the rest of the patchwork blocks.
[social_warfare]
Step 2
After sewing the blocks and ironing them flatly, set them aside, then sew the accent triangles with the background squares, and cut the excess fabric. Piece the patchwork blocks with the pieced triangles, then sew them together, and give them a good press. Take the remaining fabric pieces and assemble them into a block, then sew them together, and iron them flatly. Once done, lay out the patchwork blocks and triangles as shown in the video and according to the pattern diagram, then start sewing them together, and finish your quilt however you want. Get the full measurements by downloading the pattern here.
*All image credit belongs to Jordan Fabrics via YouTube. Follow and subscribe to her channel for more!


