If you’re just starting in quilting, chances are you’re still not too familiar with your quilting rulers. But worry no more, as these tips from National Quilters Circle on YouTube will guide you firsthand on using your rulers. Quilting rulers come in all different shapes and sizes, which is why it’s overwhelming to know the specific usage of each one of these. But believe me, these following tips will surely make things clear for you. Watch the video below to learn the following.
#1 Ruler Width
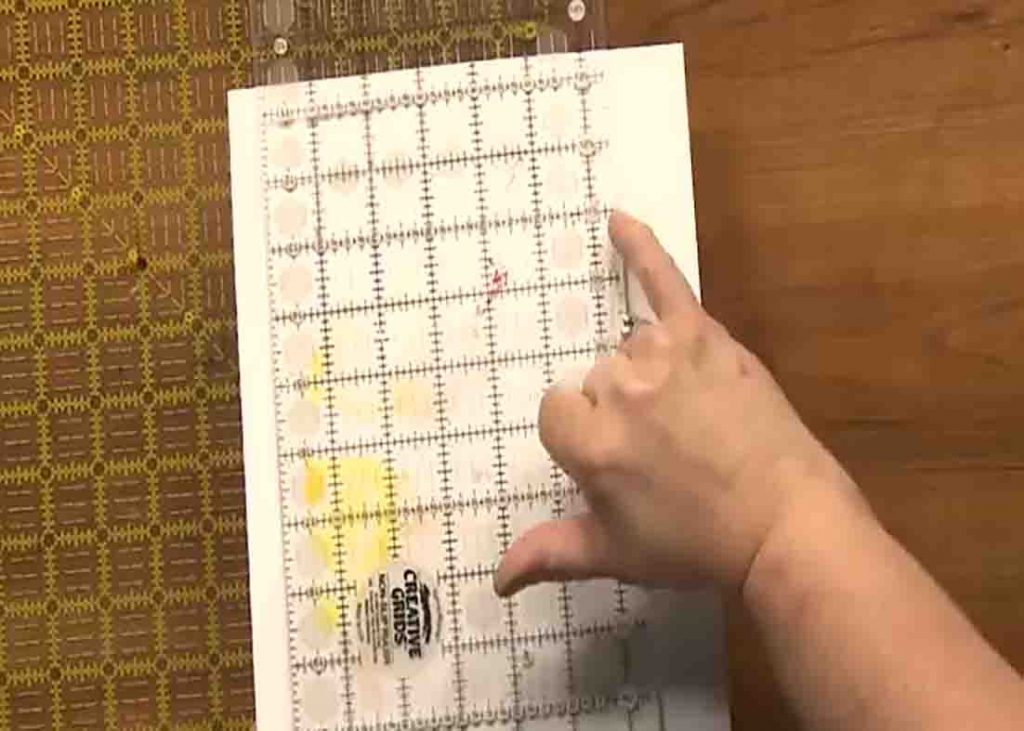
First, it’s important to know the width of your rulers. Know what all the little marks mean and understand how to properly use them so the next time you need to cut in a certain measurement, it will be easier.
#2 Ruler Information
Grab your ruler and check the information. In between every inch marking, there are four pieces of information. The half-inch is the longest, then there are the quarter-inch lines, and the eighth-inch lines. So if you want something that is three and three-eighths, the first thing you’ll know is that you won’t be working on that side because that has the half-inch increment. So look to the other side of the ruler.
[social_warfare]
#3 Ruler Angles
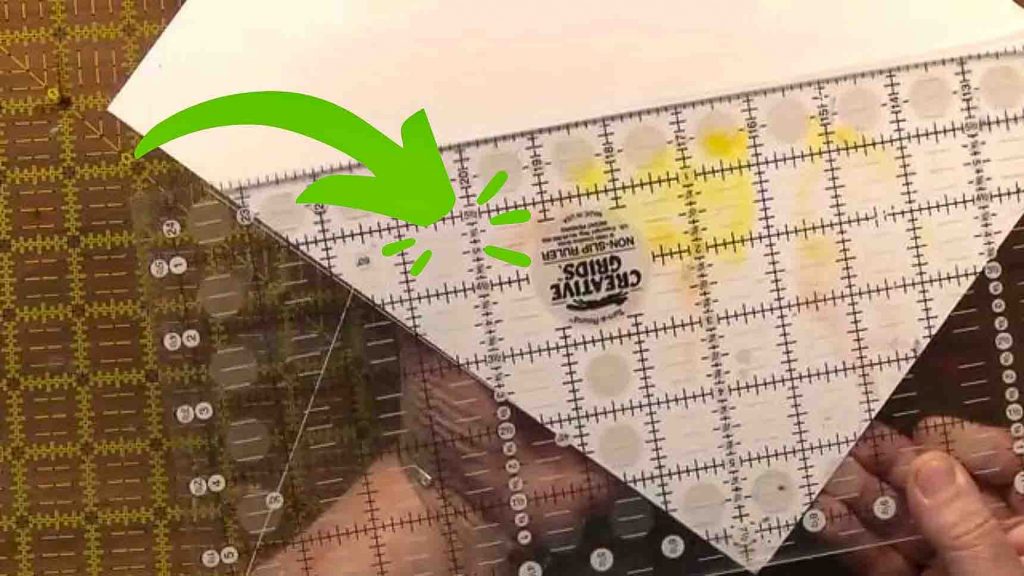
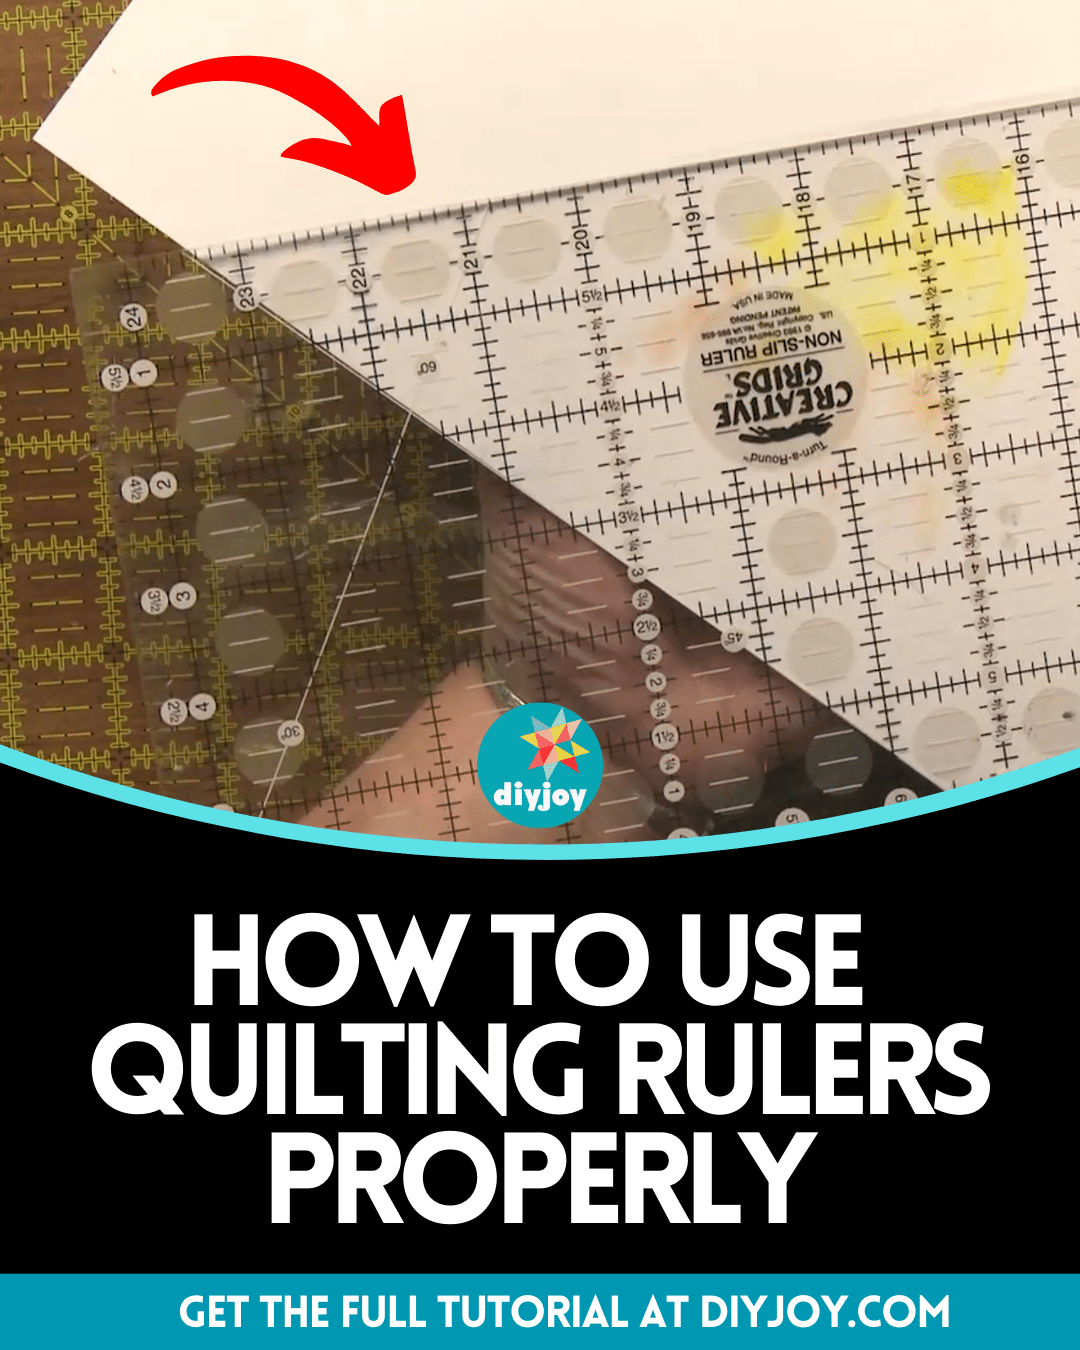
Other information on your ruler that you may not know is the 45-degree mark and the 60-degree mark. Those are important if you’re cutting unusual angles. The other side is the 30-degree. These are angle marks that you can use when you’re doing mitered corners for the borders of your quilts. With this, it’s really important to know these lines and what the use of each one is.
#4 Diagonal Lines
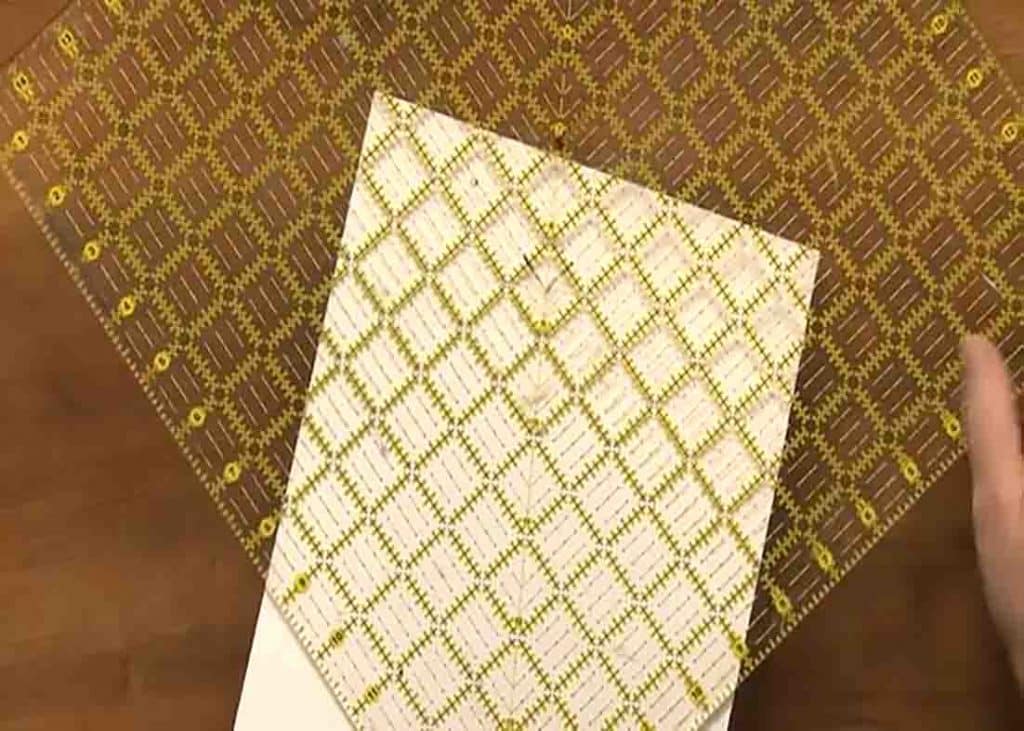
All square rulers have a diagonal line. This line is a very helpful line, not in cutting; but in the finding. If you are trying to measure something and trying square something up, you can simply find the eight-inch square. This is a valuable tool that most people don’t utilize and all square rulers have it.


