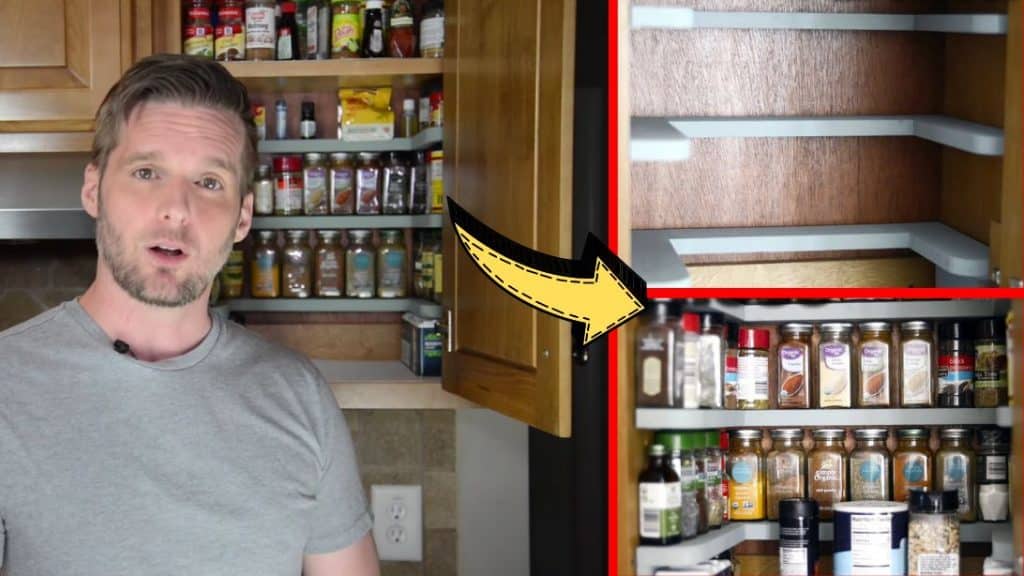
If you have lots of spices in your kitchen like me, then you might also have experienced having a hard time organizing them neatly. For the longest time, I have always wanted an organizer or a small shelf where can I place all of my spices, but at the same time, I don’t want it to consume too much space. Luckily, I found this video tutorial by Out of the Woodwork on YouTube which is a great idea because I can just utilize and upgrade my kitchen cabinet and add more spaces inside. Check this DIY project out and learn how to build one for your kitchen, too!
Materials:
- Jigsaw
- 18″ and 6″ clamps
- Wood glue
- Safety glasses
- Paint or stain, including other supplies needed
- Tape measure
- Pencil
- Speed square
- Shelf pins
- 220 grit sandpaper
- 2 pieces of 1×3 pine wood @ 6-feet long
- 1 piece of ½x4 pine wood @ 4-feet long
- Plan (Click here to download the plan for free)
Directions:
Step 1
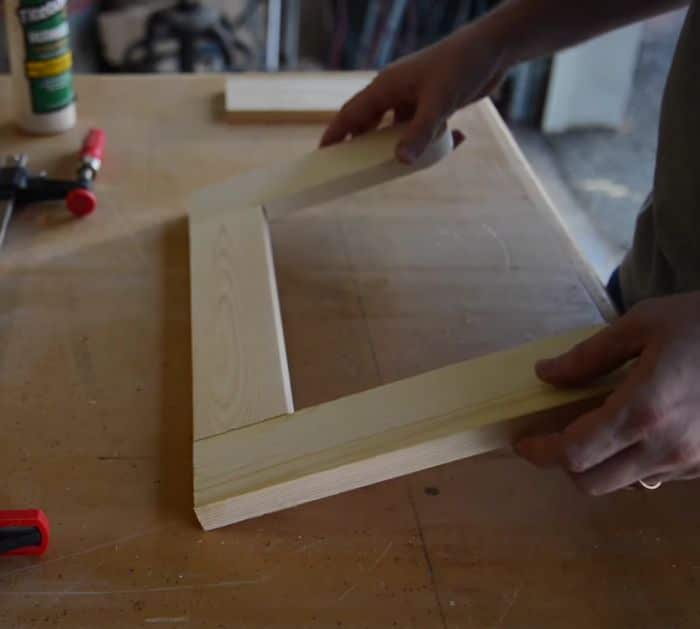
Remove the staples from all of the wood, then trim the edges straight and clean, and measure them according to the plan instructions. Cut the wood pieces, then round the edges using a round object, and trace it onto the edge of the wood as shown in the video. Cut the edge following the marked line, then smooth it out using sandpaper, and attach these curved pieces to the edges of the back and shelf sides using wood glue.
[social_warfare]
Step 2
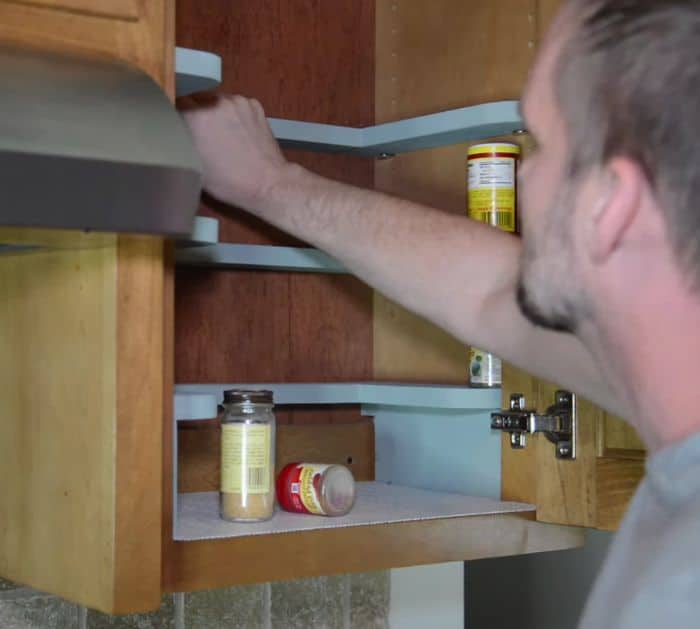
Tighten the clamp enough to firmly press the pieces together, then wipe the excess glue, and allow it to dry for at least 1 hour. If you want to stain the shelves, then sand all of the pencil marks as well as the glue residues, and proceed to stain the shelves. On the other hand, if you’re painting them, just make sure that there are no globs of glue, then you can go ahead and paint them. Clear out your cabinet, then install the shelves using shelf pins, and start organizing your spices.
*All image credit belongs to Out of the Woodwork via YouTube. Follow and subscribe to his channel for more!


