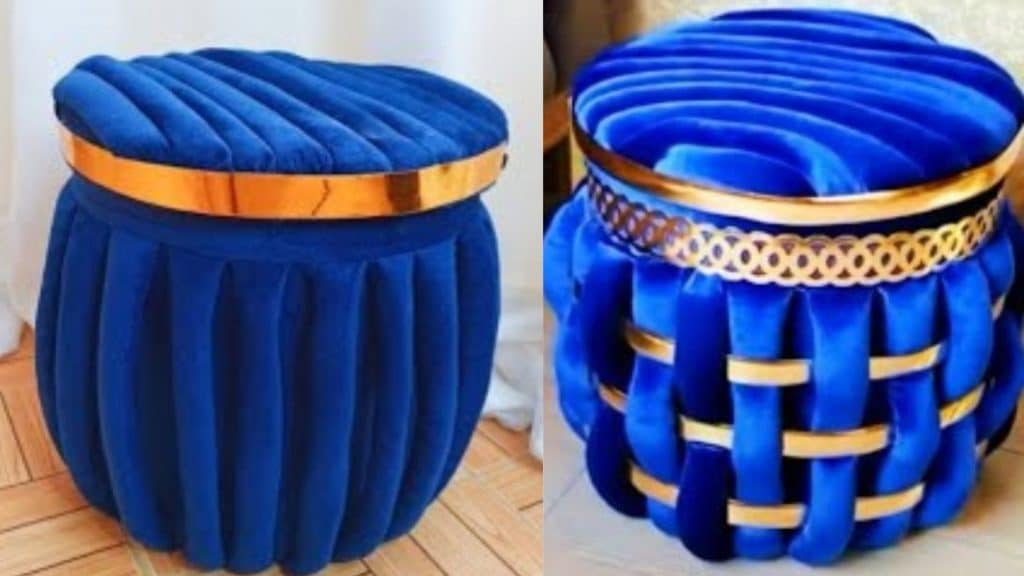
Looking for an inexpensive decor piece for your space that you can also use to store some of your items? Save a lot more money by making it instead of buying it at the shop. Learn how to make a DIY ottoman with storage using a bucket through this awesome tutorial by Christine Nore on Youtube. It’s a fun and easy decor project you can do at home on a weekend!
Materials:
- bucket
- cloth
- scissors
- stuffing
- glue gun
- gun tacker
- reflective paper
[social_warfare buttons=”Facebook,Pinterest,twitter,WhatsApp”]
Instructions:
Step 1:
Remove the handle of the bucket, then cut the top part.
Step 2:
Wrap the cloth around the bucket to measure its size, then cut it. Make another one but a bit bigger.
Step 3:
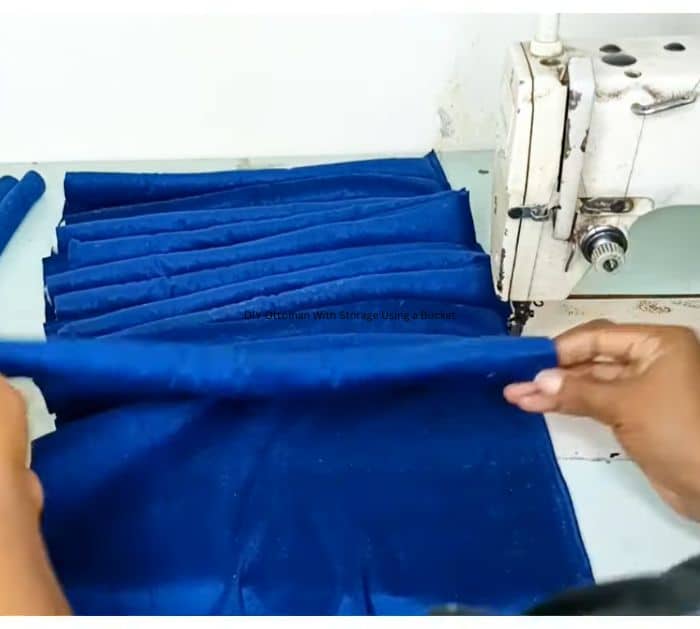
Cut some strips of cloth then fold each in half right sides together. Sew them on the edge, and flip it right side out.
Step 4:
Fill each of them with foam. Once done, sew each piece on the edge of the cloth that will be used to cover the bucket. After that, sew the bigger cloth.
Step 5:
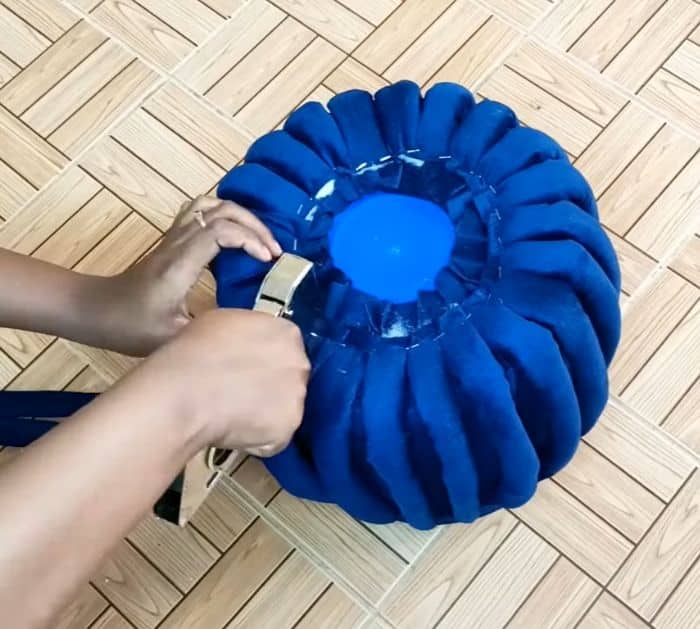
Insert the cover into the basket with the smaller cloth on the inside. Glue it on the bottom of the bucket. Do the same on the outer cover but use a gun tacker.
Step 6:
Attach each foam to the bottom of the bucket using a gun tacker. Cut a circle on the cloth, big enough to cover the bottom middle of the ottoman. Use a glue gun to attach the edges to the strips.
Step 7:
Cover the lid of the bucket with the cloth. Once done, get the remaining foams and cut them into the size of the lid. Use a gun tacker to attach them to the lid.
Step 8:
Glue a strip of reflective paper around the edges of the lid.
