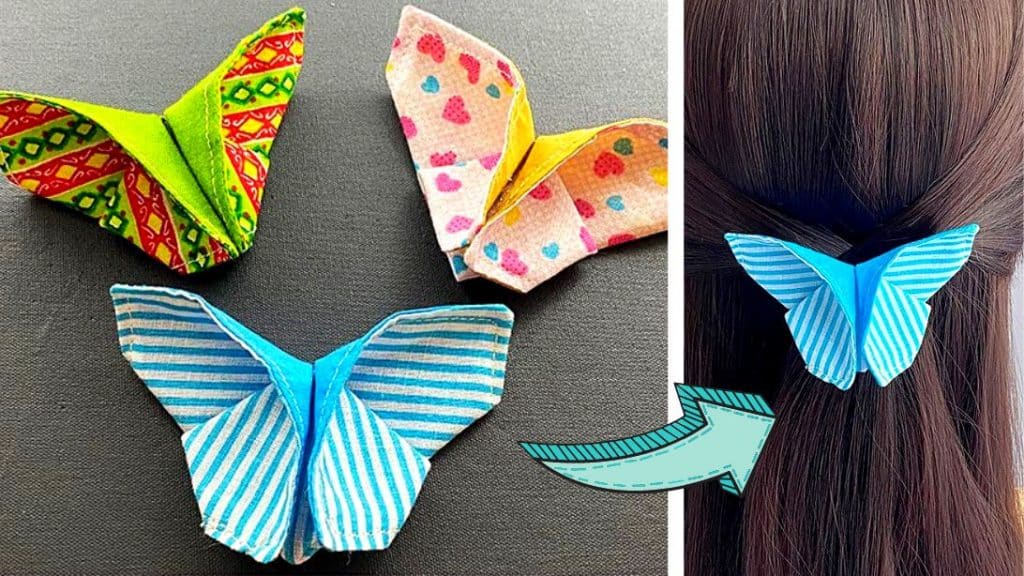
I have done a lot of sewing projects where I gathered tons of fabric scraps. I don’t want to throw them away, so I just keep them in a big storage box. A few days ago, I found this easy DIY fabric butterfly hair clips tutorial by Red Blossom Designs on Youtube, and I thought it was the best time to use them. These butterflies are so cute – I knew I need to make a lot using different patterns and colors as I wanted to give them as gifts to my friends and families. If you want to learn how to create these hair ties and clips, watch the video below.
Materials:
- fabric scraps
- pen or fabric chalk
- 5.12 in x 3.54 inch rectangular pattern
- hot glue
- sewing machine
- hairclips
- hair tie
- fabric felt
[social_warfare buttons=”Facebook,Pinterest,Twitter,WhatsApp”]
Instructions:
Step 1:
Place two fabric scraps on top of each other right side down. Place the rectangular pattern on top and trace the rectangle using a pen or fabric chalk.
Step 2:
Sew the rectangle line but leave an opening at the bottom long side. Once done, snip the corners diagonally, then trim off the sides with just a 1/4-inch seam allowance. Pull the fabric right side out and poke the corners using a point object. Sew the opening and top stitch the edges.
Step 3:
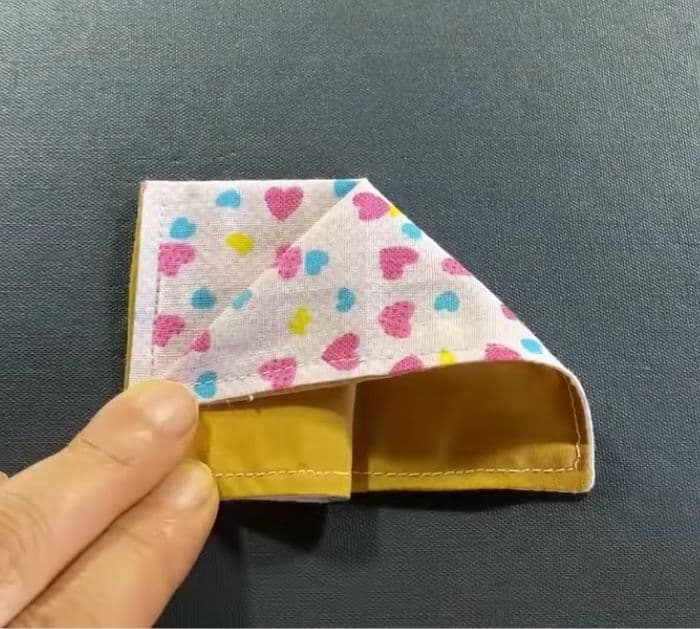
Press the fabric flat with an iron. Fold the fabric in half crosswise, then press. Fold it again in half and press. Next, take one of the folded edge corners and press to make a triangle. Do the same for the other side.
Step 4:
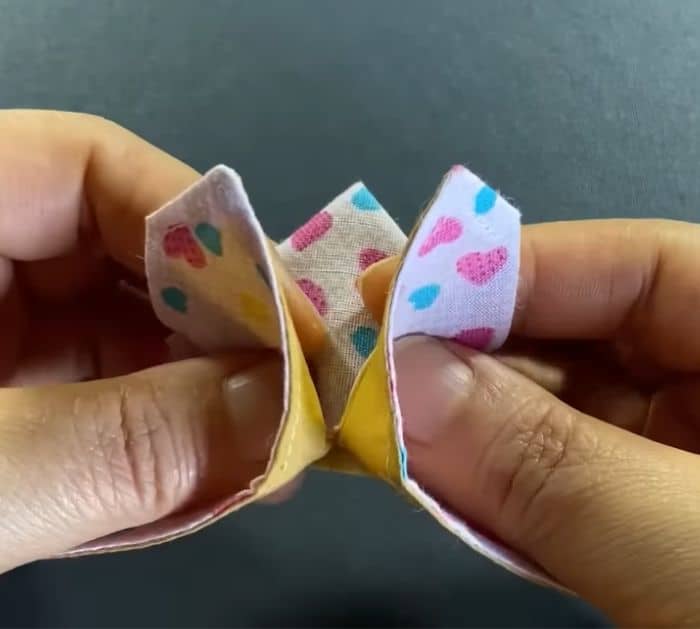
Fold the bottom rectangles upward towards the middle to make the butterfly. Add hot glue to the inside of the top part and then to the back of the wings to secure everything in place. Let it dry completely. Do the overall process with your other fabric scraps.
Step 5:
Take the hair tie or clip and glue them at the back of the fabric butterflies. Cut some small rectangular strips of felt for the hair ties and glue them to the back of the butterflies to secure them in place.
