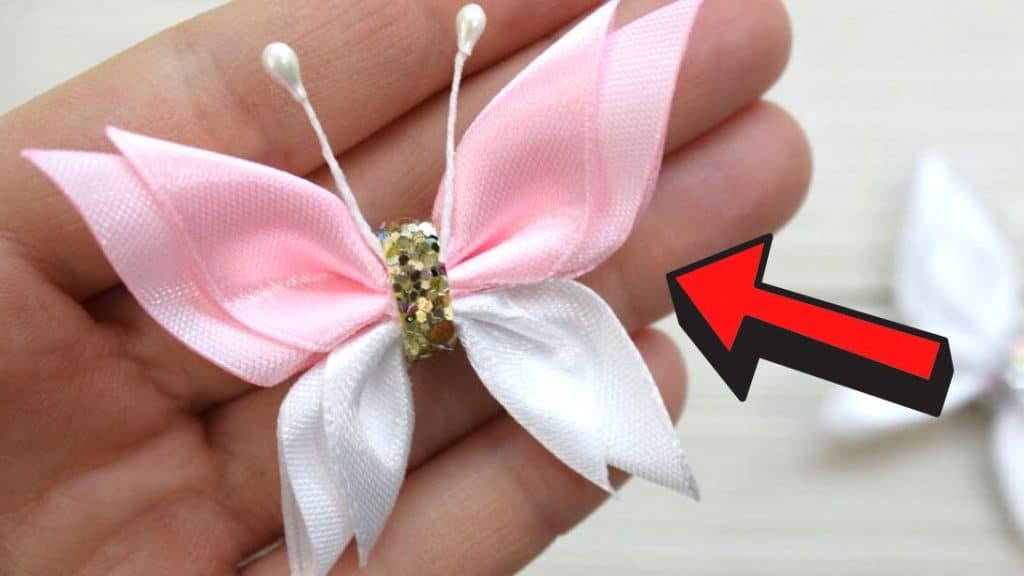
This satin ribbon butterfly will look perfect as decor for your bags, hats, or any craft project. You can make tons of it in different colors and designs. It’s a simple yet beautiful art idea by ElenaPodarki on Youtube. Learn how to make this through the video tutorial below.
Materials:
- 2-inch by 2-inch satin ribbon
- ruler
- lighter or candle
- 1.6-inch by 1.6-inch satin ribbon
- needle
- thread
- glue gun
- artificial flower stamen
- rhinestone strip
[social_warfare buttons=”Facebook,Pinterest,Twitter,WhatsApp”]
Instructions:
Step 1:
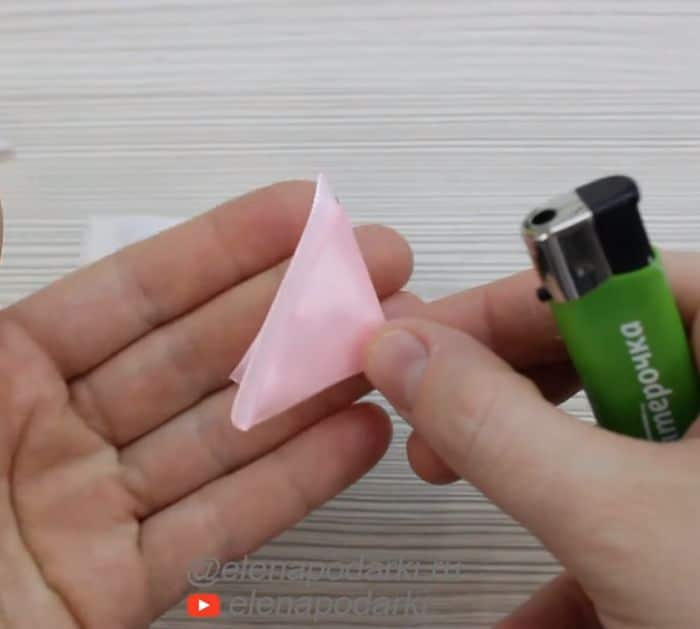
Keep the 2″ square satin ribbon from fraying by passing the edges quickly with the fire of a lighter.
Step 2:
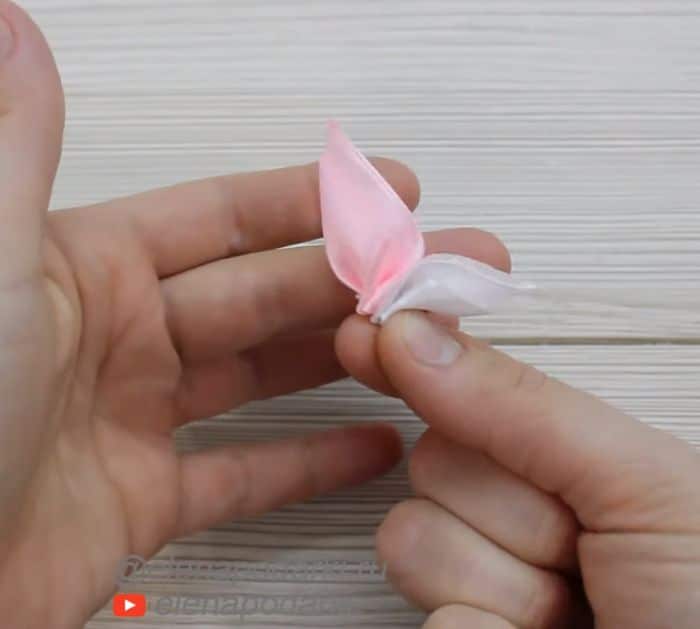
Fold it diagonally with a 0.2-inch allowance from the bottom tip, wrong sides together. Next, fold it in half, then slightly heat the bottom to make the edges look clean when folded. Set it aside.
Step 3:
Lightly heat the edges of the 1.6″ square satin ribbon to keep them from fraying.
Step 4:
Fold it diagonally with a 0.2-inch allowance from the bottom tip, wrong sides together. Next, fold it in half, then heat the bottom edges and press to fold.
Step 5:
Run the needle with a thread on the bottom of the folded 2″ satin ribbon to make two stitches. Without cutting or tying a knot on the thread, run it again on the bottom of the 1.6″ folded satin ribbon with two stitches. Pull the thread to tighten the two ribbons together and make the wings of the butterfly. Run the needle again on the bottom of the two ribbons and tie a knot. Cut the excess thread. Make another piece for the other wing.
Step 6:
Glue the wings together by adding hot glue in the middle.
Step 7:
Fold the artificial flower stamen in the middle, then glue it to the back of the butterfly.
Step 8:
Cut a small rhinestone strip, add glue to the center of the butterfly and wrap it around. Cut the excess and you are done.
