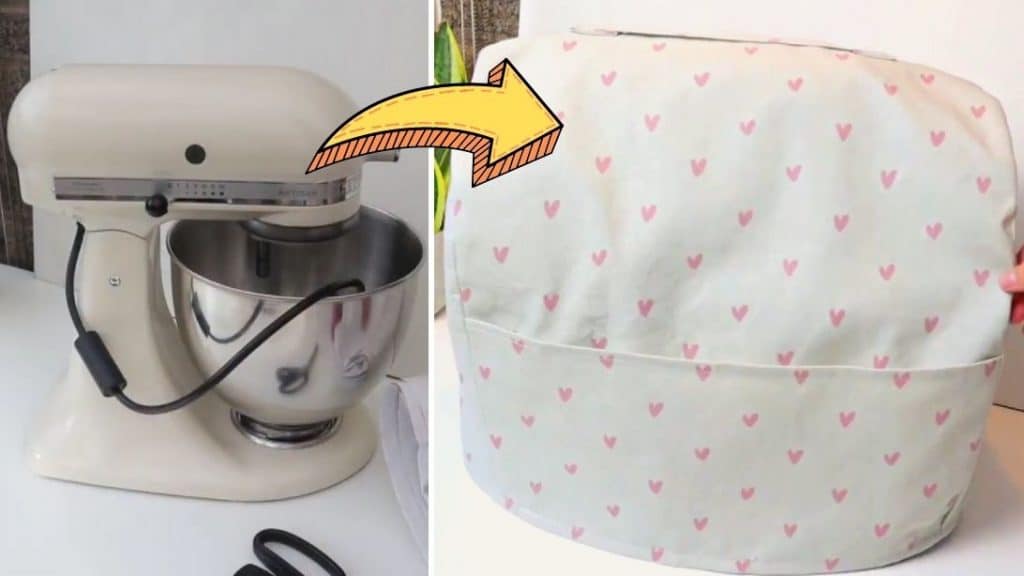
Looking for an easy sewing project to learn this week? Then, try this beginner-friendly tutorial by Agnes LDN on YouTube. This cute and simple fabric cover helps protect your stand mixer from dust and other dirt that might be roaming around your kitchen.
Materials:
- Main fabric
- Lining fabric
- Scissors
- Stand mixer
- Measuring tape
- Pattern tape
- Marking pen
- Pins
Directions:
Step 1
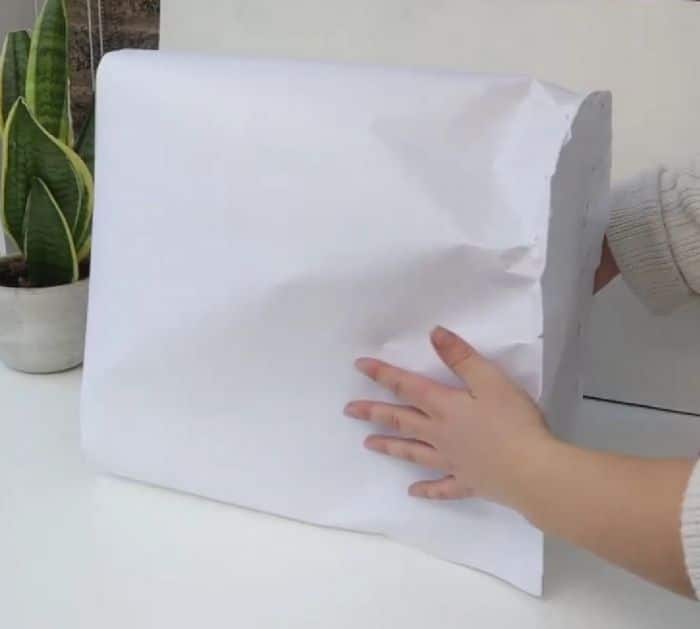
Grab your measuring tape and start taking the measurements and dimensions of your stand mixer. After taking notes of all the measurements, use them to draw a simple shape for the cover, 1 long rectangle to cover the whole body of the mixer on each side, then 1 piece of arched top and a long vertical rectangle at the bottom. Cut these shapes out, then pin the 2 pieces of pattern together in place, and insert them into the mixer. Check if it fits perfectly, alter the size and shape if needed.
[social_warfare]
Step 2
Once done and contented with the shape, you can now trace it onto your main fabric, cut 2 pieces of the arched piece, 1 large rectangular piece, a shorter rectangular piece for the side pocket, and a little piece for the handle at the top. Sew all of the pieces together, do not turn the piece to its right side out yet. Then repeat the process to your lining fabric, and insert it into your main fabric with their right sides facing each other. Pin them together in place, then sew them leaving a small gap for turning it later. Once done sewing the piece together, turn it right side out through the allotted hole. Tuck in the seams of the gap, then sew it shut.
*All these images are credited to Agnes LDN via YouTube. Give her channel a visit and subscribe for more!
