If you’re a quilting beginner, you should check out this tutorial from American Patchwork & Quilting on YouTube. You’ll be able to stitch in a straight line even as a beginner so long as you follow these steps. It’s also a great way to strengthen your quilting foundation right at the bat.
RELATED: 4 Tips on How to Use Quilting Rulers Properly
Learn the following tips on straight line quilting by watching the video tutorial below, or continue reading down for the complete written list. Thanks to American Patchwork & Quilting for these amazing beginner tips!
#1 Marking
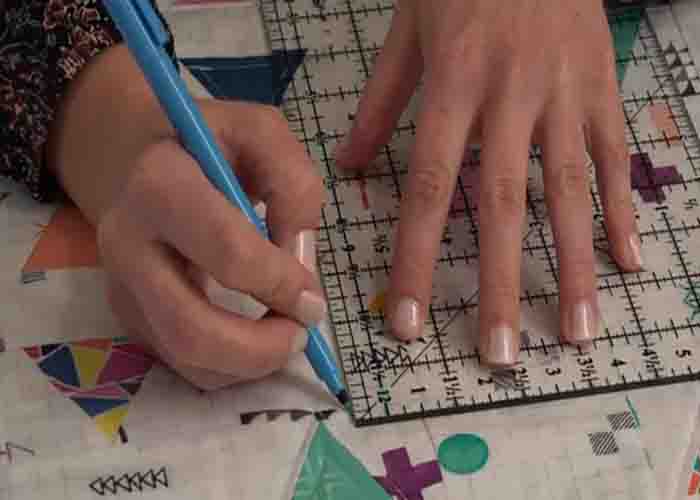
Mark your quilt with a water-soluble pen before you start quilting. You can also use painter’s tape or masking tape if you don’t like to draw directly on your quilt.

#2 Machine Setup
Make sure to use a walking foot when quilting. It’s an optional accessory but definitely a worthy investment if you do a lot of quilting.
#3 Using Guide Bars
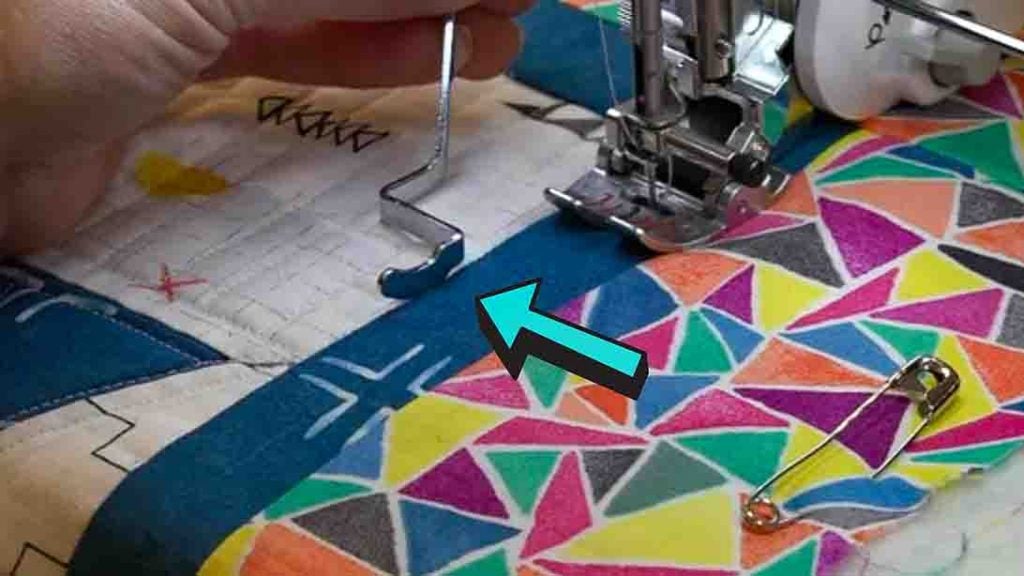
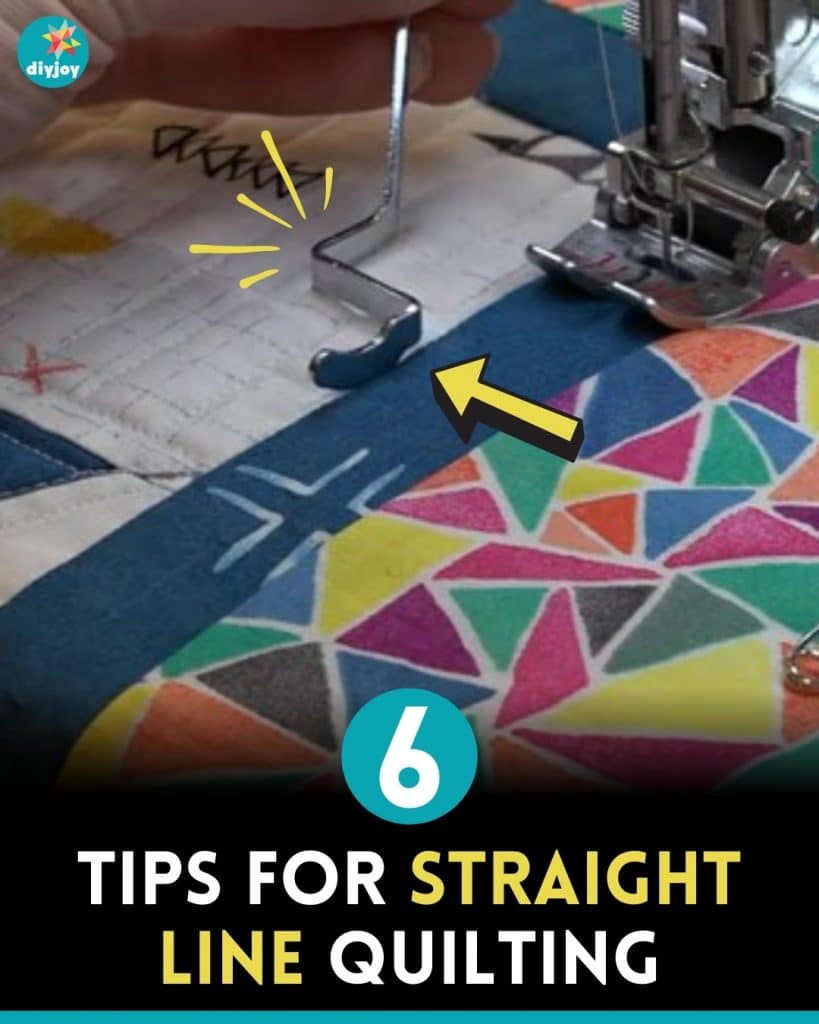
Quilting bars are also a helpful accessory. These can be added on the right or left side of the walking foot which can help you get perfect spacing.
#4 Using a Crosshatch
A crosshatch is a diagonal lines that intersect either across the quilt top or a quilt block. It’s a simple way to use straight lines when quilting. The great thing about this is that you can stitch this in a continuous line, avoiding starts and stops. First, figure out the spacing you want in your quilt, then mark it throughout the quilt.
#5 Stitching the Crosshatch
Start stitching down the longest diagonal. When you get to the corner, stop your needle down, pivot, and then continue sewing in the seam allowance to the next marked line.
#6 Finished Crosshatch
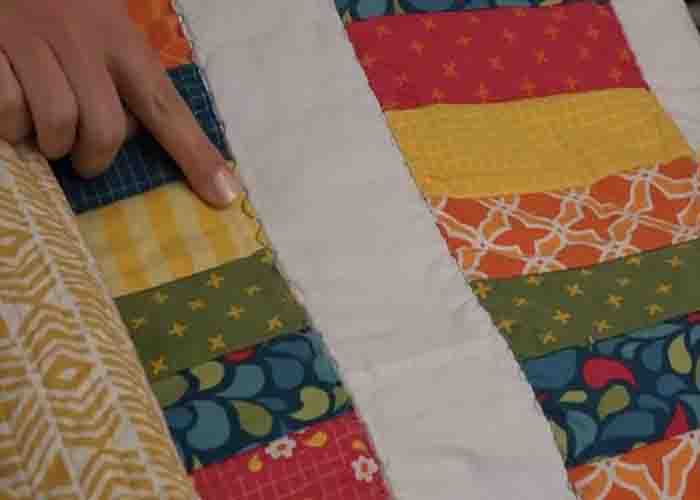
You should be able to finish the project with just one continuous line of stitching.


