Do you have a lot of strings from your past sewing projects? Here are 6 fast and easy quilt blocks by Just Get It Done Quilts that will help you reduce your pile of scraps. Be creative as you want with these different styles. For tips and a detailed explanation of these blocks, watch the video below.
Block 1: Scrappy coin block
This is a stack of strips sewn together horizontally. You can have all the strips with the same or different widths. What you need to do is stack the strips and trim them to an approximate length with excess then sew them together until you get the height that you want. Once done, trim. Just remember to sew straight and press. You can stack your blocks into a column and make a rain chain quilt or place several contrasting columns together.
Block 2: The scrappy 45
This second block is similar to the last one but the strips are sewn at a 45-degree angle. Start with the longest strip which goes from the top left to the bottom right. Just keep adding strips to both sides until you have the desired size. Many quilters contrast one side of the block with the other side with a different color. When the blocks are put together to make a bigger block it can create a very striking layout. Some people use a solid piece on one side and sew the other side in strips.
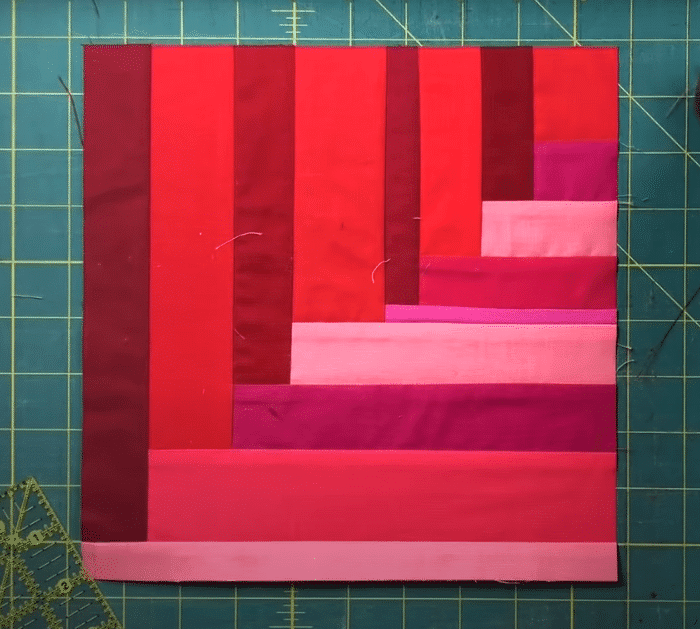
Block 3: Scrappy ‘L’ block
This block starts with a square or rectangle in the center. You just keep adding on the top and side. Continue until you have the size that you want. Create a contrast between the ones on the horizontal with the ones on the vertical either by value or color.

[social_warfare buttons=”Facebook,Pinterest,Twitter,WhatsApp”]
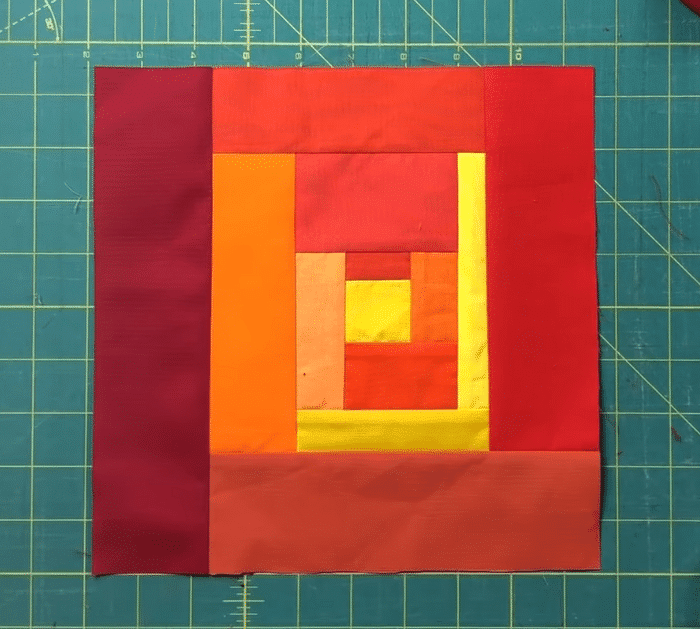
Block 4: Scrappy log cabin
This starts the same with the L. You sew along the top, then sew a strip along the side but you continue all the way around. It’s your choice if you want to use the same size of strings or you want to vary them.

Block 5: Scrappy Court House Steps
This block is similar to the two previous blocks that start with a square in the center. Instead of sewing around, you sew in pairs. So you sew a strip on the top and bottom, then sew a strip to the two sides.
Block 6: Scrappy braid
Start with a square. You need to work with pairs of the same width. Sew one to the left side and one to the right. You want to line up all intersections. Continue by adding pair of strings. It is okay to use pairs with different widths. After every pair, check with your ruler if it is intersecting all the points with the others.


