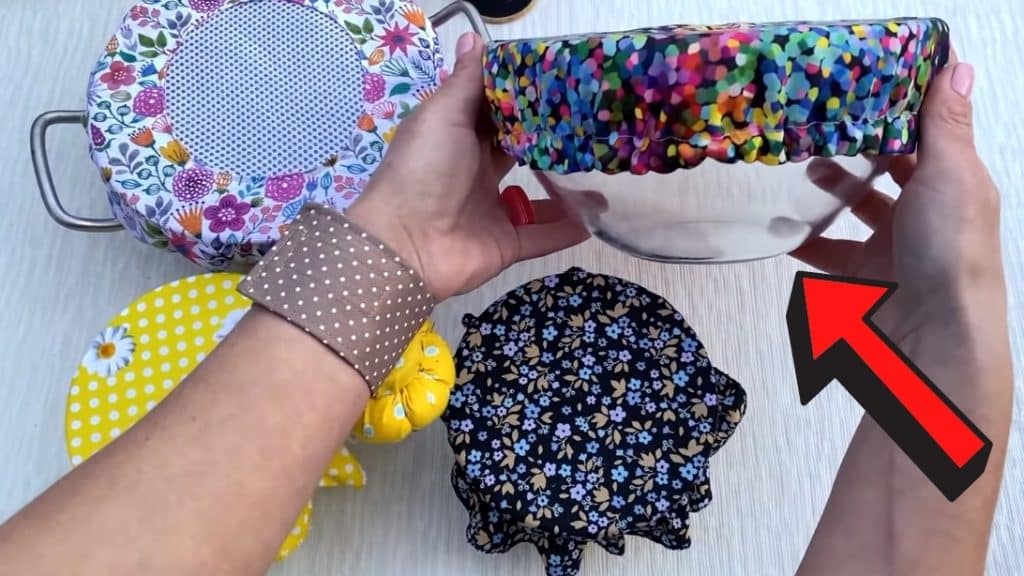
If you love cooking and sewing, then these might be the best sewing projects for you. Here are 3 DIY fabric scrap bowl covers tutorials by Estadistica Datos del Mundo on Youtube. They are very easy and fast to make. Plus, these also help the environment in reducing plastic and fabric waste. Cover your food and fruits with these lovely DIYs.
1. Mini fabric bowl cover
Materials:
- fabric scraps
- elastic (0.2 inches wide)
- small bowl
Instructions:
Step 1:
Get your fabric scrap and lay with the right side down. Trace the mouth of the bowl on the fabric. Once you have a circle, measure 0.4 inches around the circumference, then create a bigger circle. Once done, cut the circle and sew the edges on a zigzag stitch.
Step 2:
Get the elastic and place it between the circles. Start with serrations and continue with zigzag stitching. Stretch the elastic and curve it as you go to form a circle. In the end, sew the elastic on top of another with a 0.4 overlap.
2. Waterproof reversible fabric bowl cover
Materials:
- cotton
- waterproof fabric
- big bowl
- elastic
Instructions:
Step 1:
Place the waterproof fabric on top of the cotton with the right side facing down. Trace the bowl and make another circle, 2 to 2.4 inches bigger. Secure the fabrics with pins and cut.
Step 2:
Mark 2.4 inches on the outside circle for the hole, then sew the circumference with a 0.3-inch seam allowance. Once done, make cuts on the allowance and pull the right side out. Fix it using a stick and use an iron to flatten.
Step 3:
Measure the elastic you are going to use and add 0.12 inches allowance. This will be the seam allowance. Then sew the circle with that measurement. Once done, insert the elastic. Before cutting, check the tension of the cover. Then make a zigzag stitch to the ends of the elastic. Lastly, sew the gap.

[social_warfare buttons=”Facebook,Pinterest,Twitter,WhatsApp”]
3. Mesh fabric bowl cover
Materials:
- cotton fabric
- sailcloth
- mesh fabric
- elastic
Instructions:
Step 1:
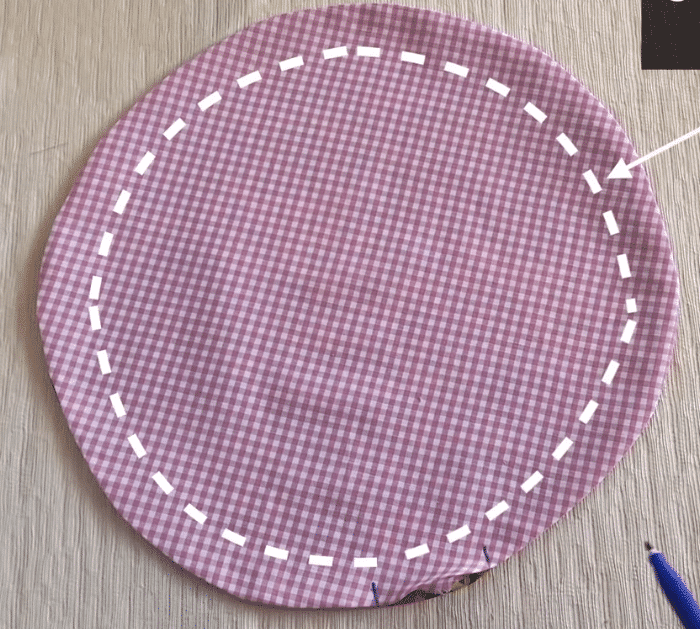
Place the sailcloth on top of the cotton fabric facing right side down. Then trace the circumference of the pot. Once done, mark points around by measuring 1.57 inches from the circle towards the center. Then make a circle. Secure the fabrics with pins and make a basting stitch on the smaller circle.
Step 2:
Trace another circle, 2 inches bigger than the outer circle, then trim. Fold it in half and cut a 0.4-inch circle in the center. Then make cuts on the circumference of the trimmed circle. Flip the fabrics with the right sides out and iron. Remove the basting thread.
Step 4:
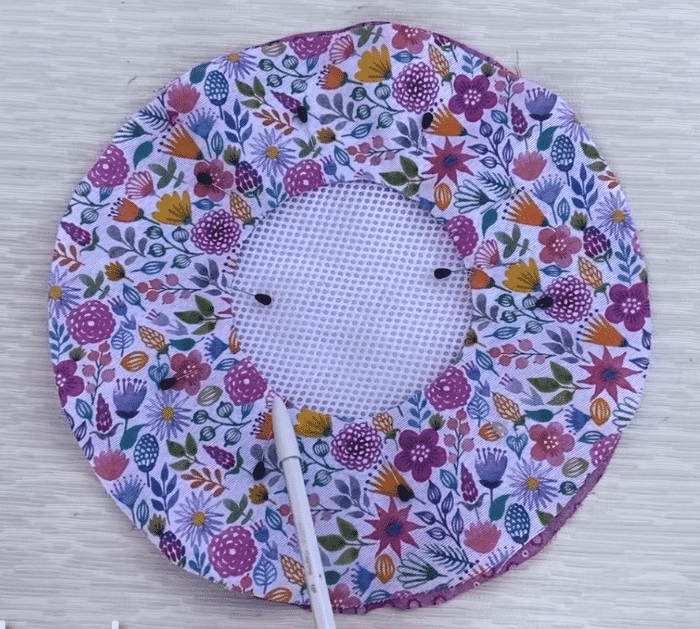
Cut a mesh fabric to cover the center hole. Then place between the two fabrics. Secure with pins and sew the circumference of the small circle. Once done, sew the circumference of the outer circle.
Step 5:
For the edge lining, it should measure 0.8 inches once both edges are folded. Bias fold to 0.4 inches and sew along the line. Do the same once you reach the other end. Next, fold the bias and sew to the circumference of the fabric. Once done, insert the elastic and make a zigzag stitch on the ends.

3 DIY Fabric Scrap Bowl Covers


