I got really excited about this DIY project and absolutely had to make these! I fell in love with them the minute I saw these!
She cuts a brown bag or craft paper into several layers. Next, she takes the Aleene’s tacky double stick sheets and attaches to the front and back of the brown paper, then she takes a third sheet and attaches the double stick tacky sheets to it. Then she attaches a piece of aluminum foil, she cut to the same size, to the other side of the sticky sheet. Then she attaches a sticky sheet to the back side of the brown paper and then attaches aluminum foil to that. This probably totally confused you, so it’s best to watch the tutorial!
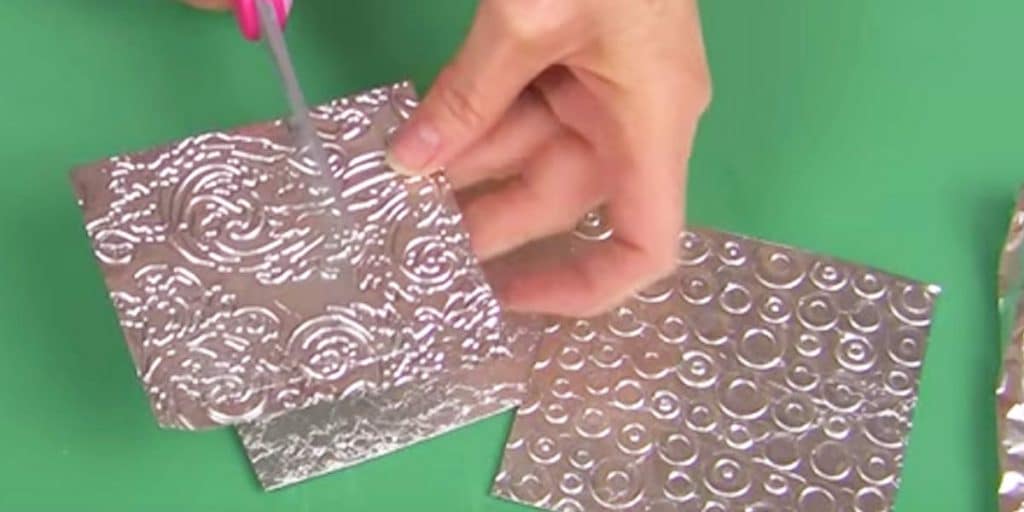
The next thing she does is smooth the foil with a pencil to help push all those layers together. You can either use the foil the way it is or use an embossing folder to press some awesome designs into the paper and foil.
You can buy embossing folders at Jo-Ann Fabrics, Amazon and craft stores, but the cheapest I saw them was $2.99 at Jo-Ann Fabrics.
After using the embossing folder you will cut the shape you want your earrings to be. She makes sure that there are no sharp edges by trimming them really good. Then she uses a hole puncher and punches holes in the top center and adds a jump ring and the fishhooks for her earrings to hang.
Watch how this gal, with My Life, makes these incredible earrings in her step by step tutorial so you can make some too! And, don’t forget…these make awesome gifts!