Glitter foam sheets are one of my favorite materials for crafting — they’re fun, easy to work with, and instantly make any project sparkle. There are so many DIY crafts you can create with glitter foam, and it’s perfect for making your holiday decorations stand out. This Christmas, I decided to make some glitter foam Christmas ornaments that are simple, beautiful, and budget-friendly!
This DIY Christmas ornament idea is beginner-friendly and easy to follow. Even if it’s your first time crafting, the instructions are simple enough to help you create a perfect ornament with minimal effort.
If you’d rather skip store-bought ornaments and make handmade Christmas decorations, you’ve come to the right place. I’m sure you’ll love this project as much as I do — and once you start, it’s hard to stop at just one!
RELATED: Easy DIY Glitter Foam Flowers
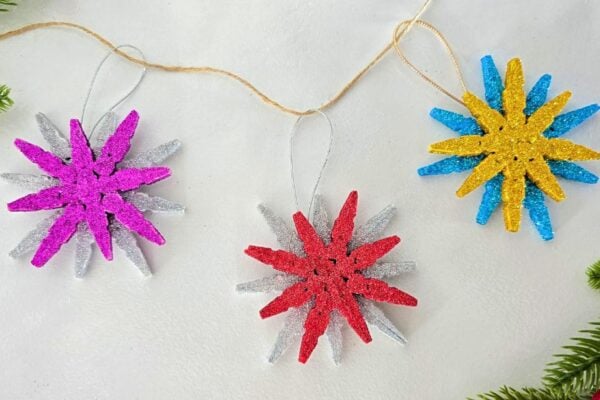
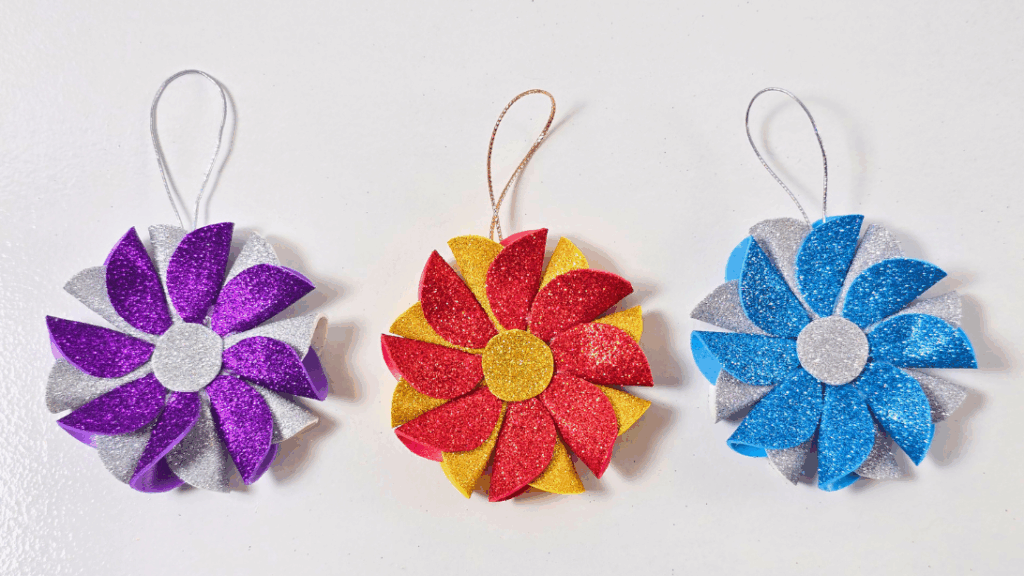
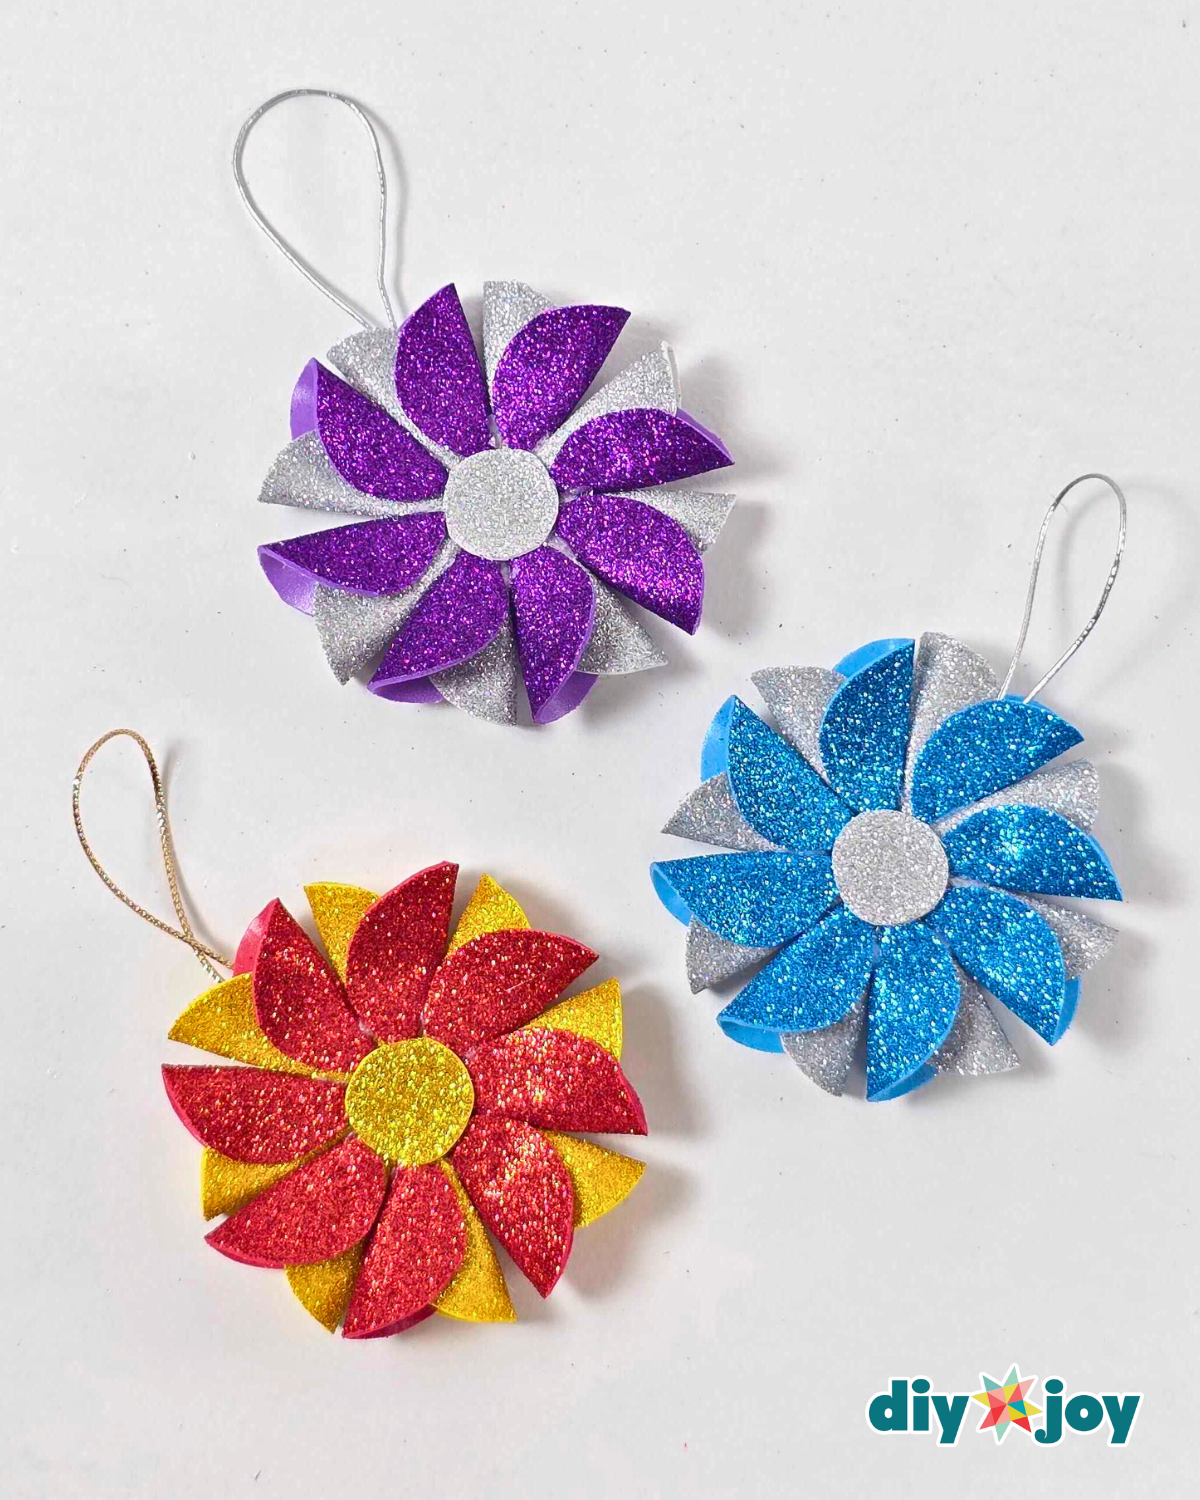
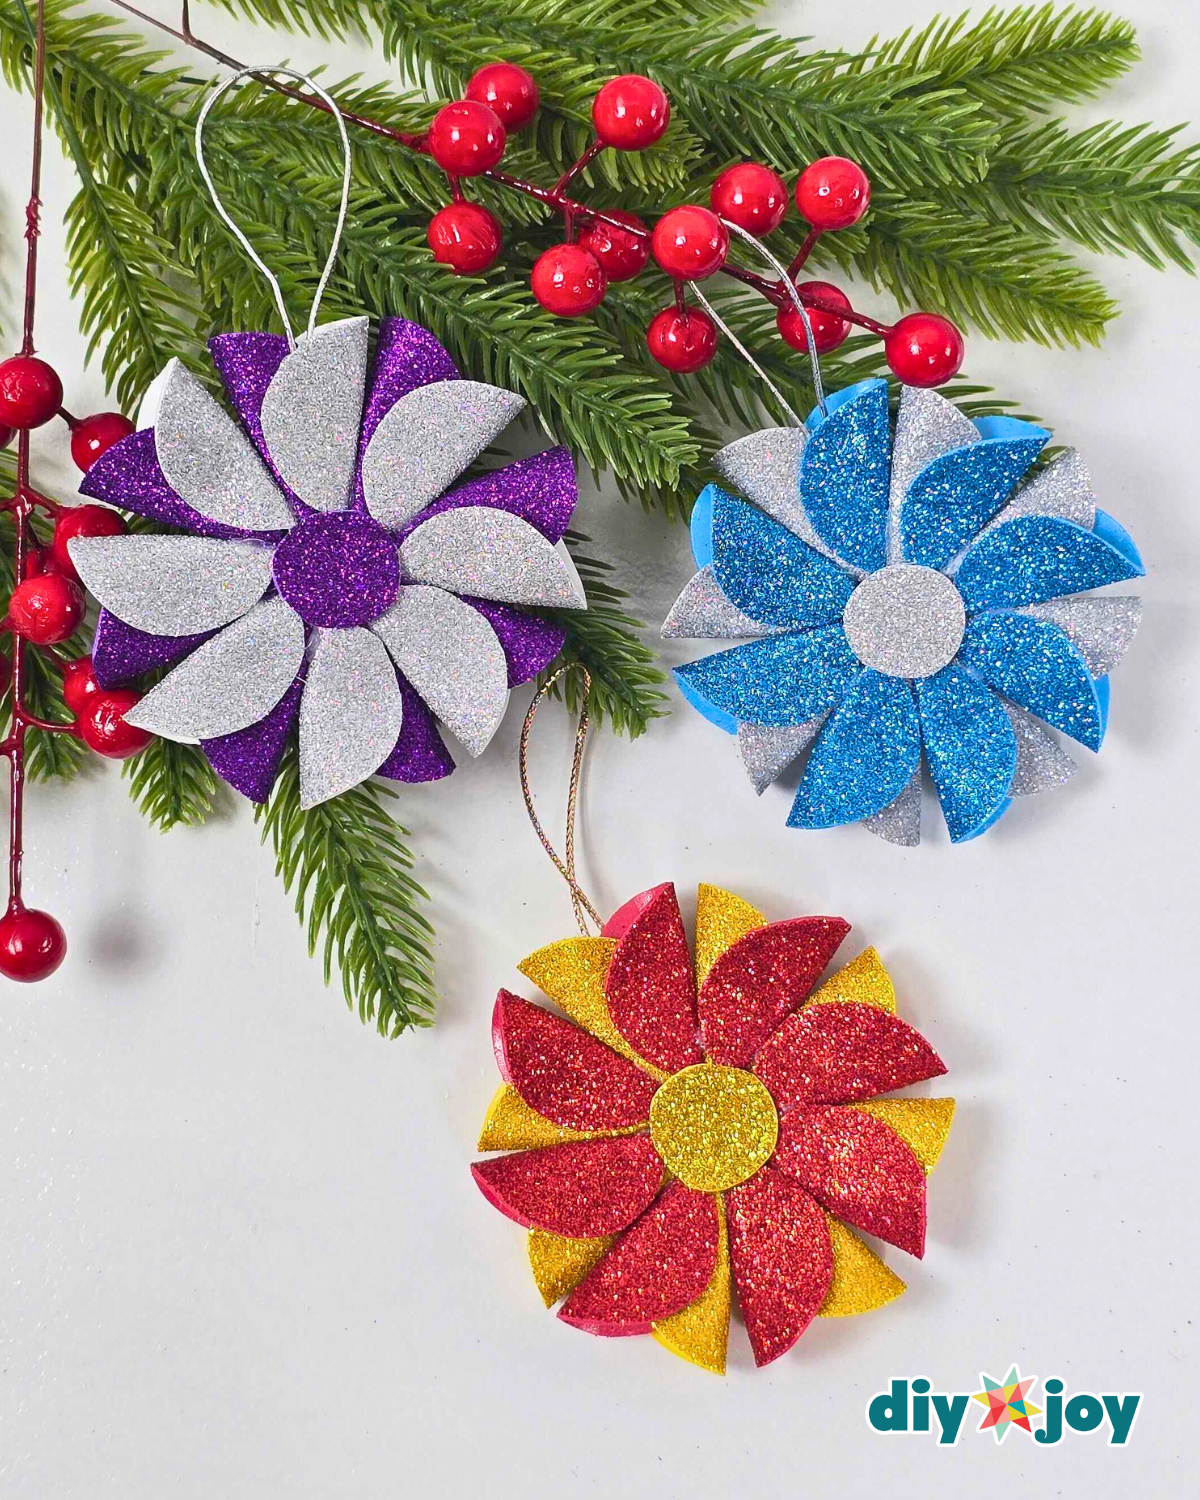
You can make these ornaments in different sizes to fit your tree, or mix and match colors to suit your style. The possibilities are endless, making this a fun and creative Christmas craft for kids and adults alike.
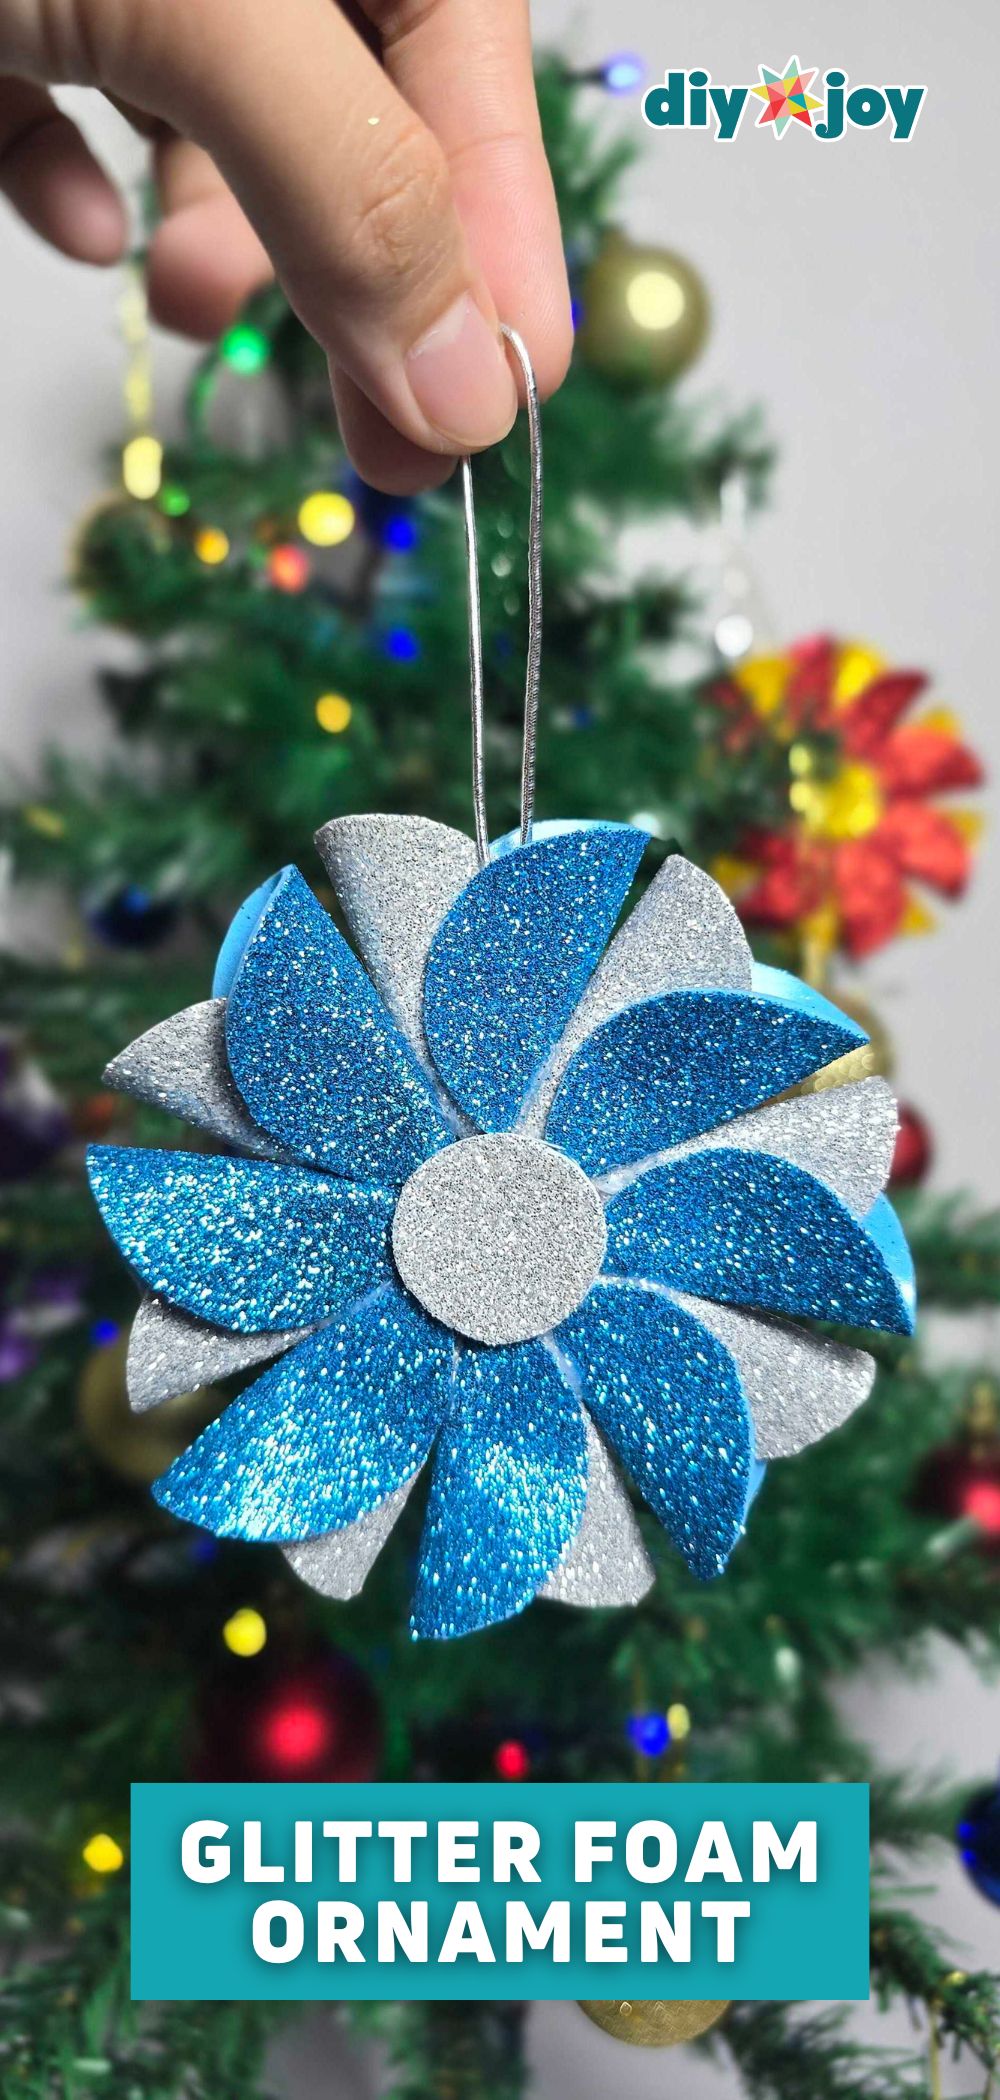
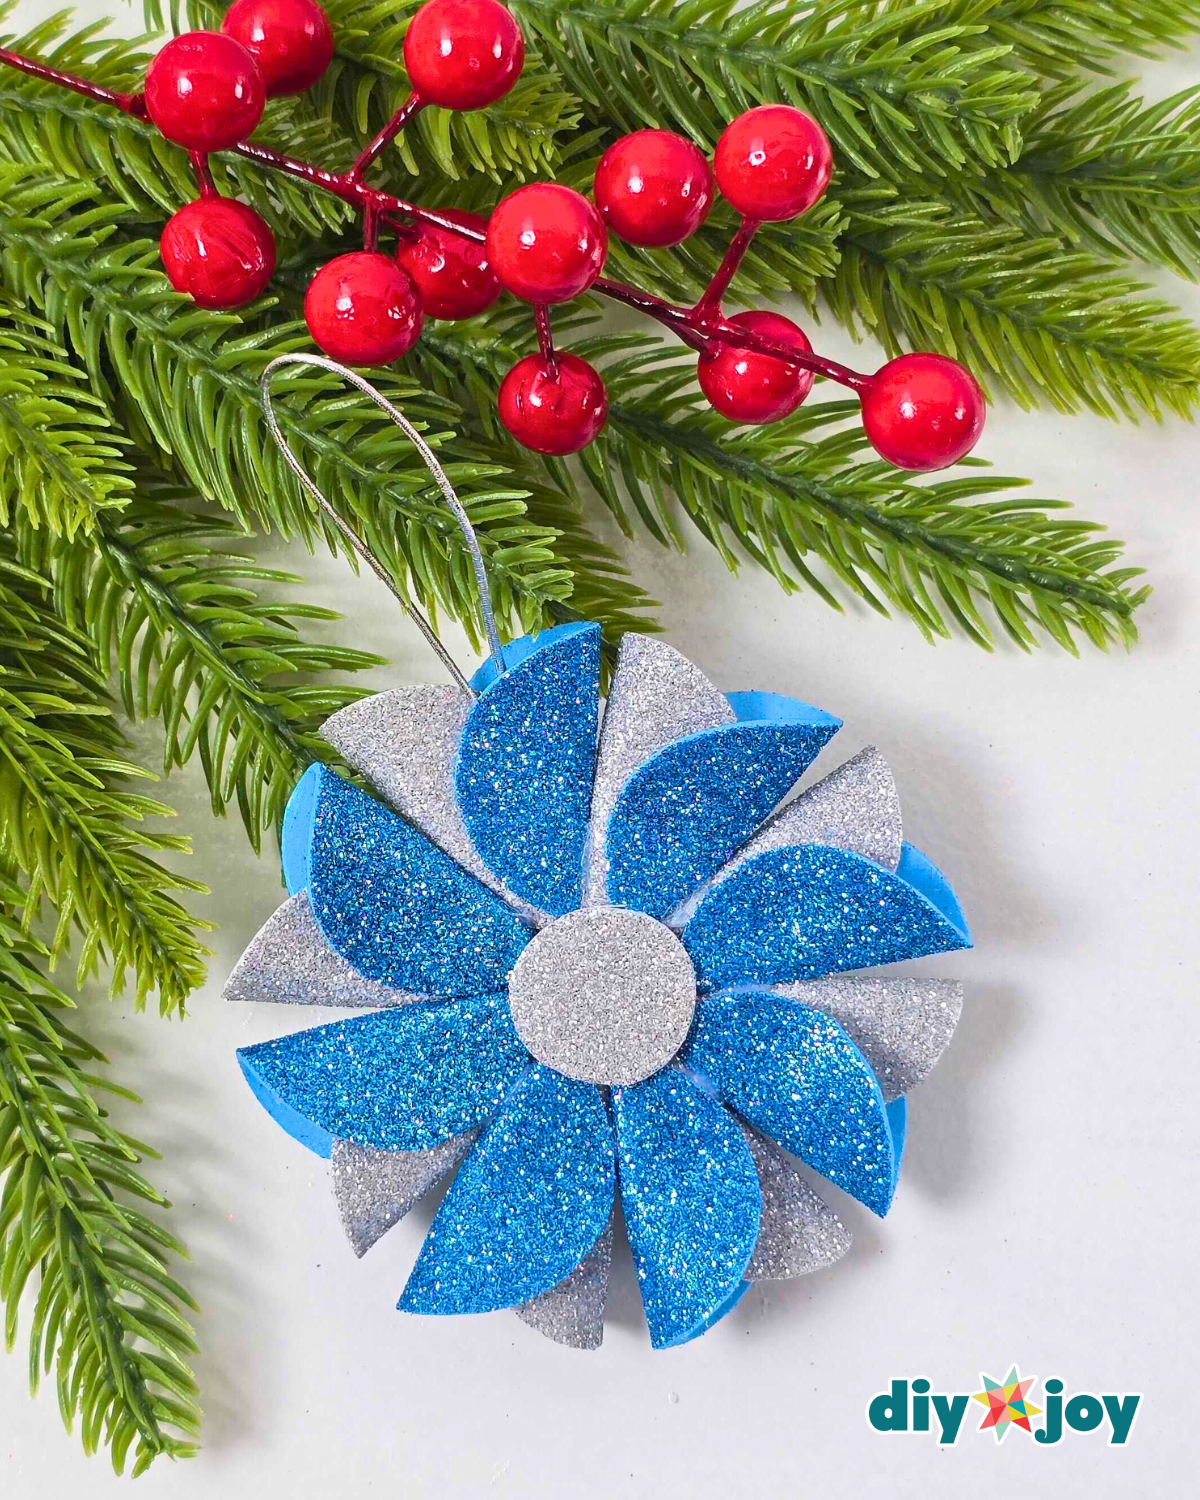
Once your ornaments are done, it’s time to show them off! Hang them on your tree and watch them twinkle under the lights, or use them as sparkly accents for gifts and centerpieces. It’s an easy, glitter-filled project that’s sure to make your holidays more festive, fun, and full of DIY cheer.
![]()
Where To Use This
These ornaments aren’t just for your tree! Hang them in a festive garland, display them on walls or windows, use them as gift toppers, or create a sparkling wreath. They add a playful, handmade touch to any corner of your home during the holidays.
For now, let’s start with the basics. Follow the step-by-step instructions below, complete with photos, so you can easily visualize each step. I hope you enjoy this DIY Christmas craft as much as I do. And if you love it, be sure to check out our other festive projects below!
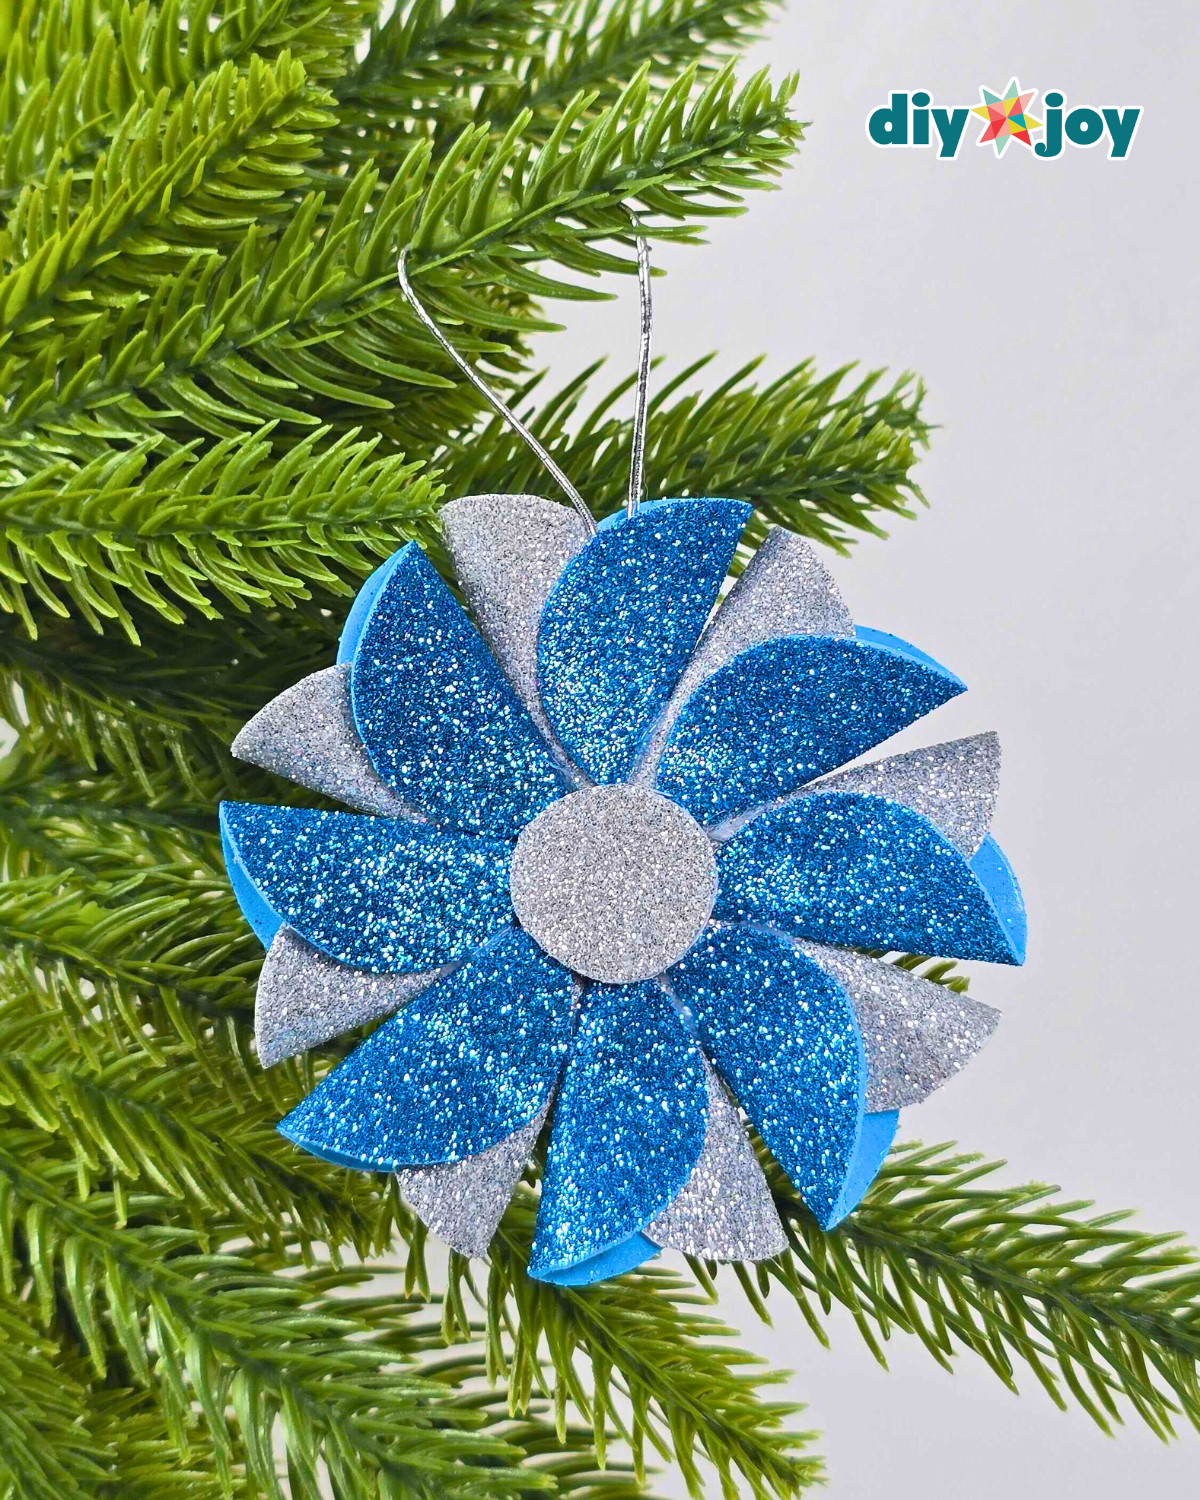
How to Make a Glitter Foam Ornament
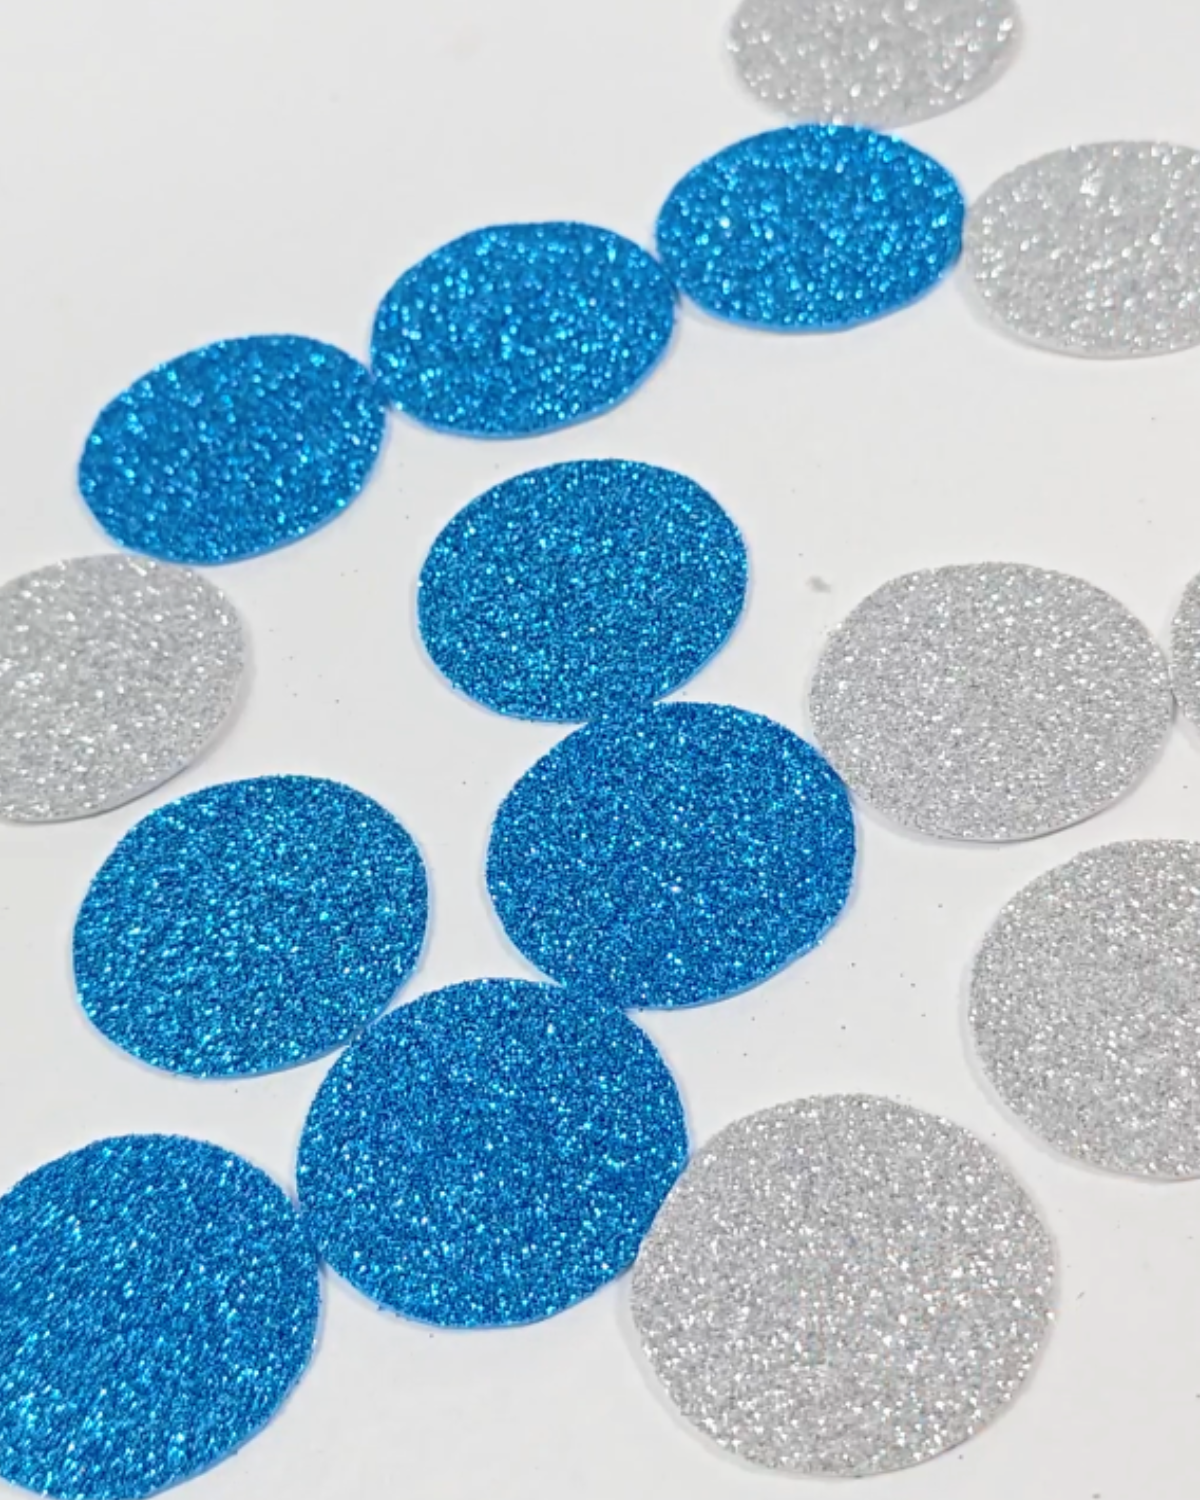
Step 1: Cut Out the Glitter Foam into Circles

Trace a small round object onto the glitter foam, then carefully cut it out. Make 8 circles — four blue and four silver.Step 2: Assemble the Glitter Petals
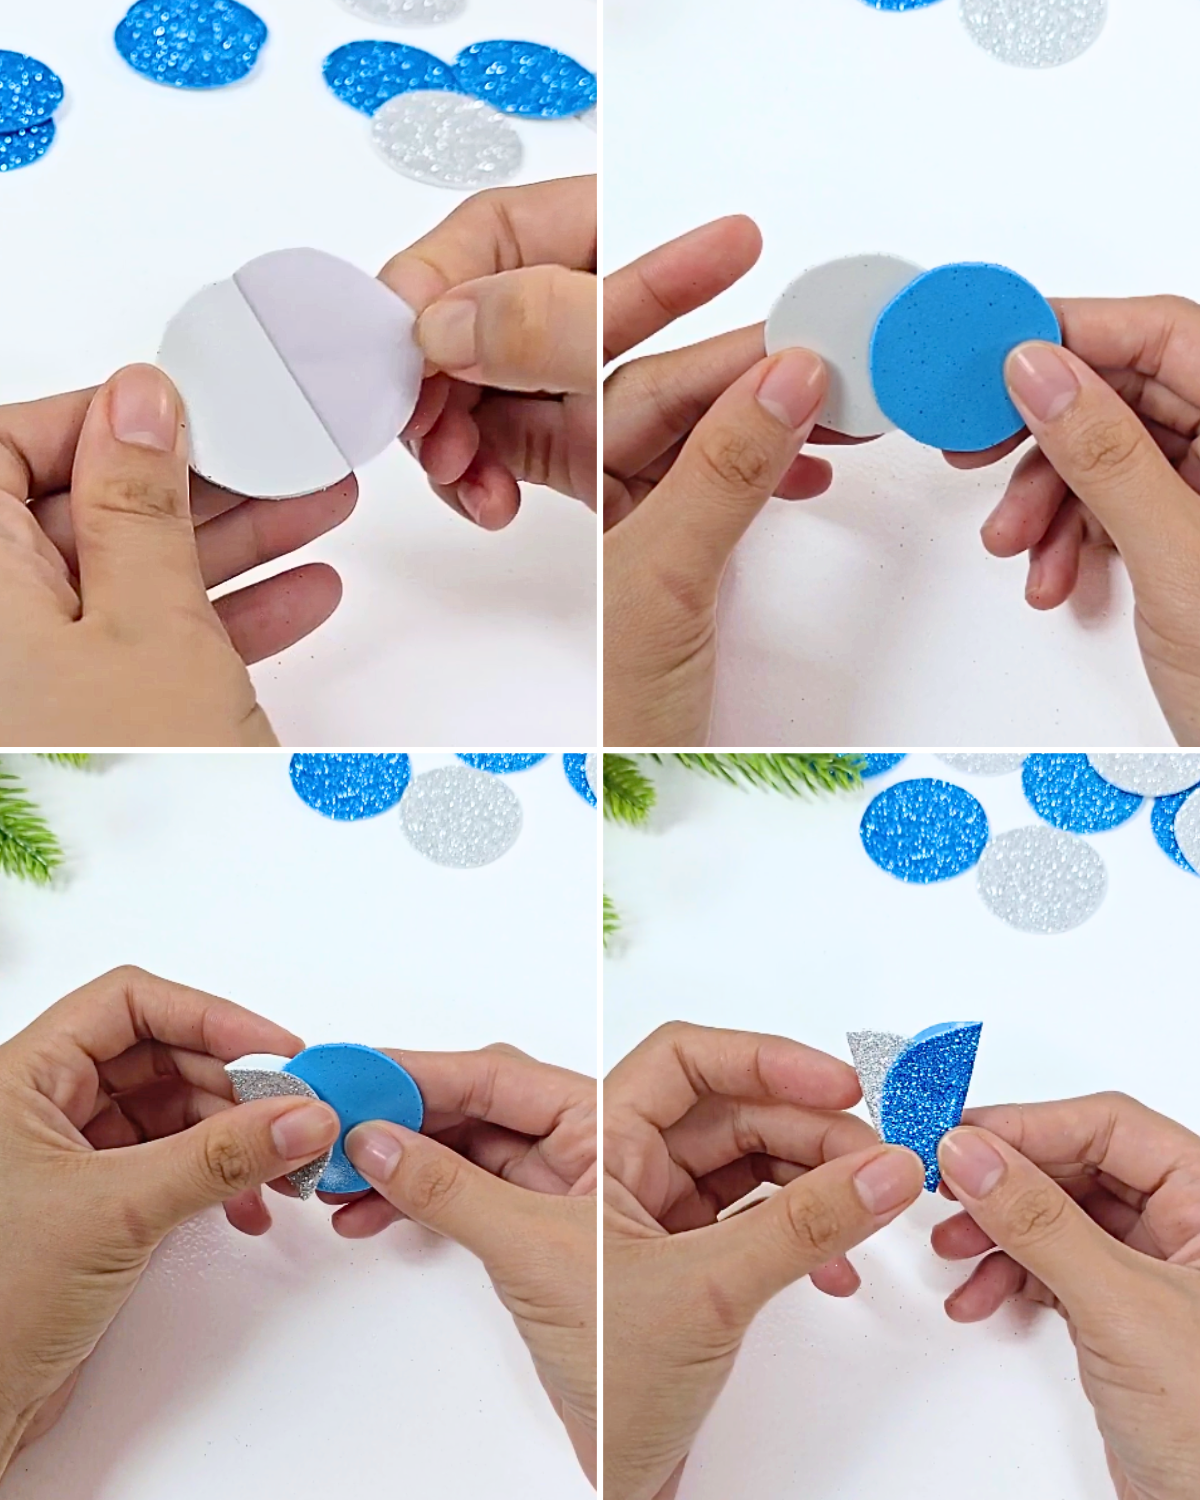
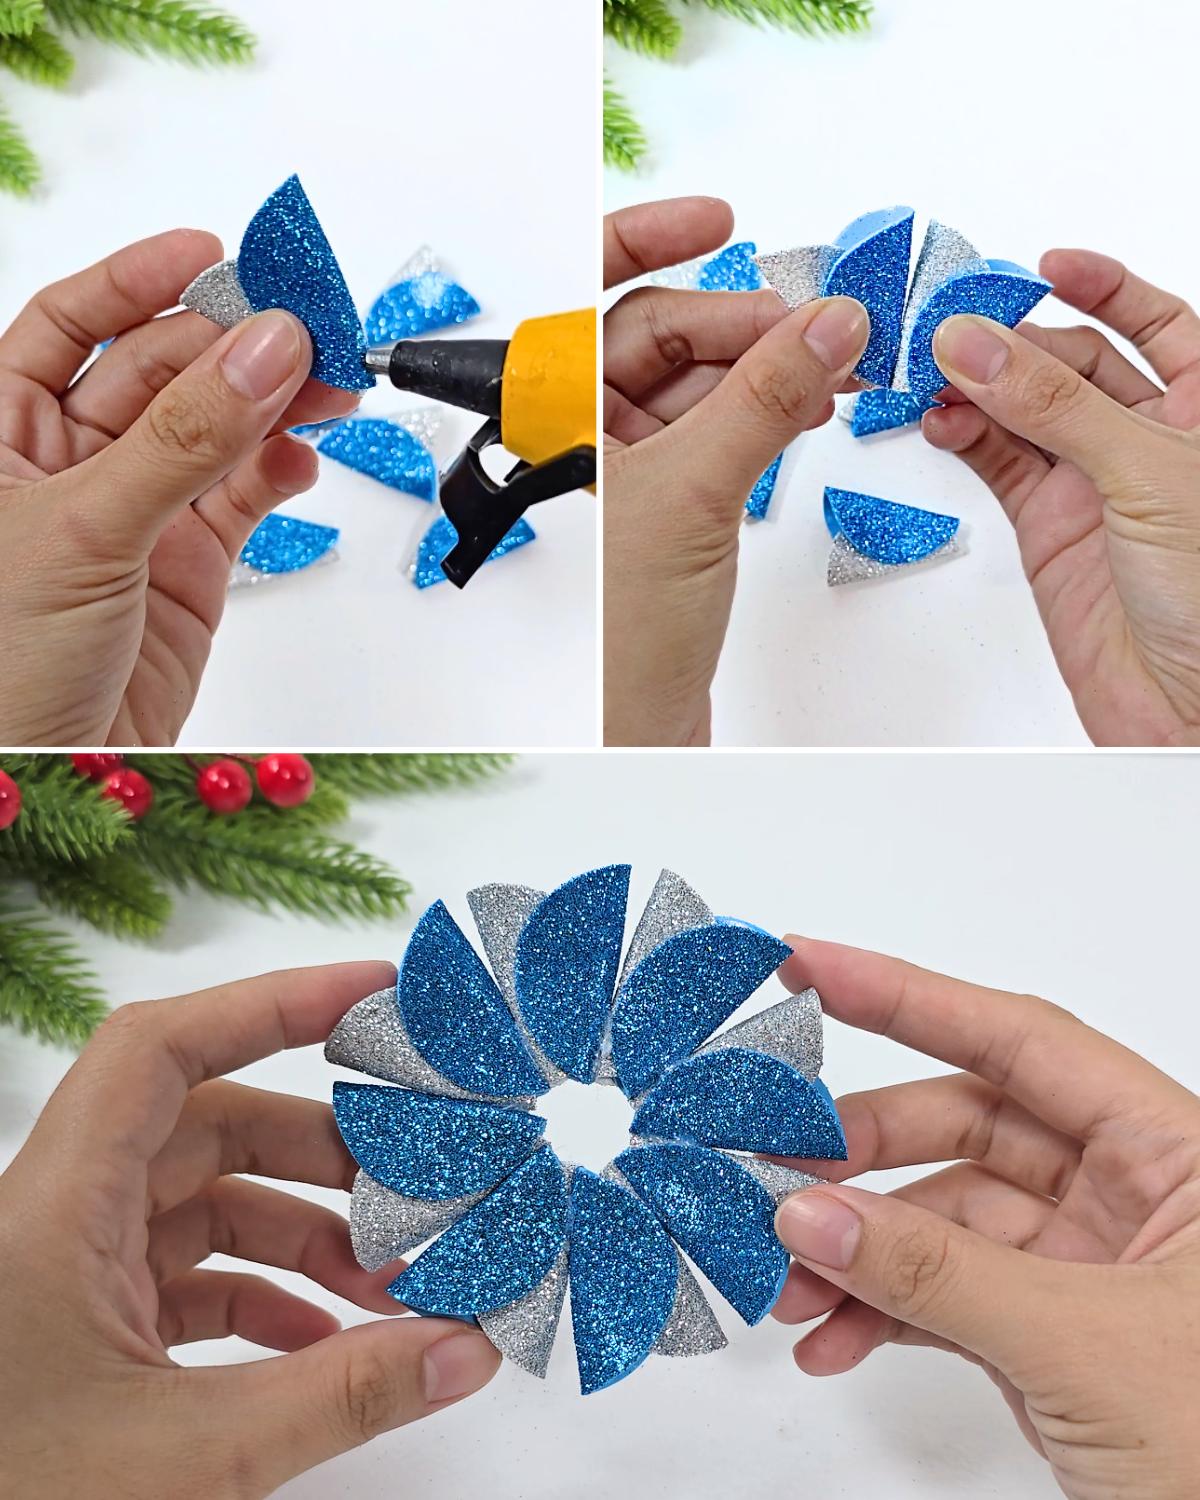
Remove the backing paper from the glitter foam circle to reveal the sticky side. Place the blue circle on top of the silver one, aligning them in the center like a Venn diagram. Press gently to secure them together, then fold the silver circle over the blue one, and fold the blue circle back over the silver.Step 3: Make All the Petals
Make a total of 8 glitter petals, keeping each one slightly rounded instead of pressing them flat.Step 4: Assemble the Flower Ornament
Apply hot glue along the edge of one petal, attach another to it, and keep gluing the rest one by one until all petals are joined to form a flower ornament.Step 5: Add the Hanger and Centerpiece
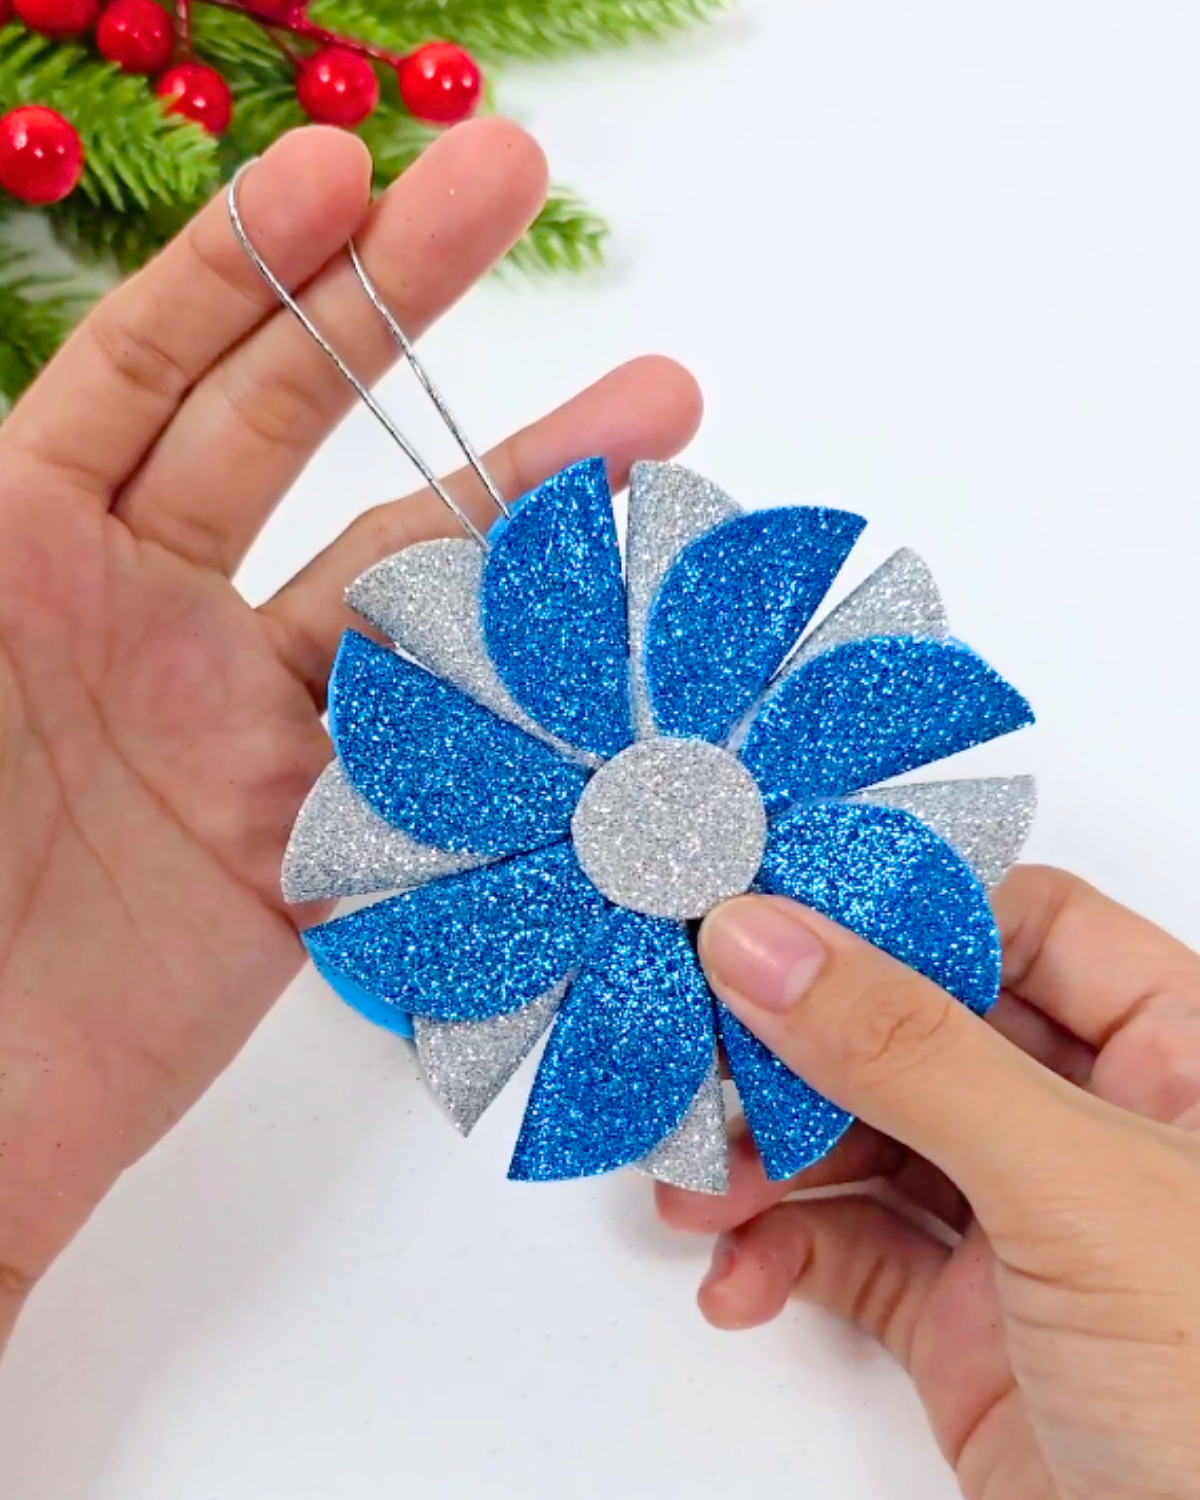
Cut a piece of string for the ornament hanger and attach it inside one petal using hot glue. Then, cut two mini circles—one silver and one blue—and place them at the flower’s center to cover the hole.

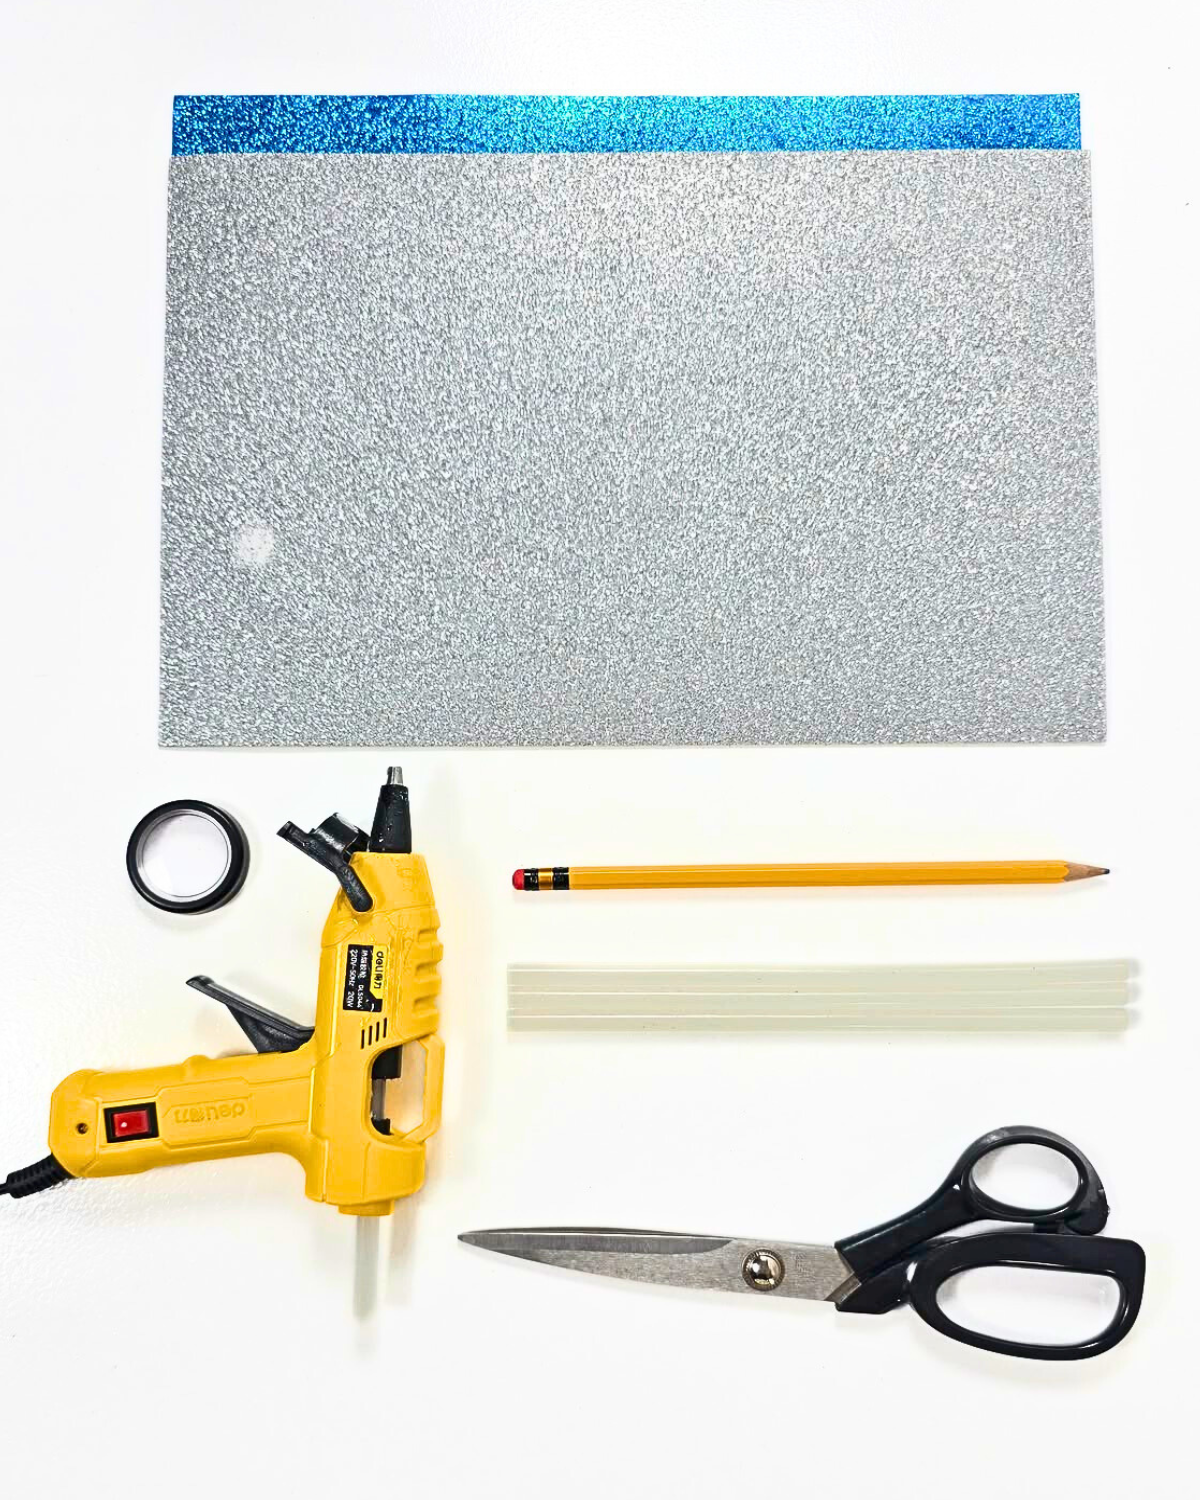
Materials
- Glitter Foam, silver and blue
- String
- Scissors
- Pencil
- Hot Glue Gun and Glue Sticks
![]()
Why You’ll Love This
You’ll love this DIY glitter foam Christmas ornament because it’s quick, easy, and beginner-friendly — perfect for anyone who wants handmade Christmas decorations without the hassle. It’s budget-friendly, fun to make with family, and customizable with colors, sizes, and extra embellishments.
What’s Viral Recently
Seasonal

Crafts
Seasonal

DIY Gifts
*If you love this craft, then visit our official website, follow our Facebook page, and subscribe to our YouTube channel for more!
DIY Christmas Ornaments | Glitter Foam