How to Make Chalkboard Organizers
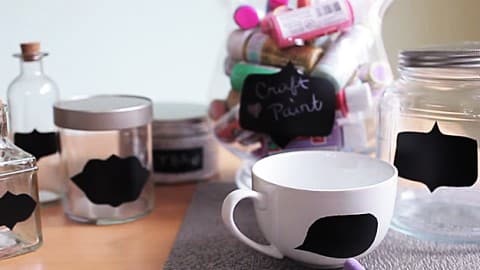
These DIY Chalkboard Organizers are not only quick and easy crafts, but they also afford fantastic storage ideas or cute DIY home decor. Follow these easy step by step instructions for this chalkboard tutorial and learn how to make these chalkboard organizers. All you need is a couple of containers that fit your organization needs and some chalkboard paint.
How to Make Chalkboard Organizers
Use these chalkboard organizers for DIY makeup organization, bathrooom organization, or craft supply organization.
Supplies:
- Vase
- Candle jars
- Coffee or tea mugs
- Decorative containers
- Rubbing alcohol
- Chalkboard paint/spray paint
- Contact paper/sticky paper/masking tape
- Sharpie
- Scissors
Step 1
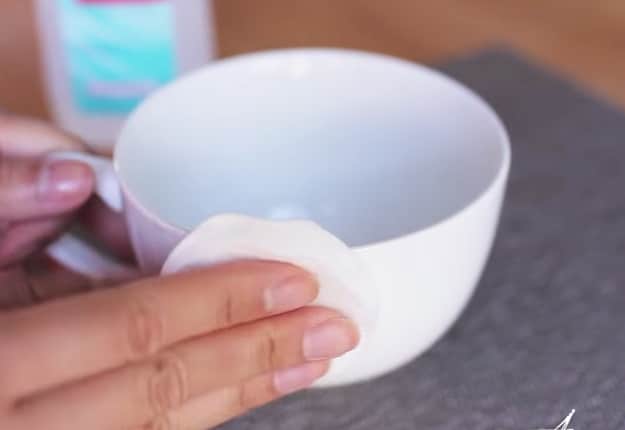
Soak the rubbing alcohol into a cotton pad and clean the surface area of your chosen material/container.
Step 2
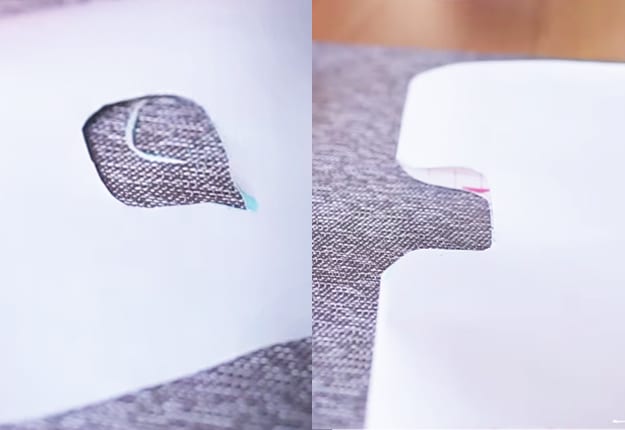
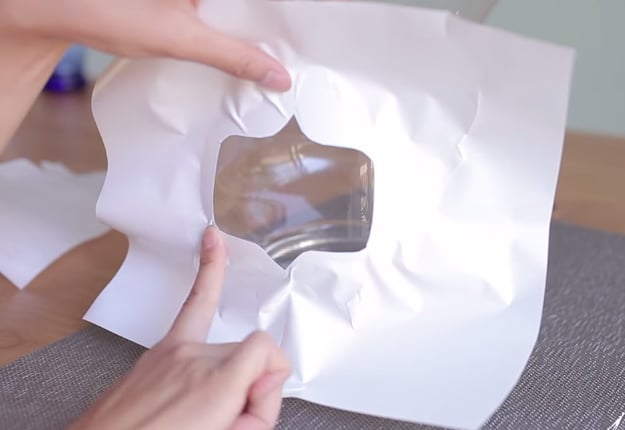
Cut out a big piece of your contact paper utilizing your chosen design (i.e. speech bubble). You don’t want it too big- just enough to cover the surface area where you will be making your label. Another design is to fold your contact paper into two so it could mirror the other side and using your Sharpie, draw a curve on the top and bottom and just cut it out.
Step 3
Now it’s time to peel the contact paper and place it on the surface of your material/container. Make sure that the area of the cut out part is going to stick really well by flattening all that area around the cut out part.
Step 4
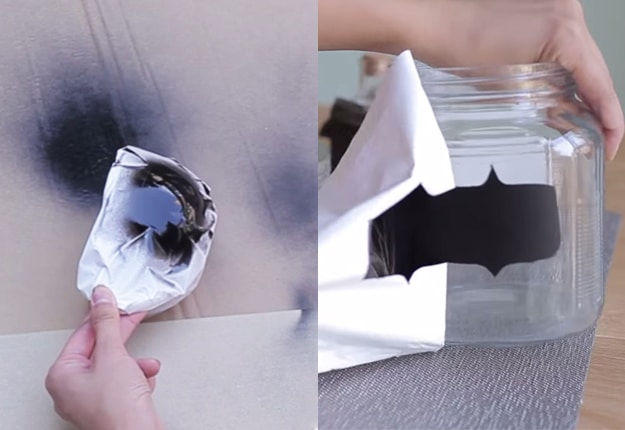
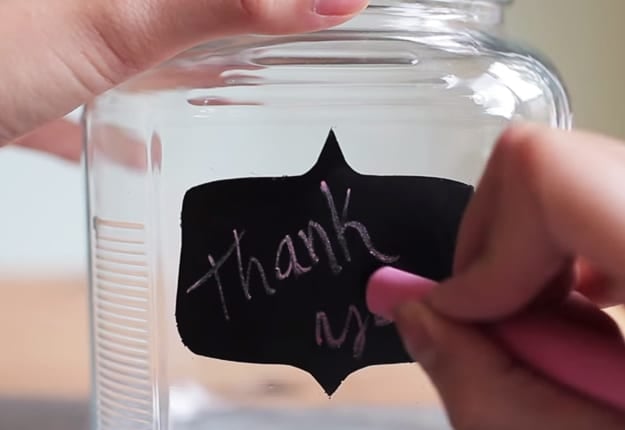
Spray your chalkboard paint onto the surface area and let it dry for 24 hrs. After the paint has completely set, you can now peel off the contact paper. If you notice an imperfection, you can use a cotton dabbed with acetone to remove some of the paint.
Step 5
And now you can put a label on your chalkboard container.
