She Wraps Ribbon Around Her Fingers And What She Does Will Surprise You!

This is such a super simple DIY project that it’s ridiculous, but if you don’t know how to do this, then you’ve gotta learn how to do this because it will come in handy over and over again. You’ll be so glad that you watched! Would you believe I’ve seen someone do this with a fork?
The double loop bow tying technique is a little tricky at first, but once you master it, you will find it a quick and simple way to tie an elegant bow…on your very own fingers! These bows are so easy to tie that you’ll be doing them in your sleep.
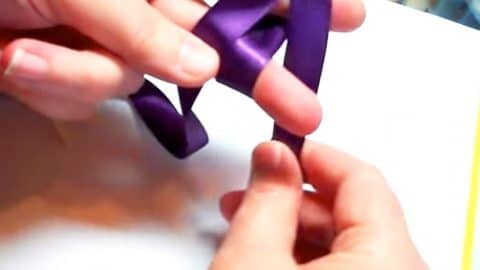
She works with the ribbon on the spool, so there is very little waste. She uses her right hand to tie the bow on the fingers of her left hand. She begins by placing the spool to the left of her fingers, and pulling the tail across two fingers on her left hand. If you are left handed, you will want the spool to the right of your fingers, and the tail would be pulled in the opposite direction and the rest is the same.
Working with the tail of the ribbon, wrap the ribbon around your fingers two times, so there are two complete loops on each finger…although there is a tail from the spool and the end of the ribbon, neither forms a complete loop.
Spreading your fingers slightly, you will tuck the loose tail of the ribbon between your fingers where the “V” is formed on your hand. Notice the tail of the ribbon goes down through the V, and back up towards your finger tips. Next, you will wrap the tail of the ribbon back over the loops on your fingers.
The next step is to wrap and tuck the tail of the ribbon in the small loop formed when you went through the V.
Watch how Jak Heath does this in her step by step tutorial so you can get busy making ribbons the easy way!


